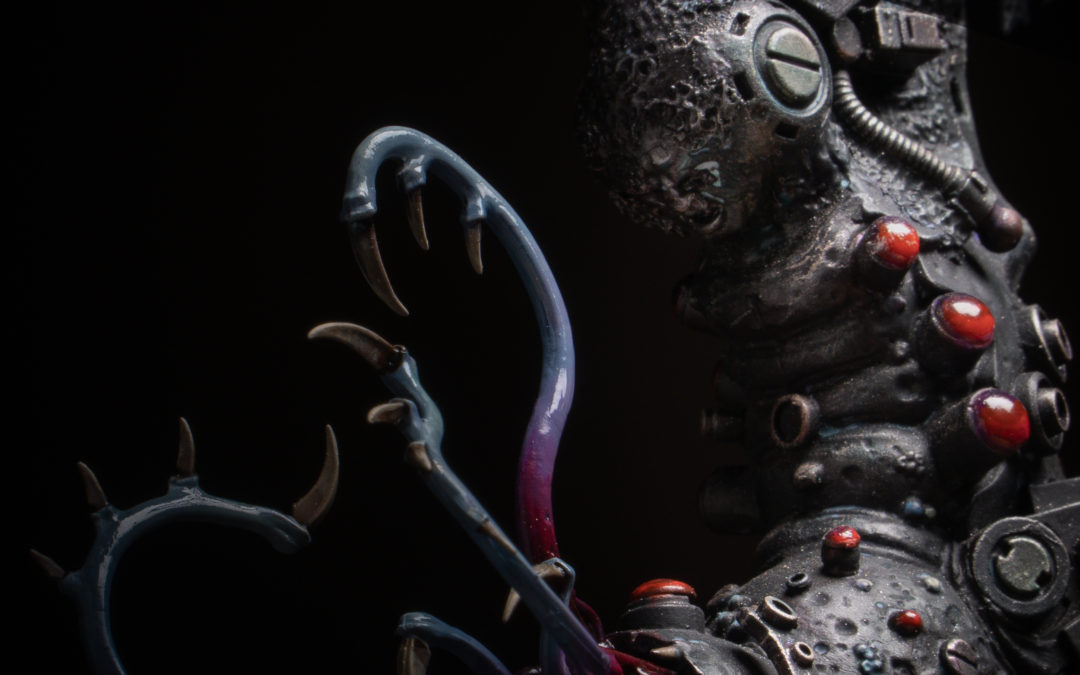
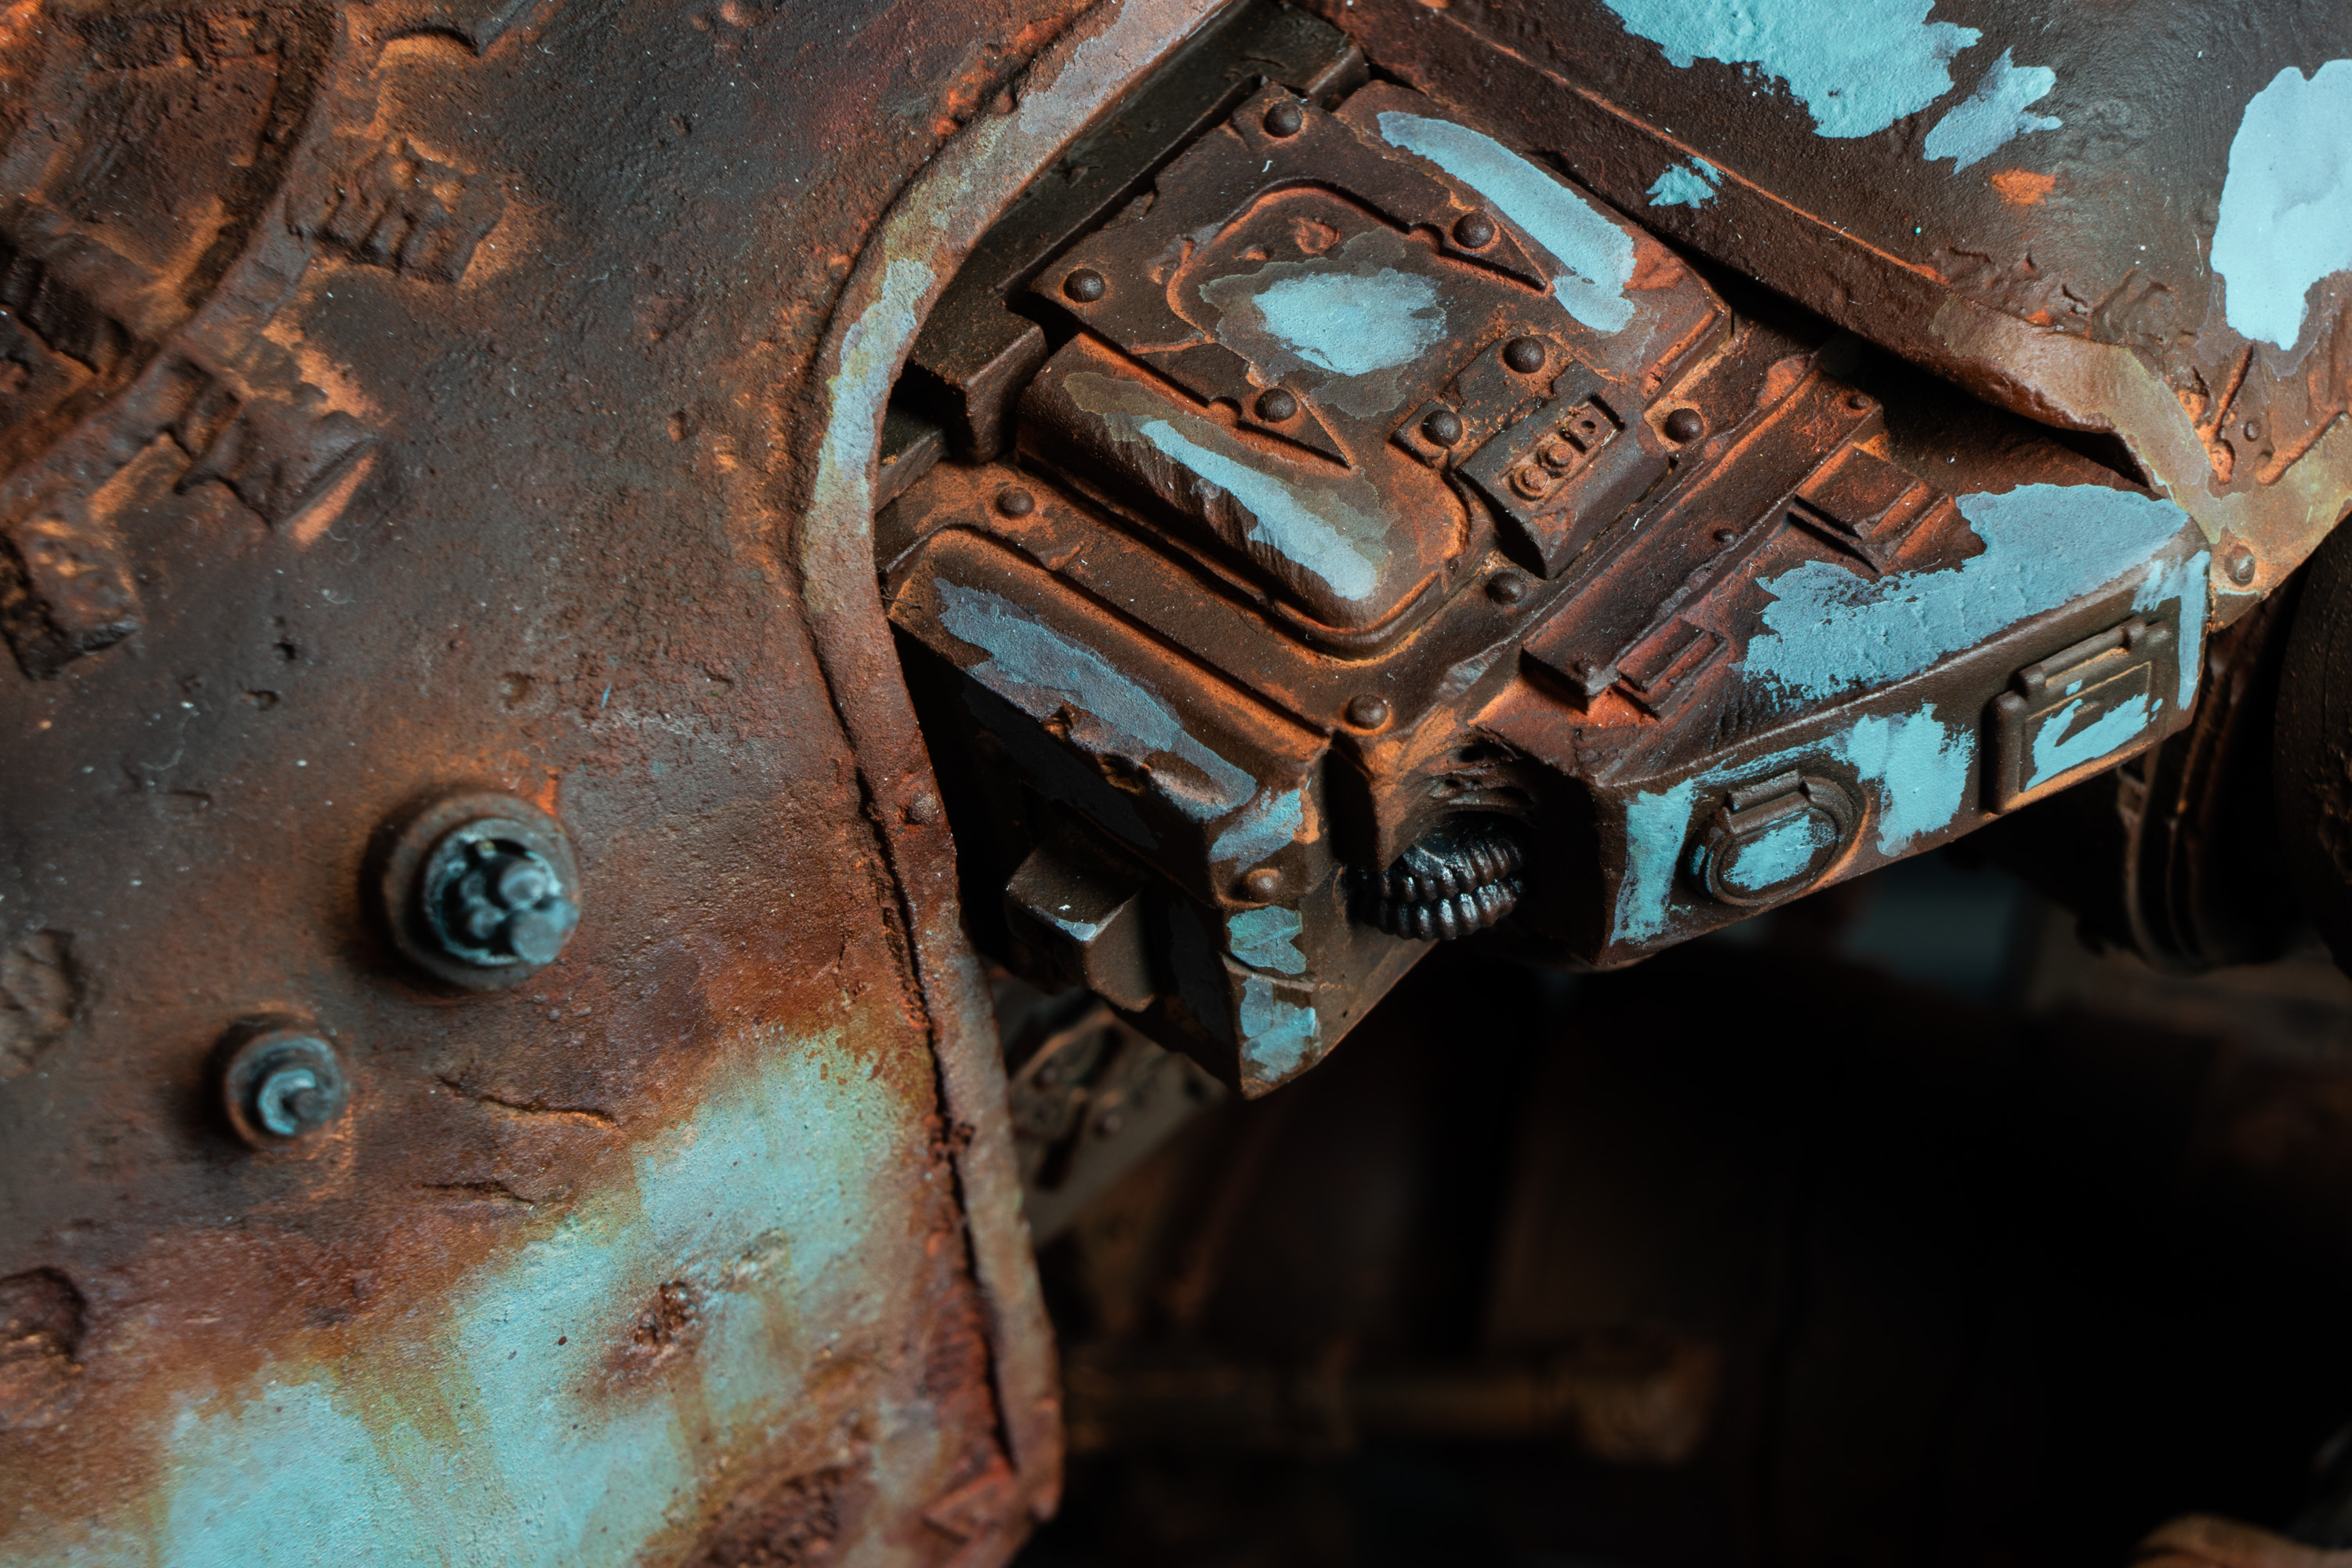
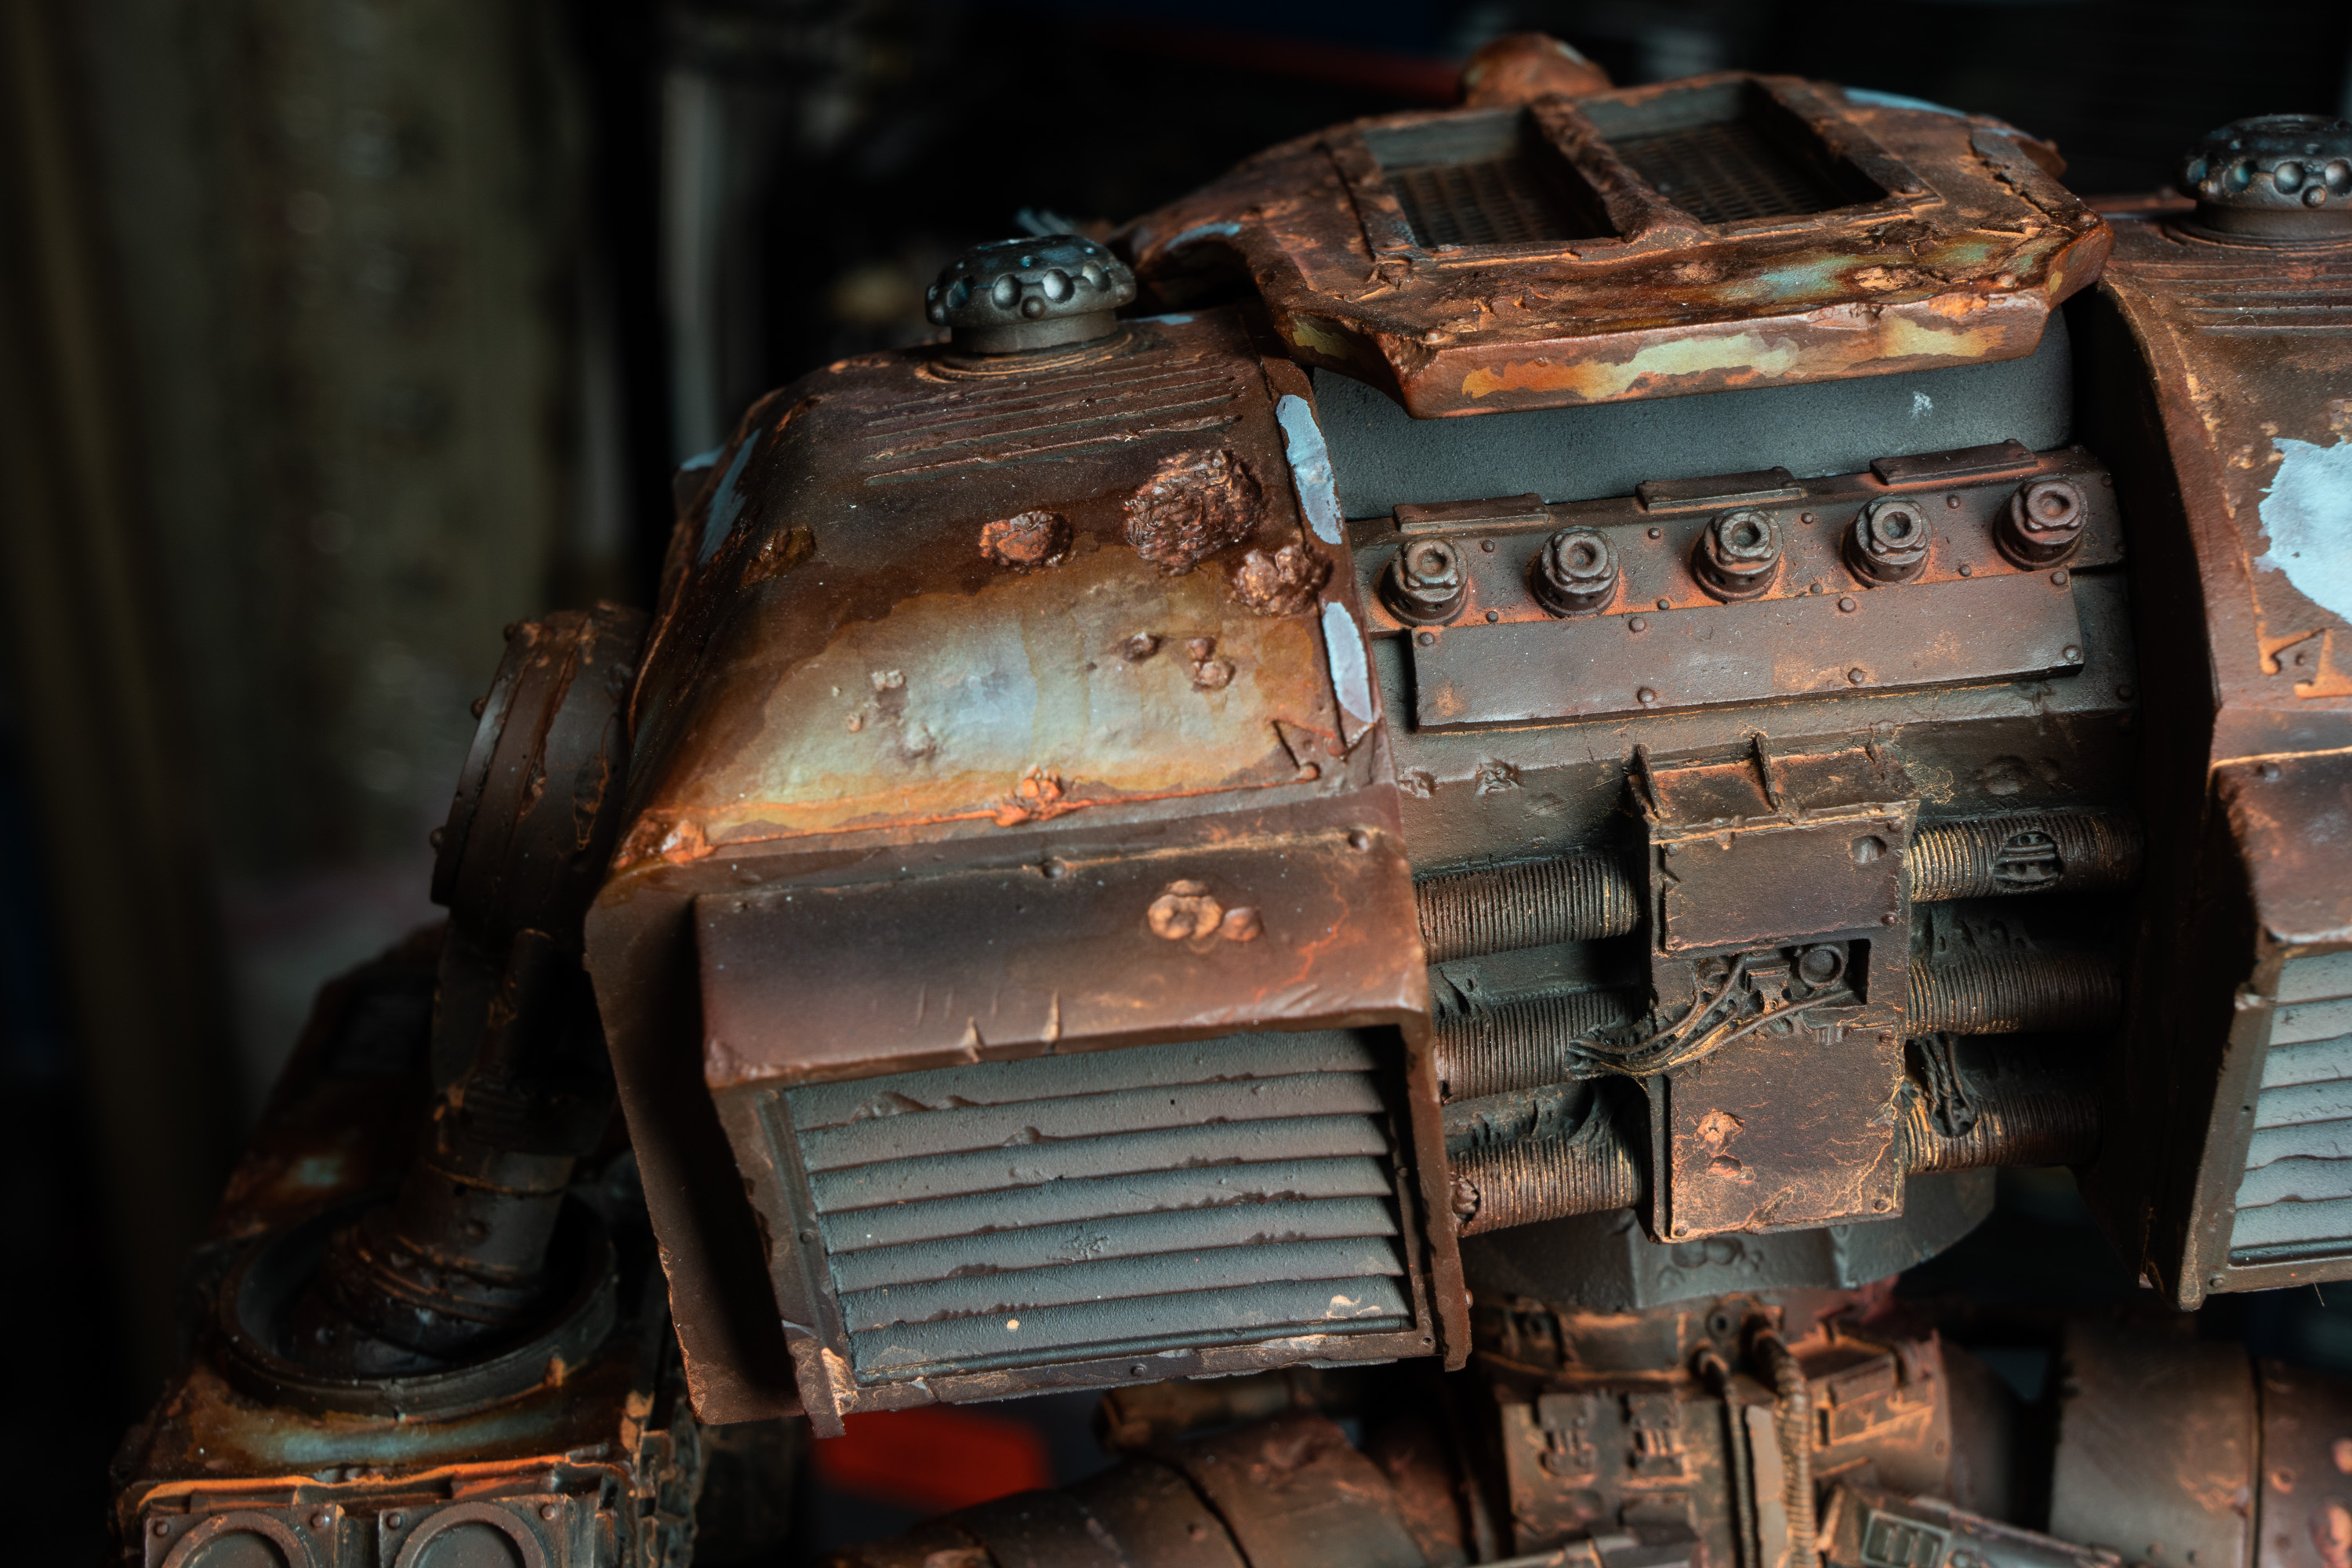
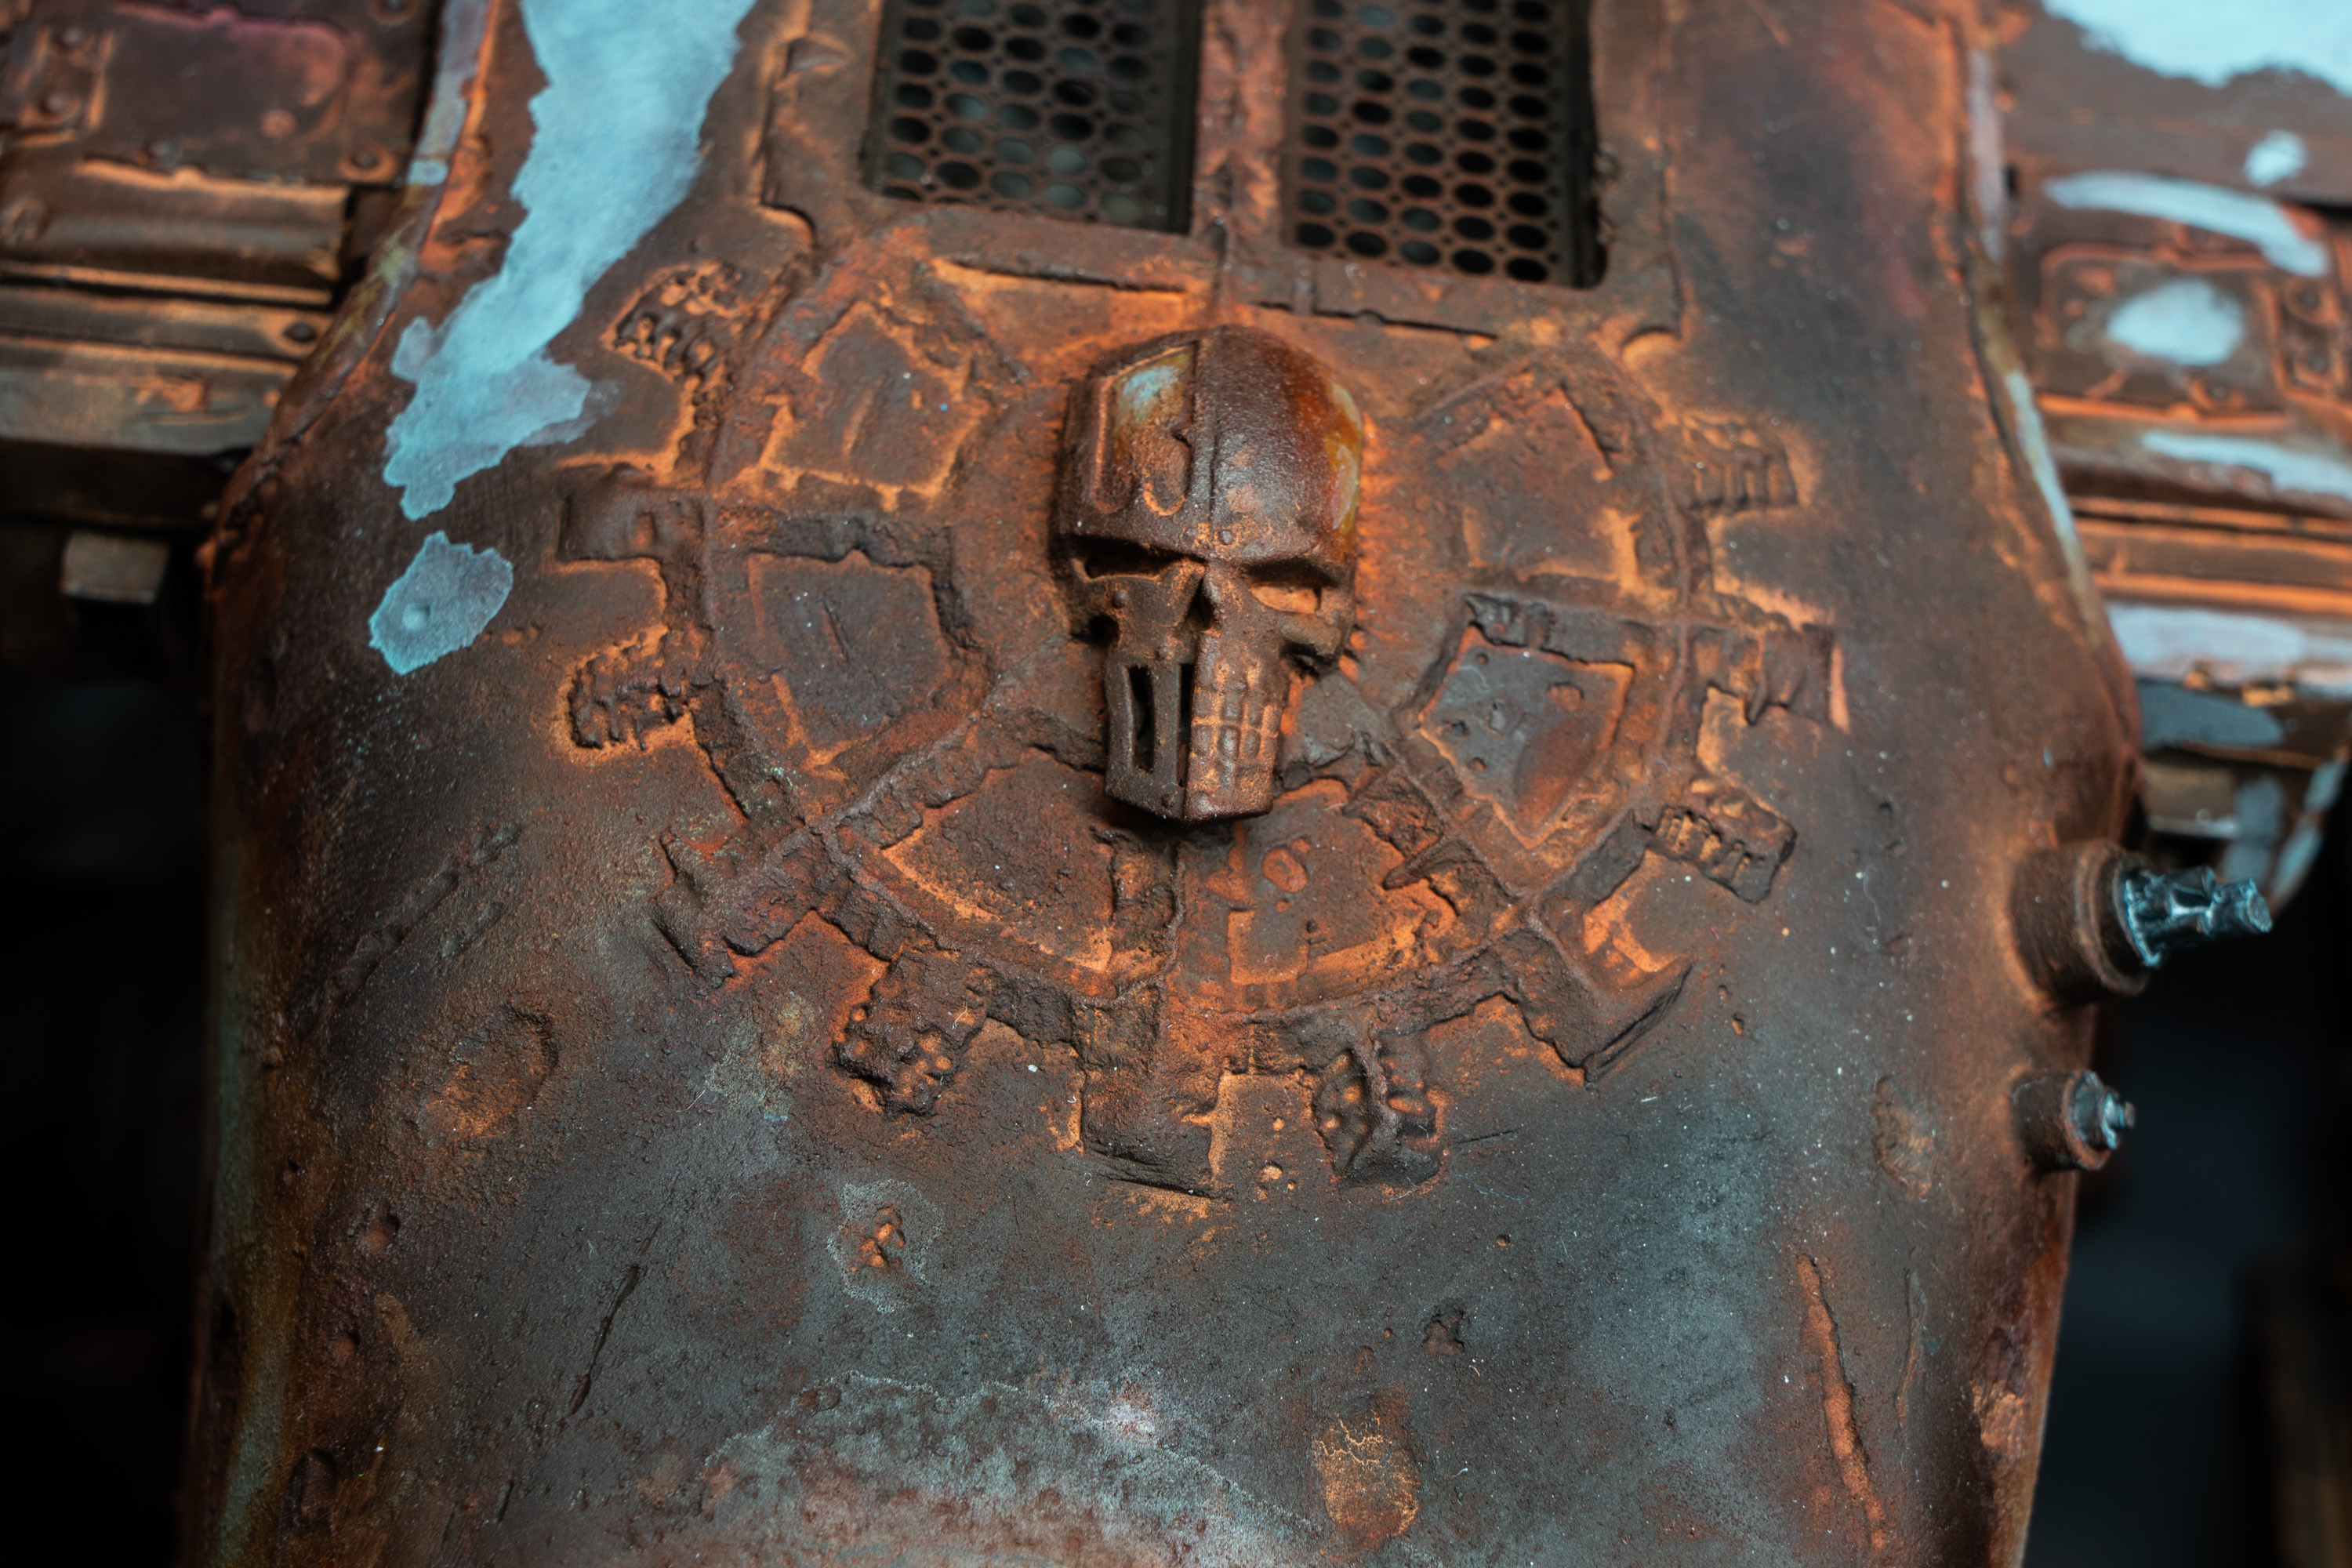
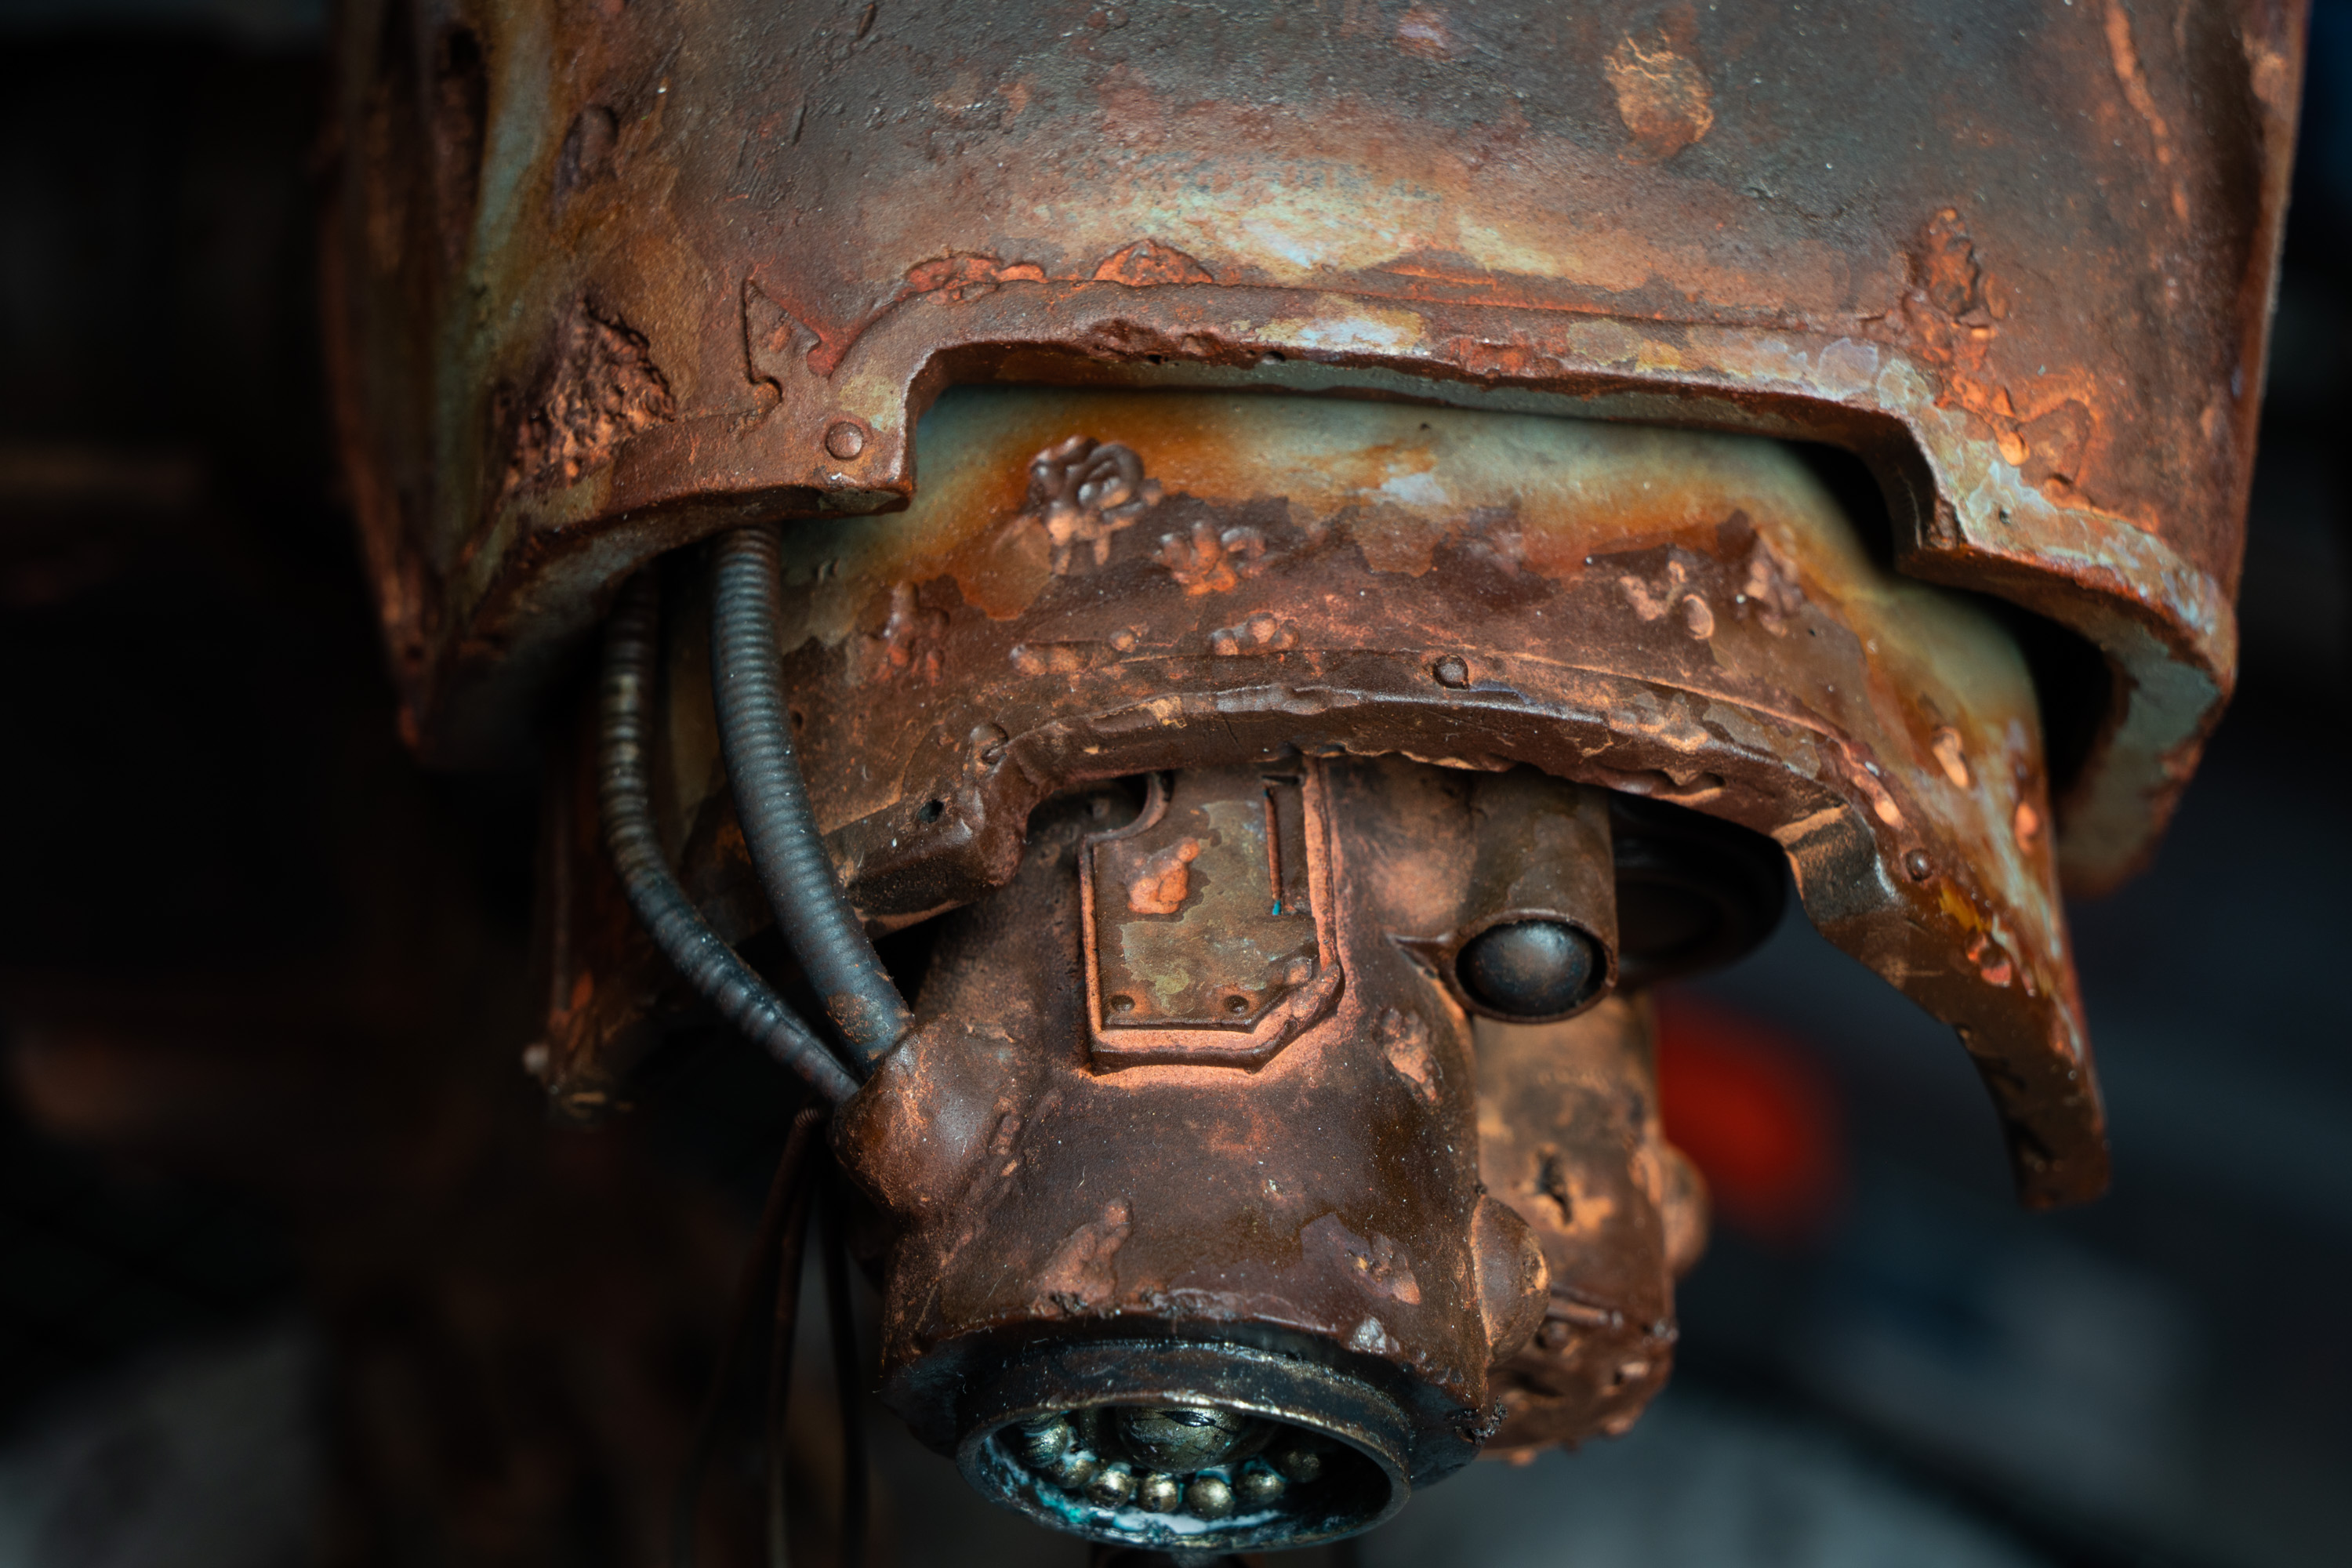
Greater Daemon of Inuun
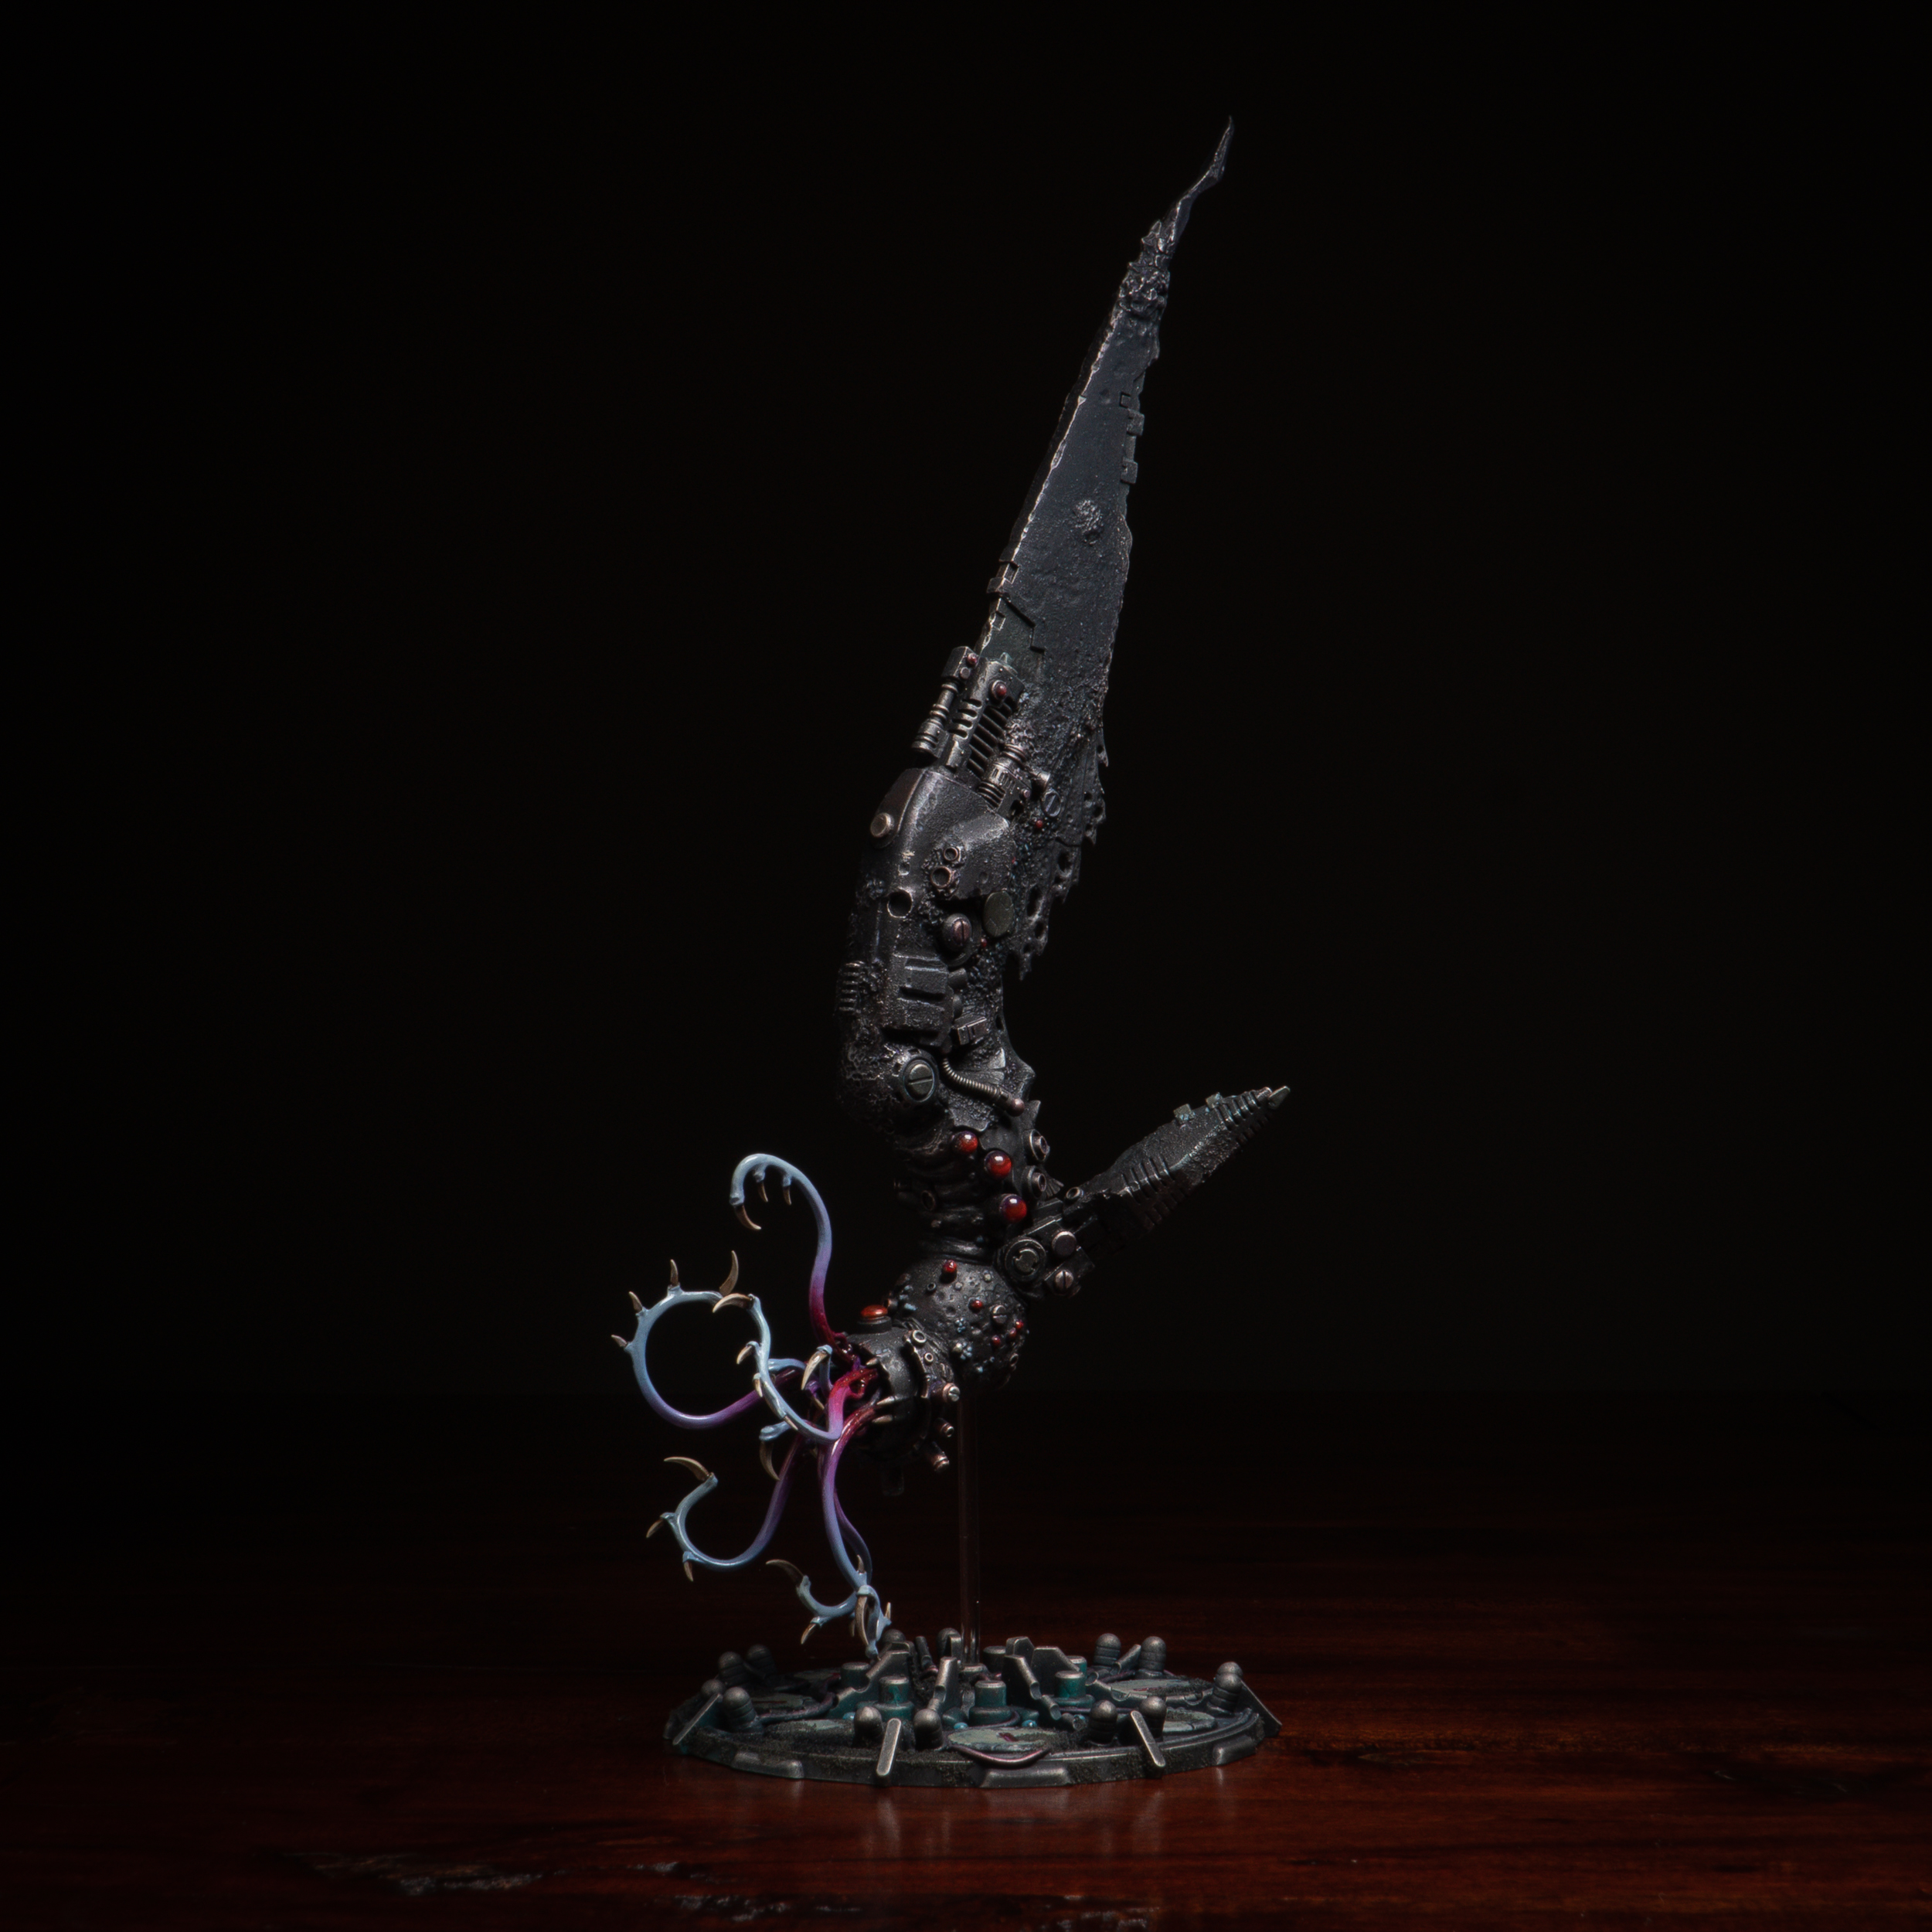
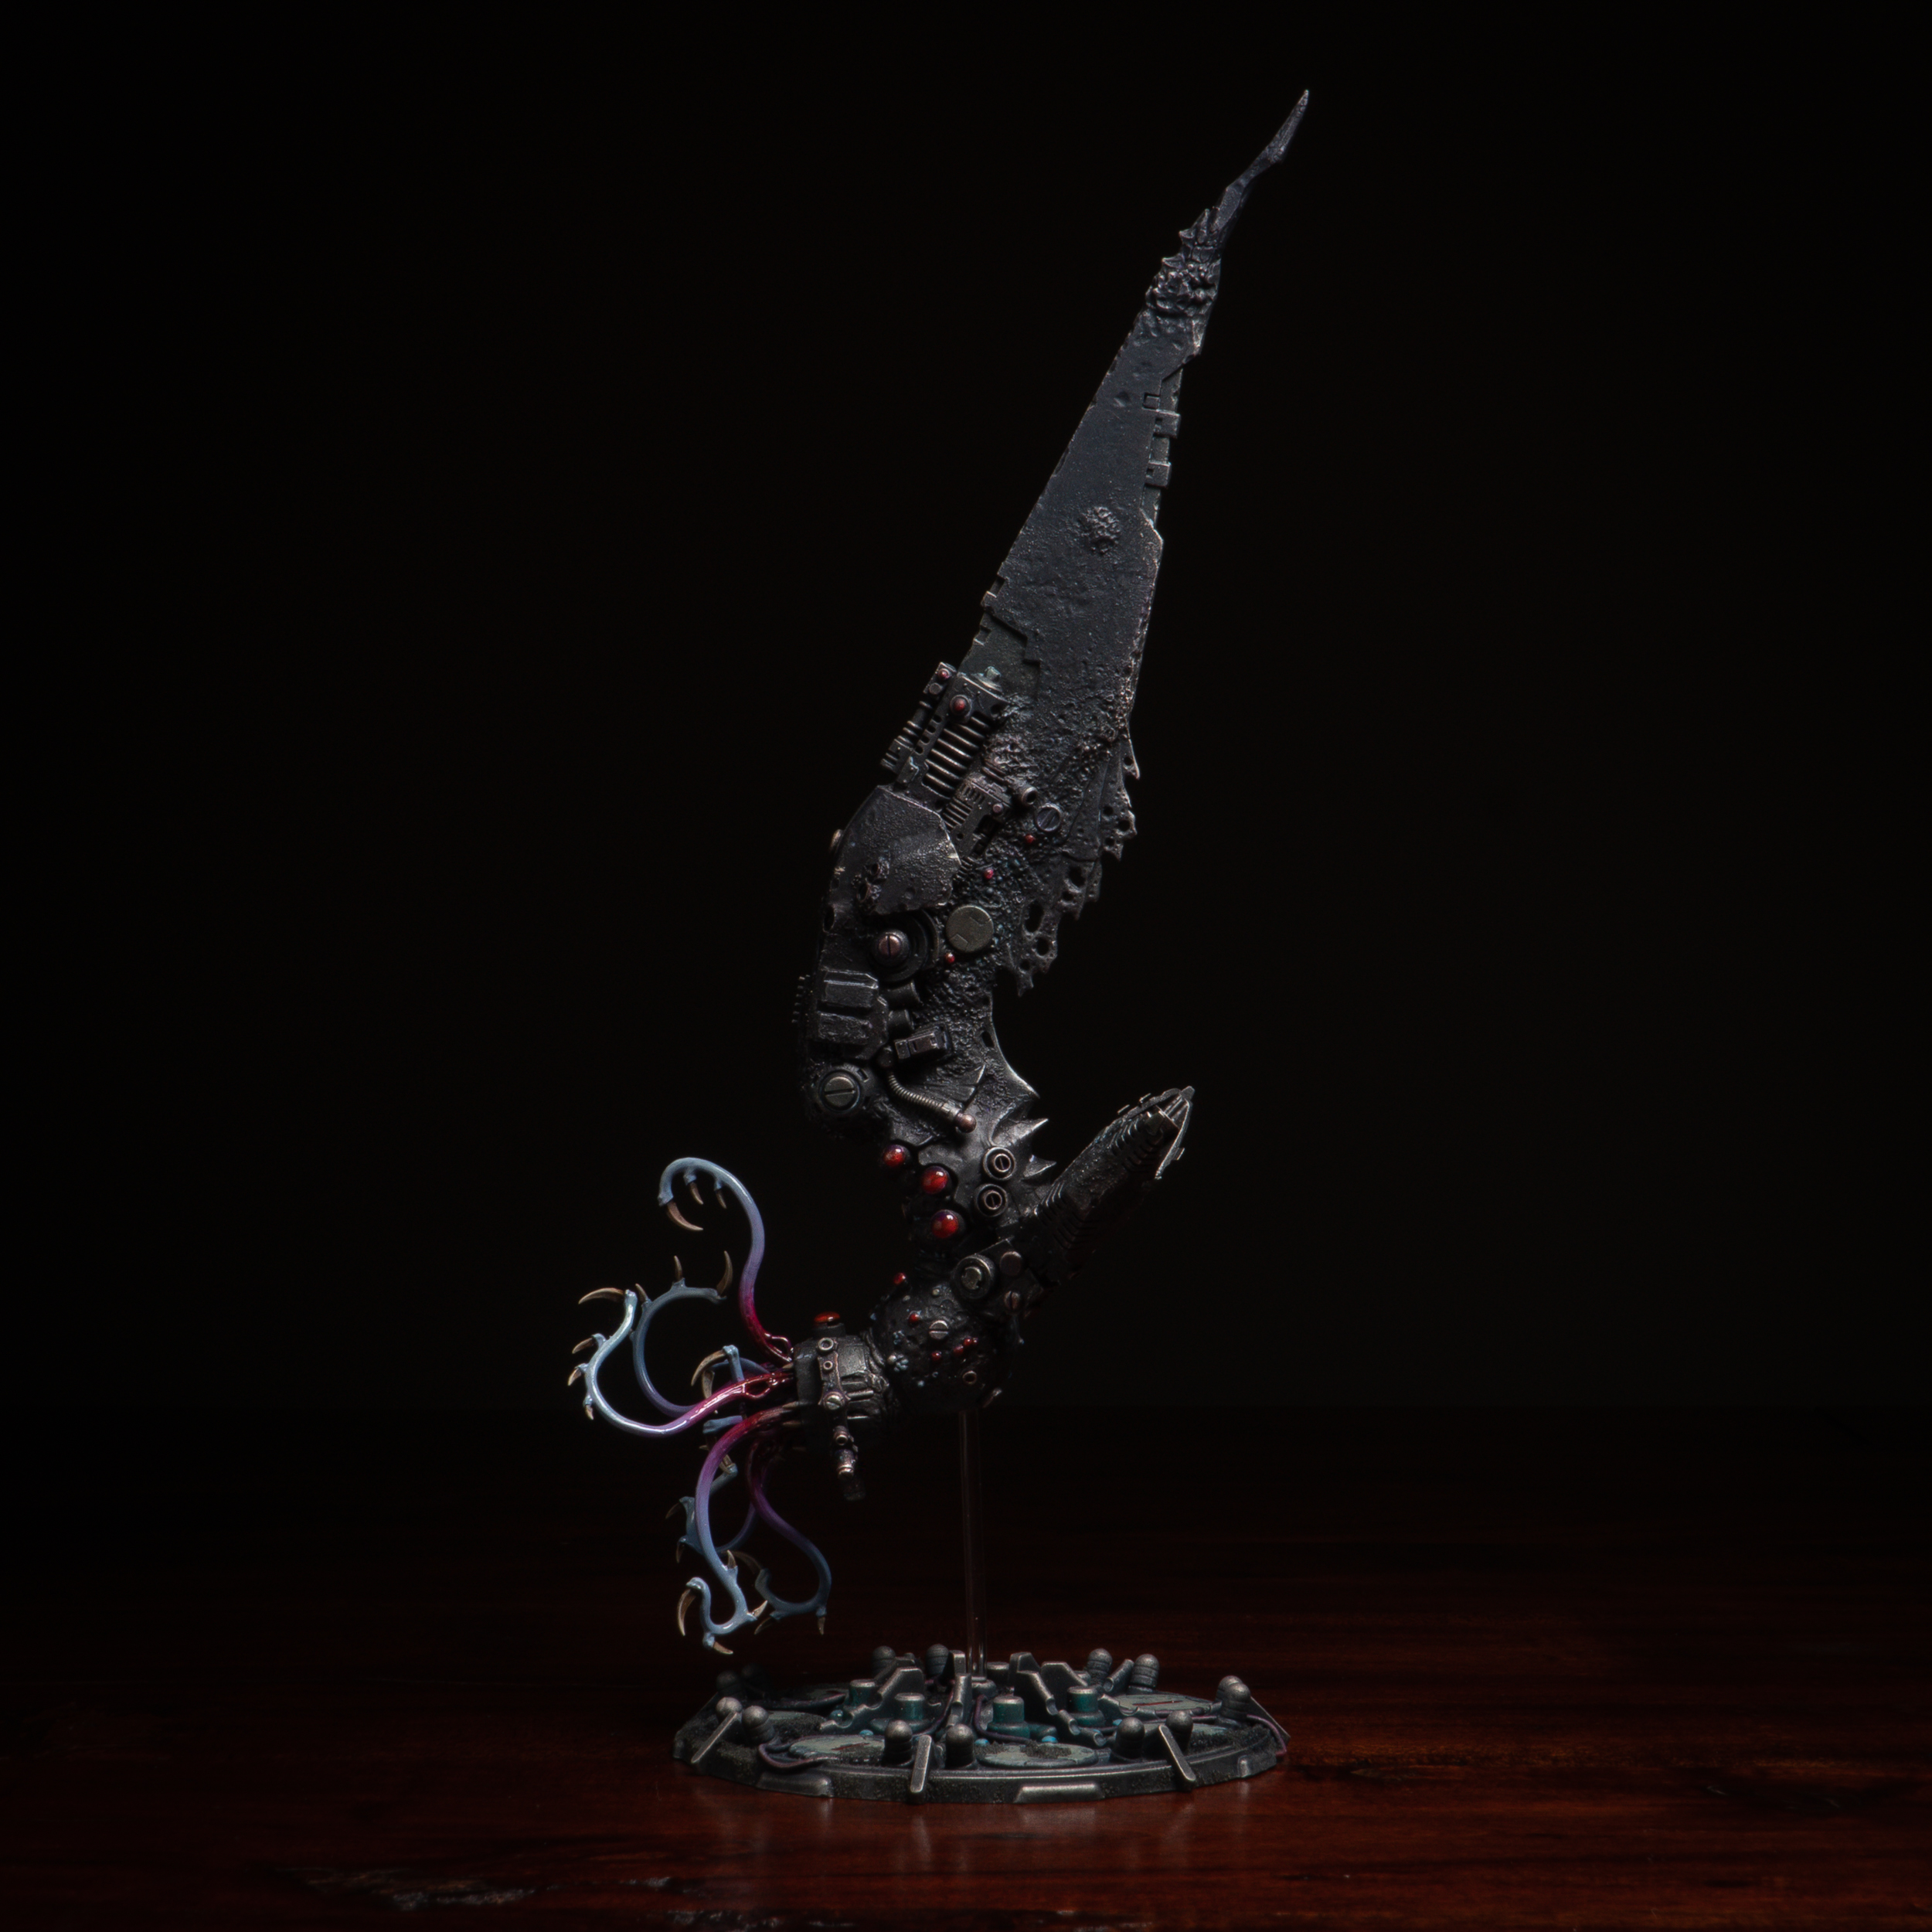
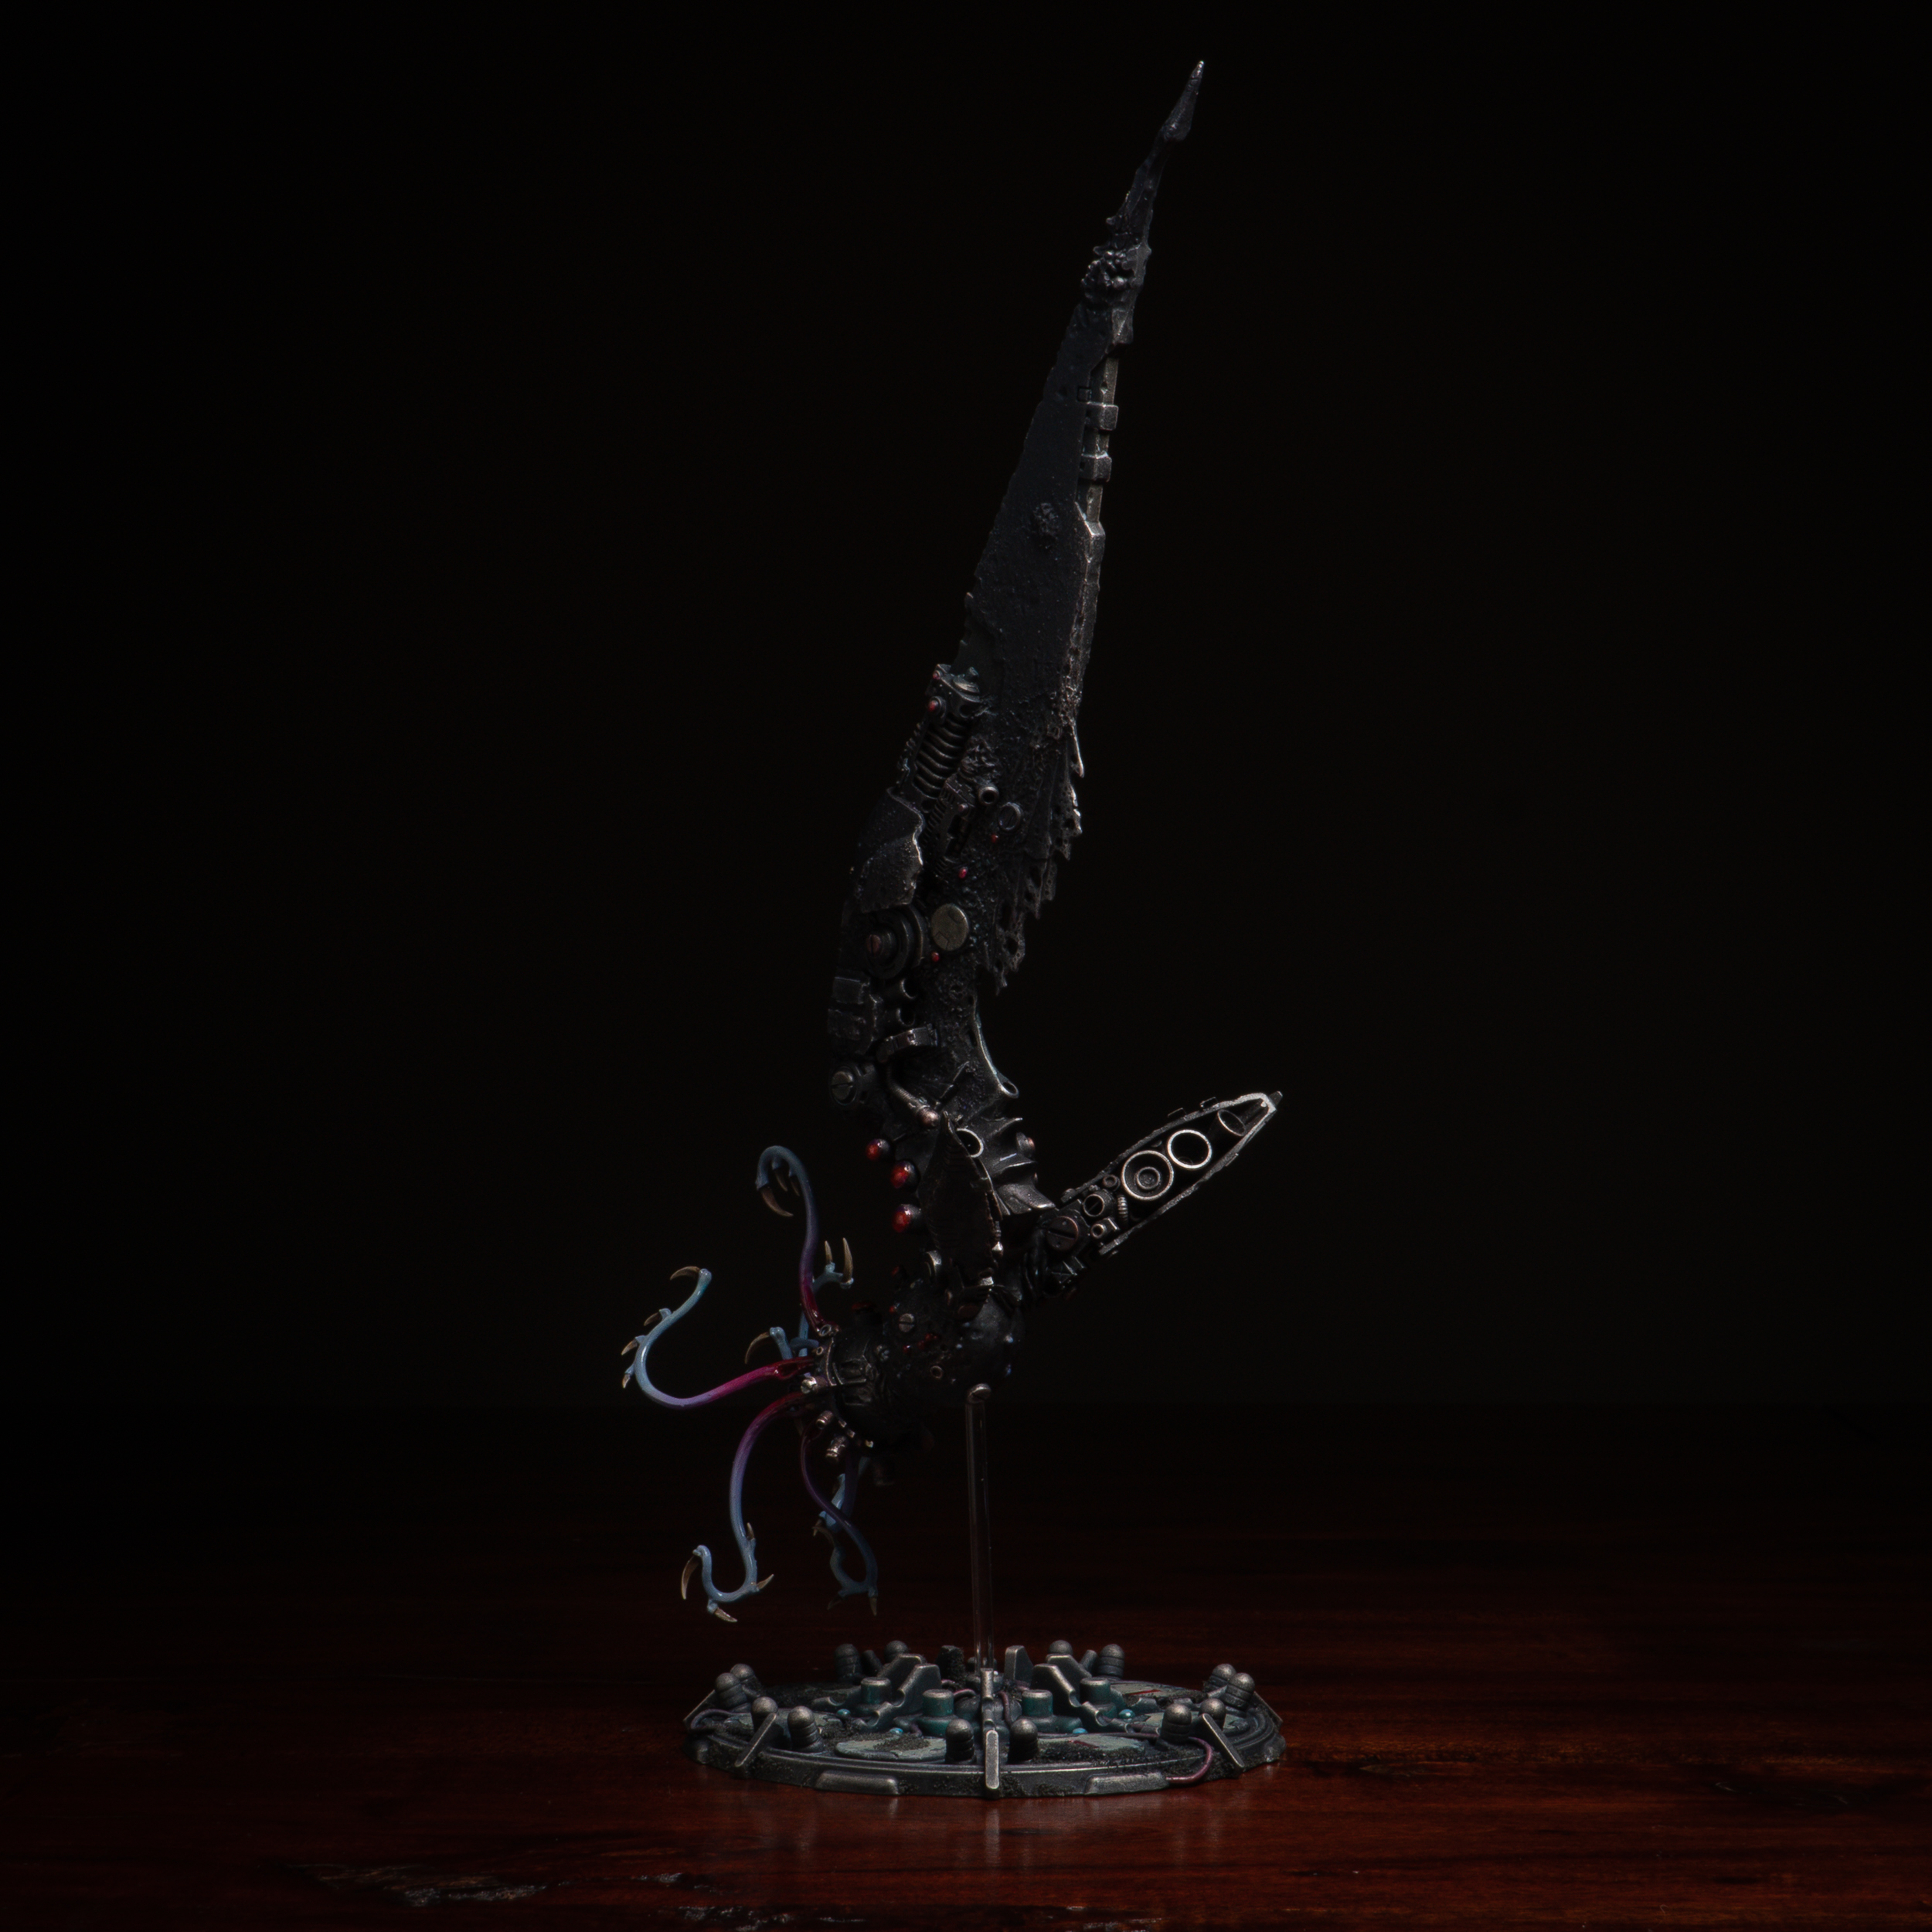
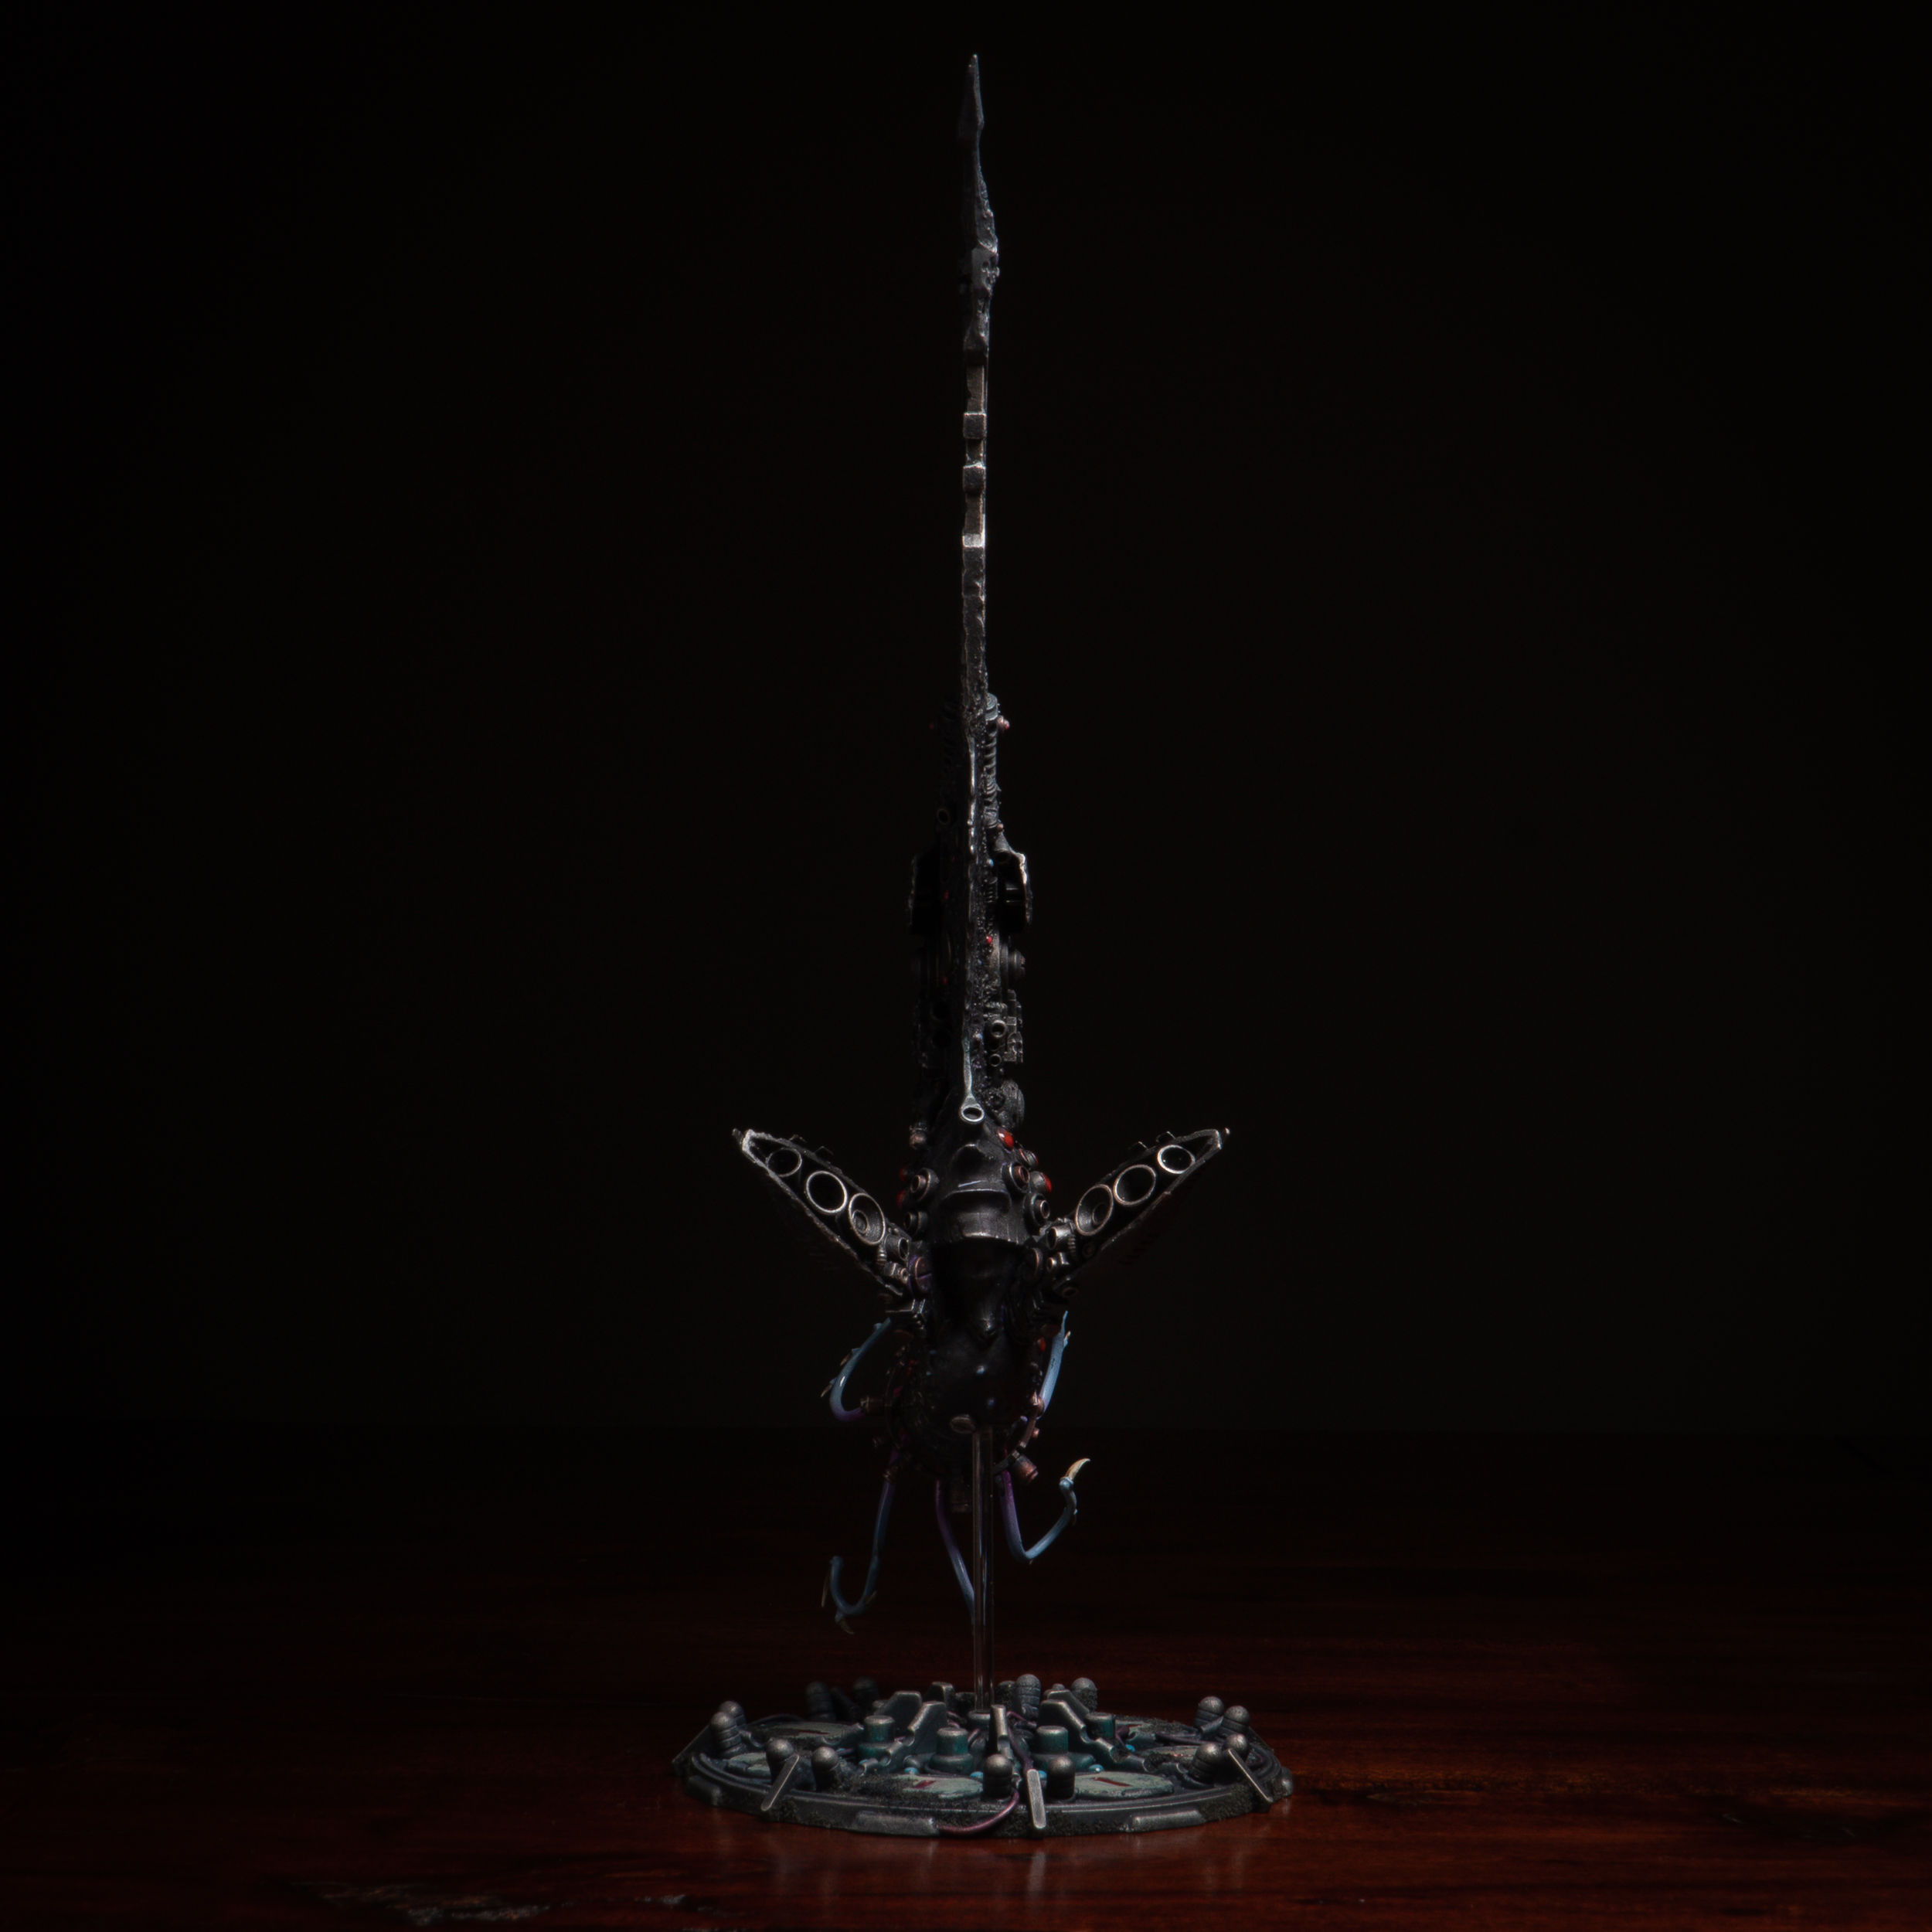
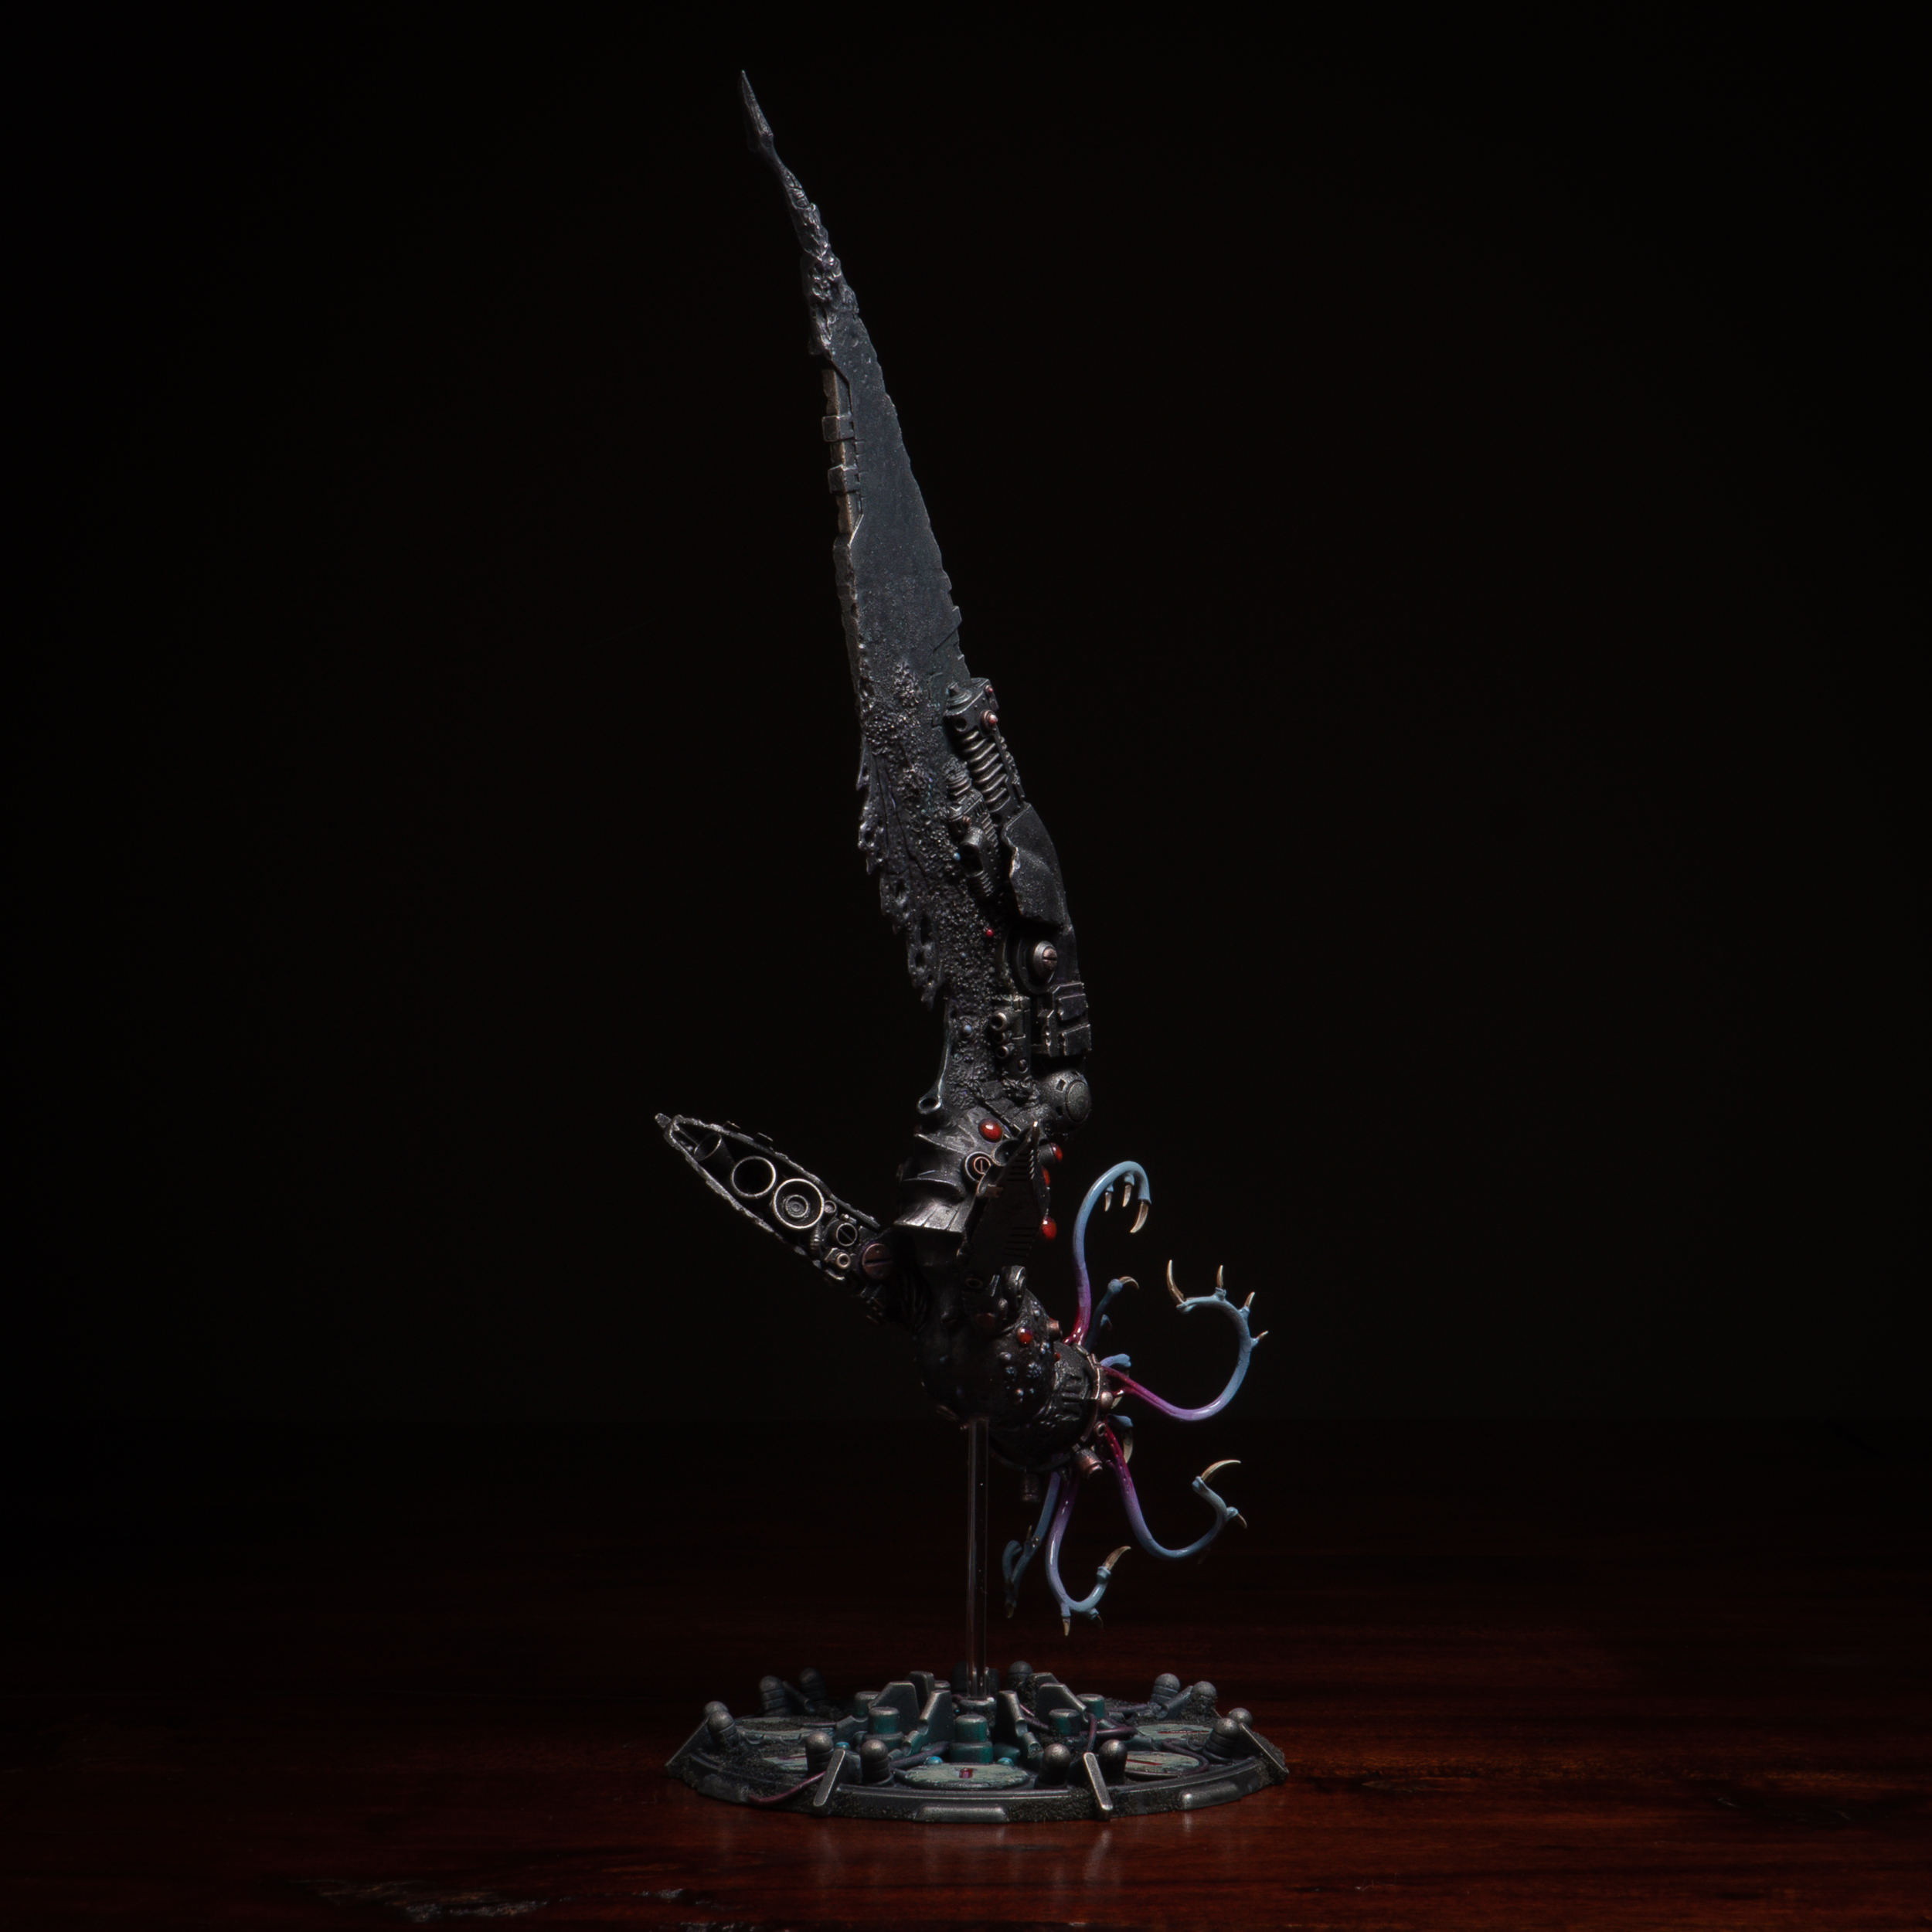
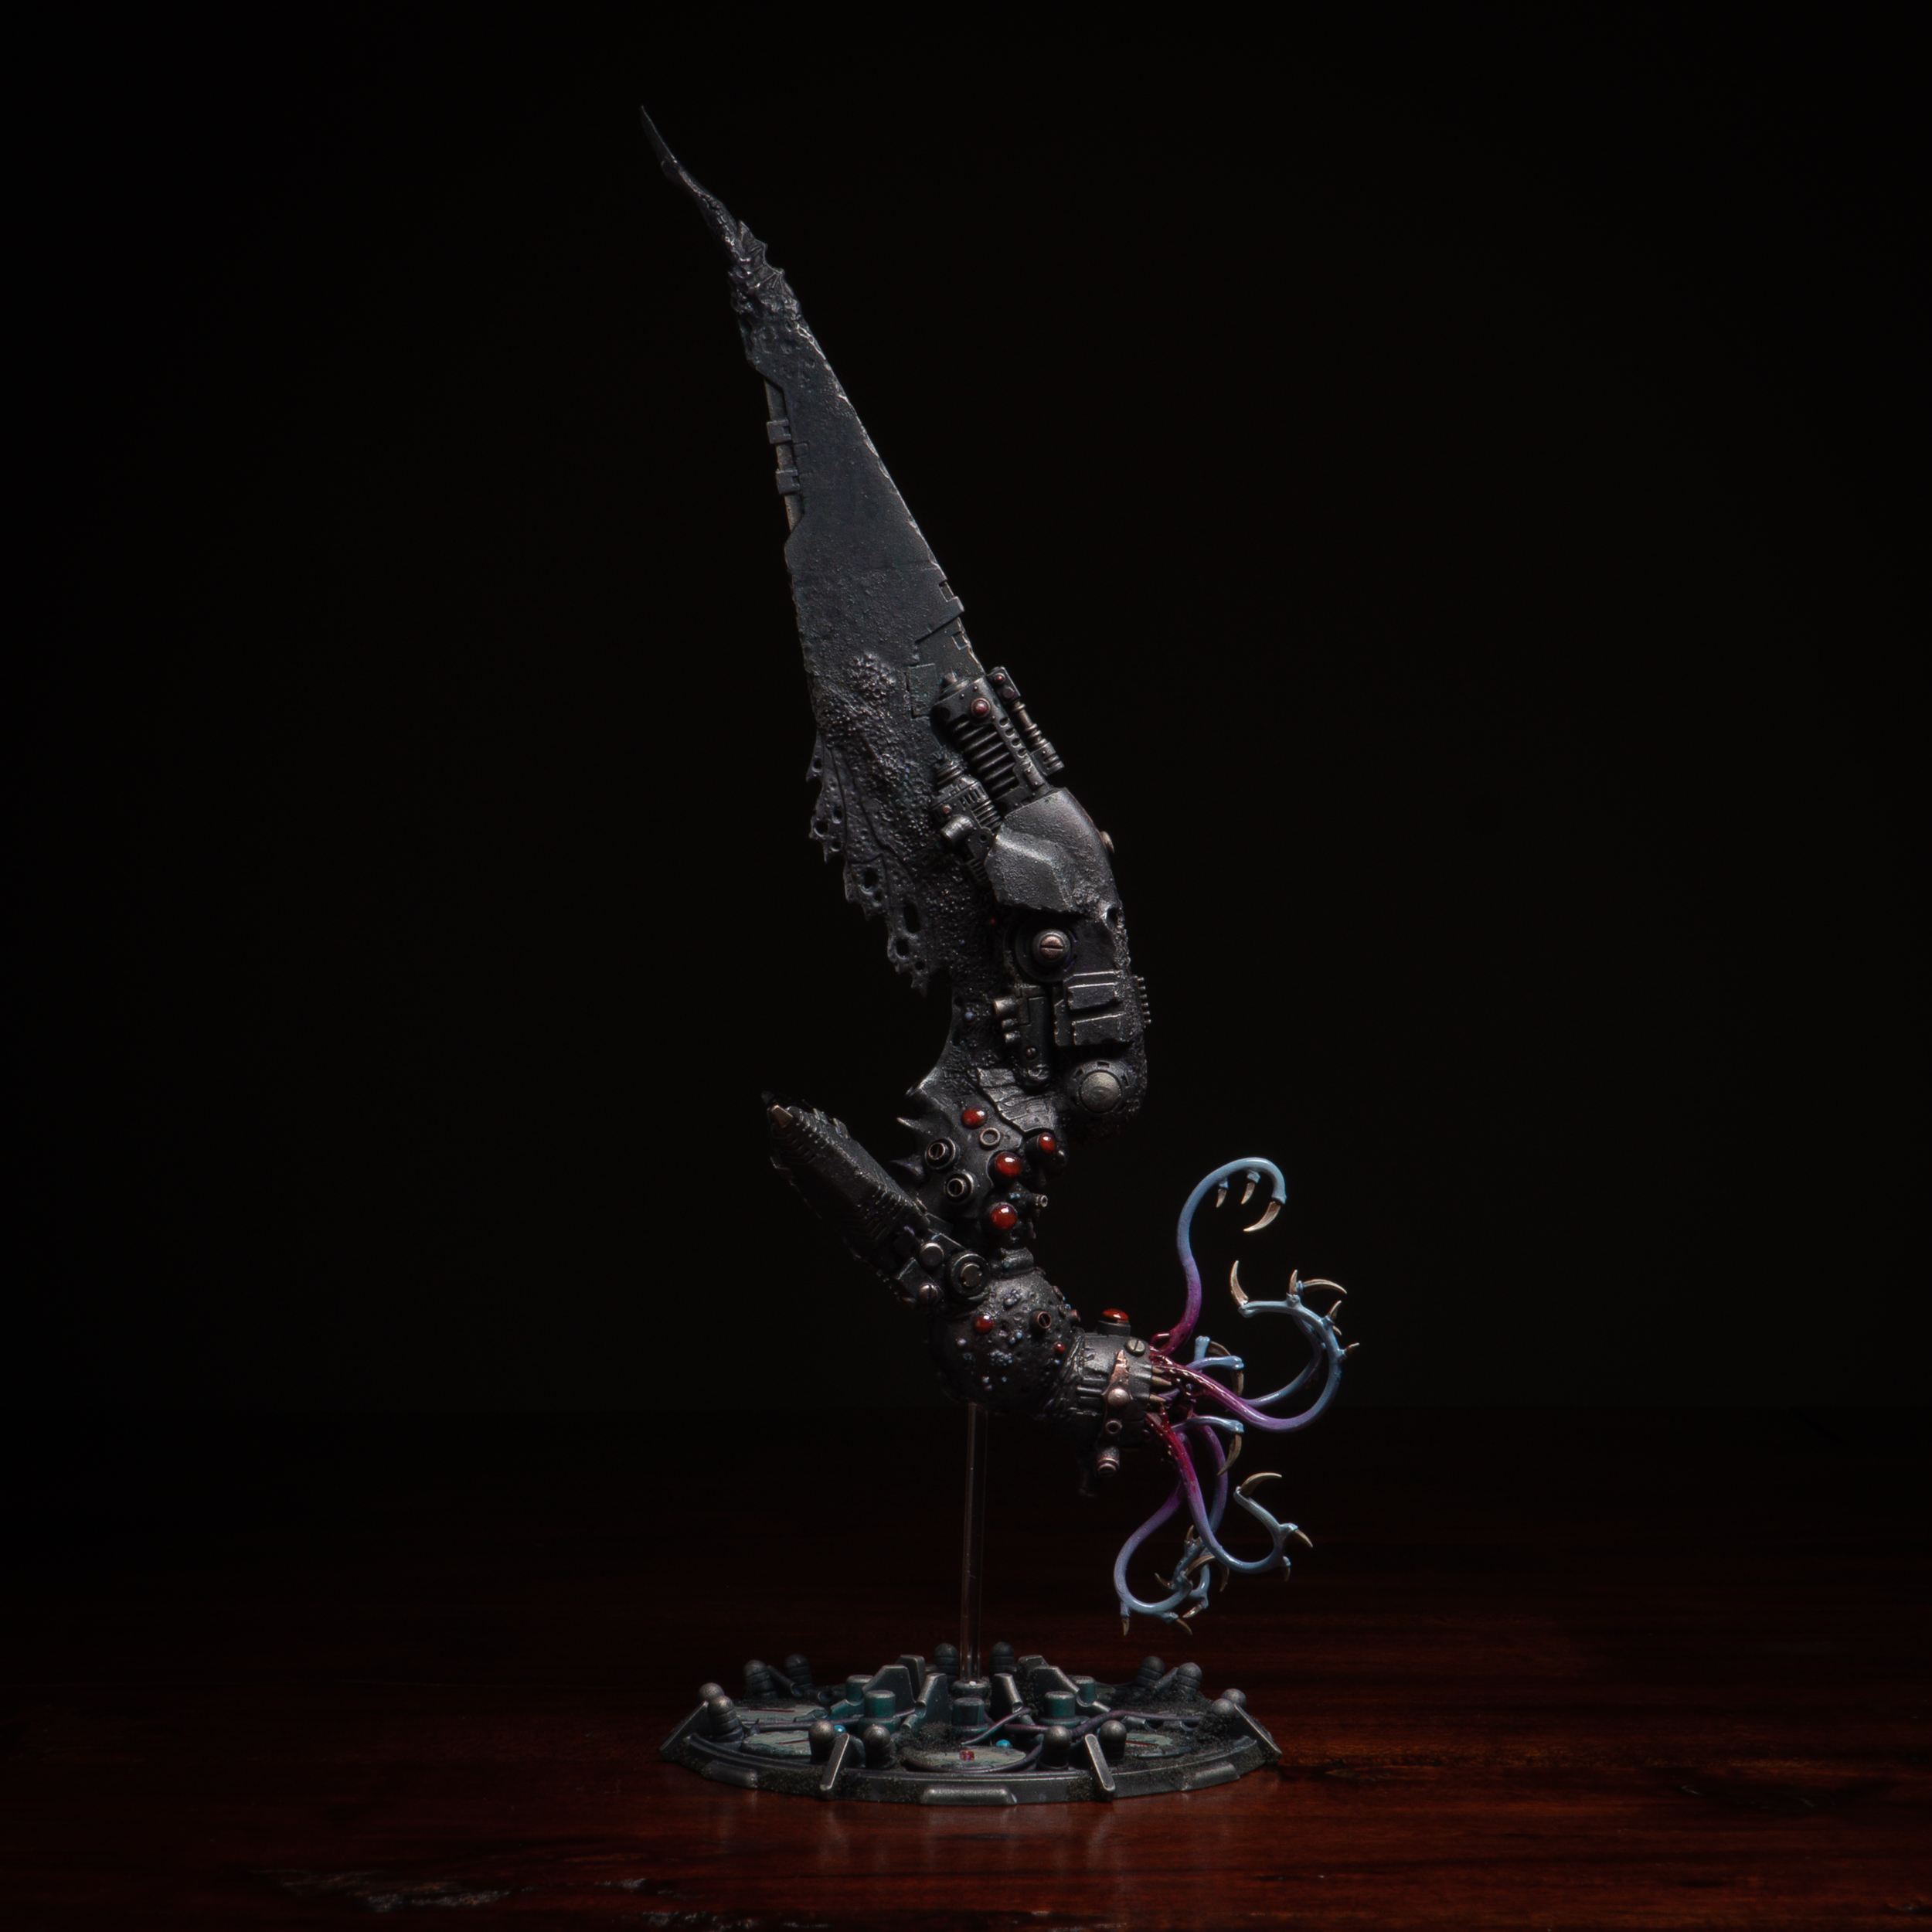
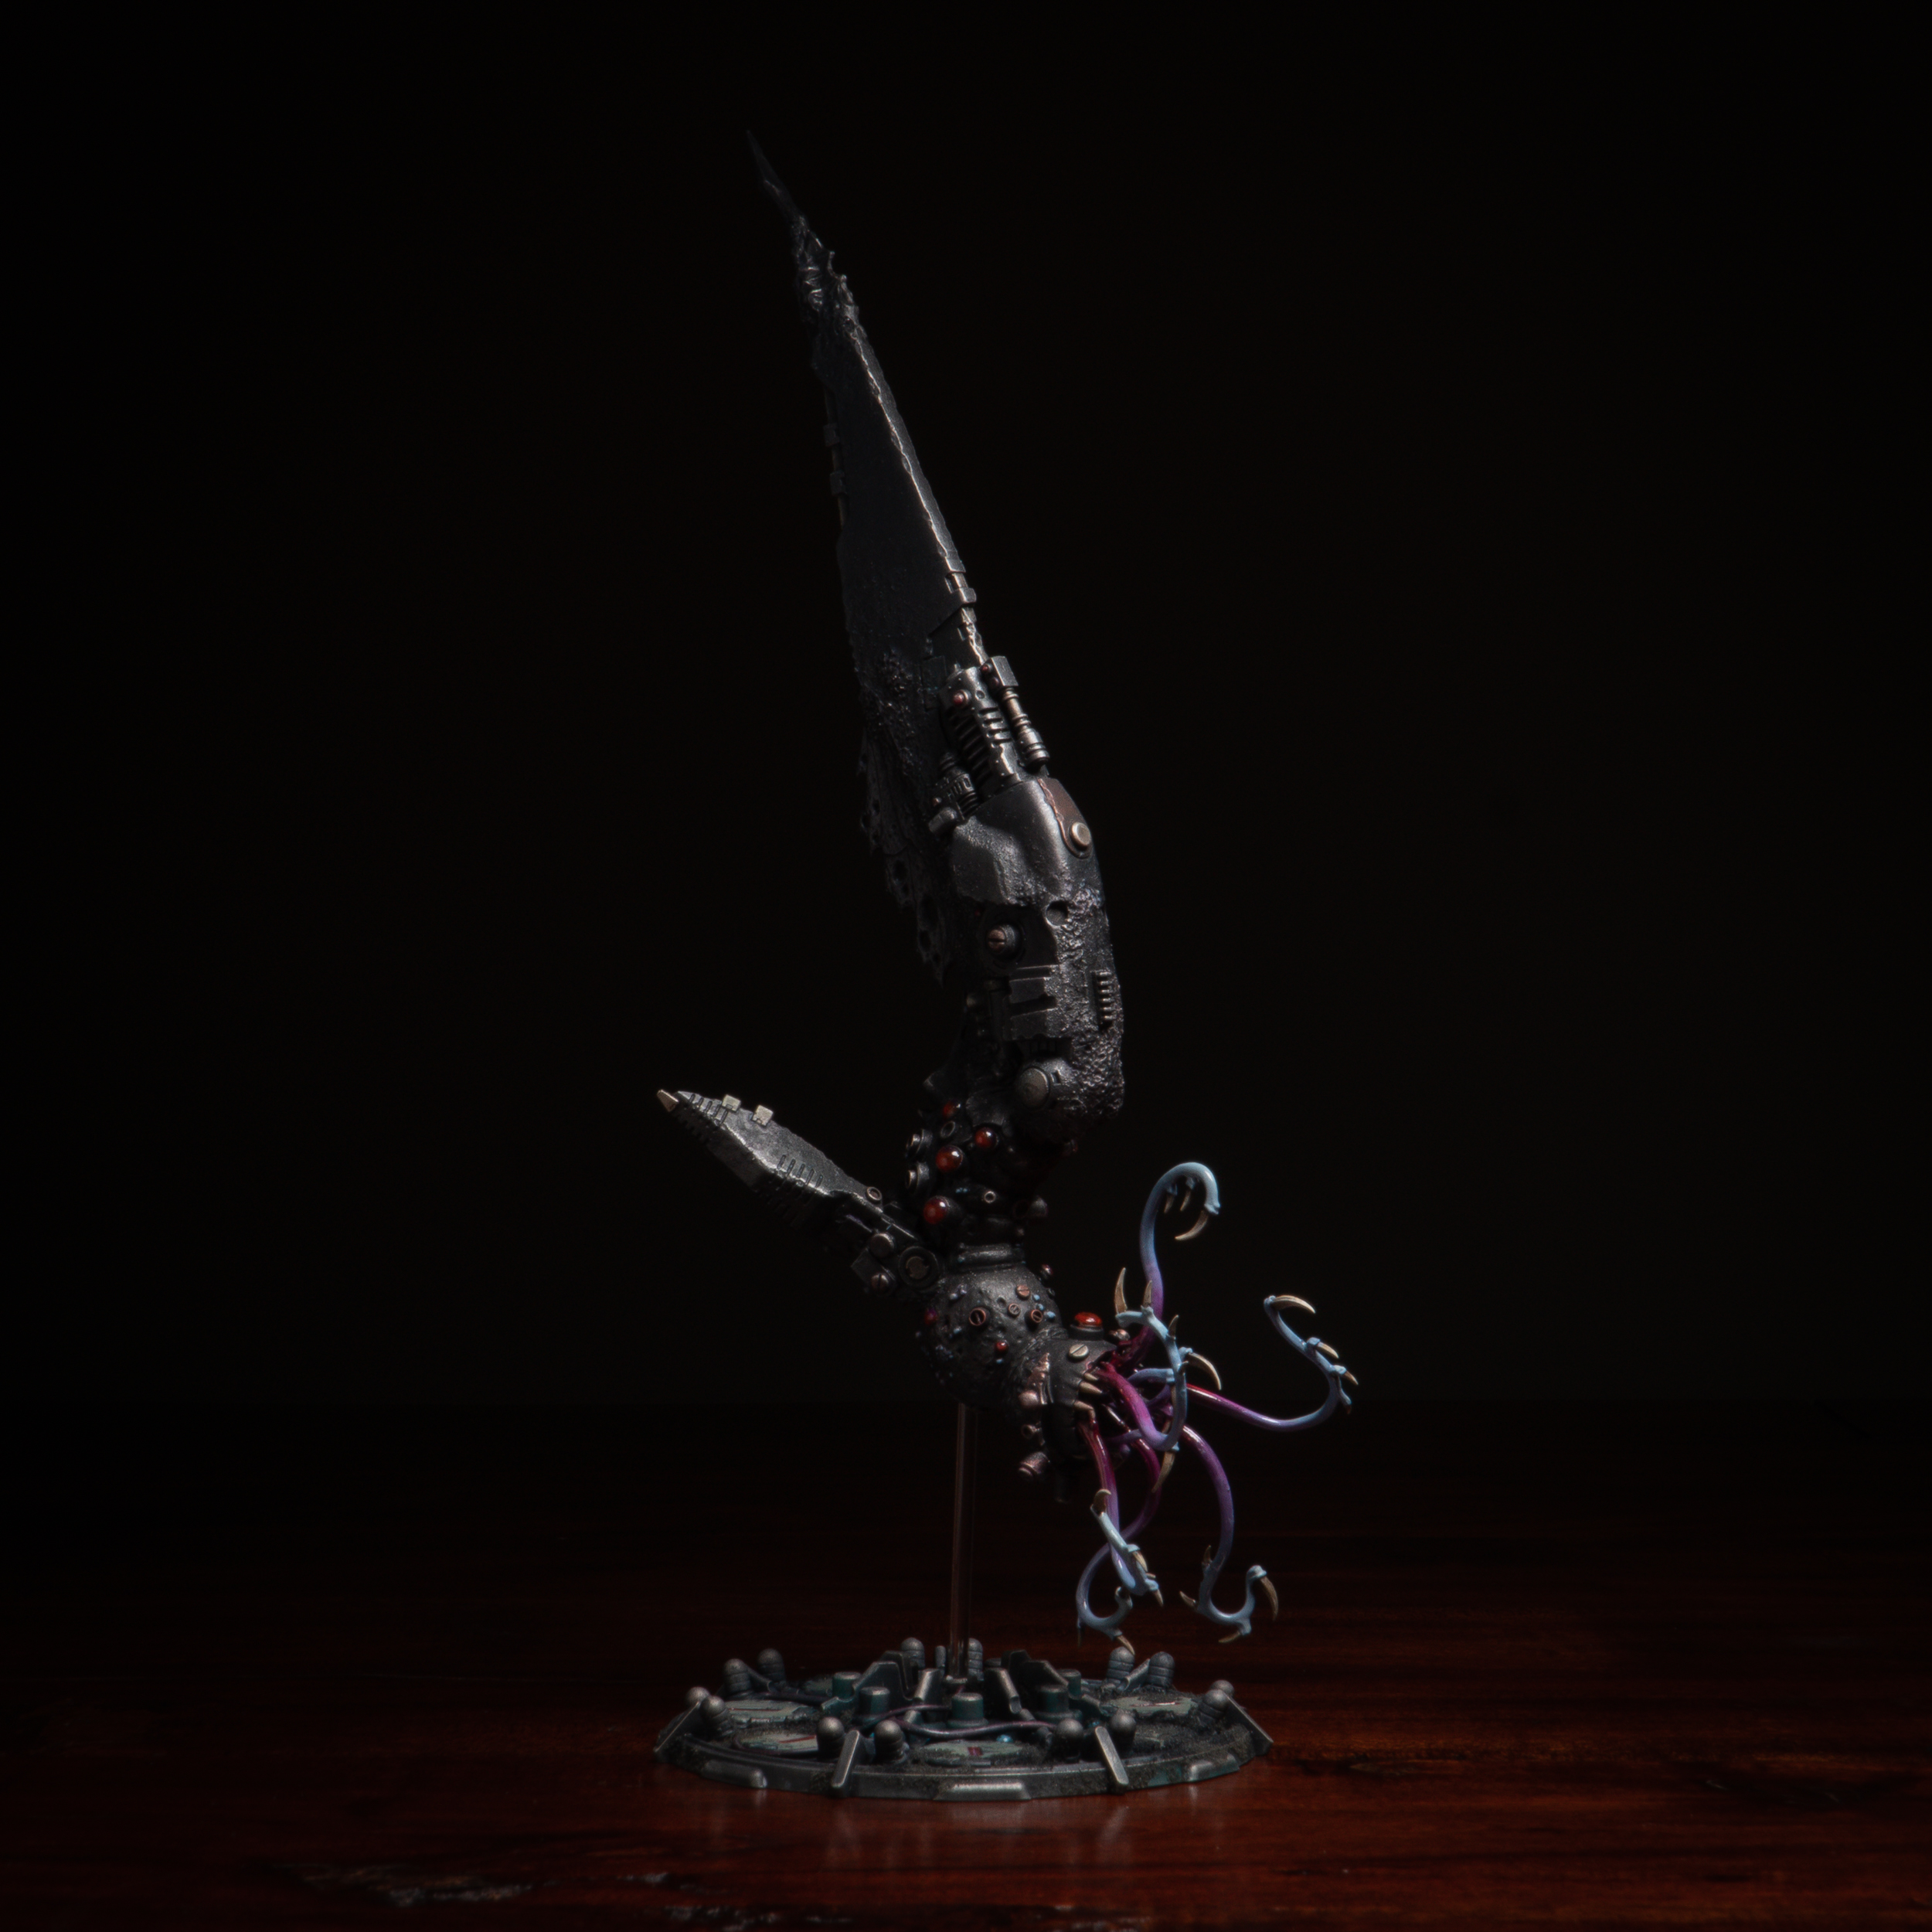
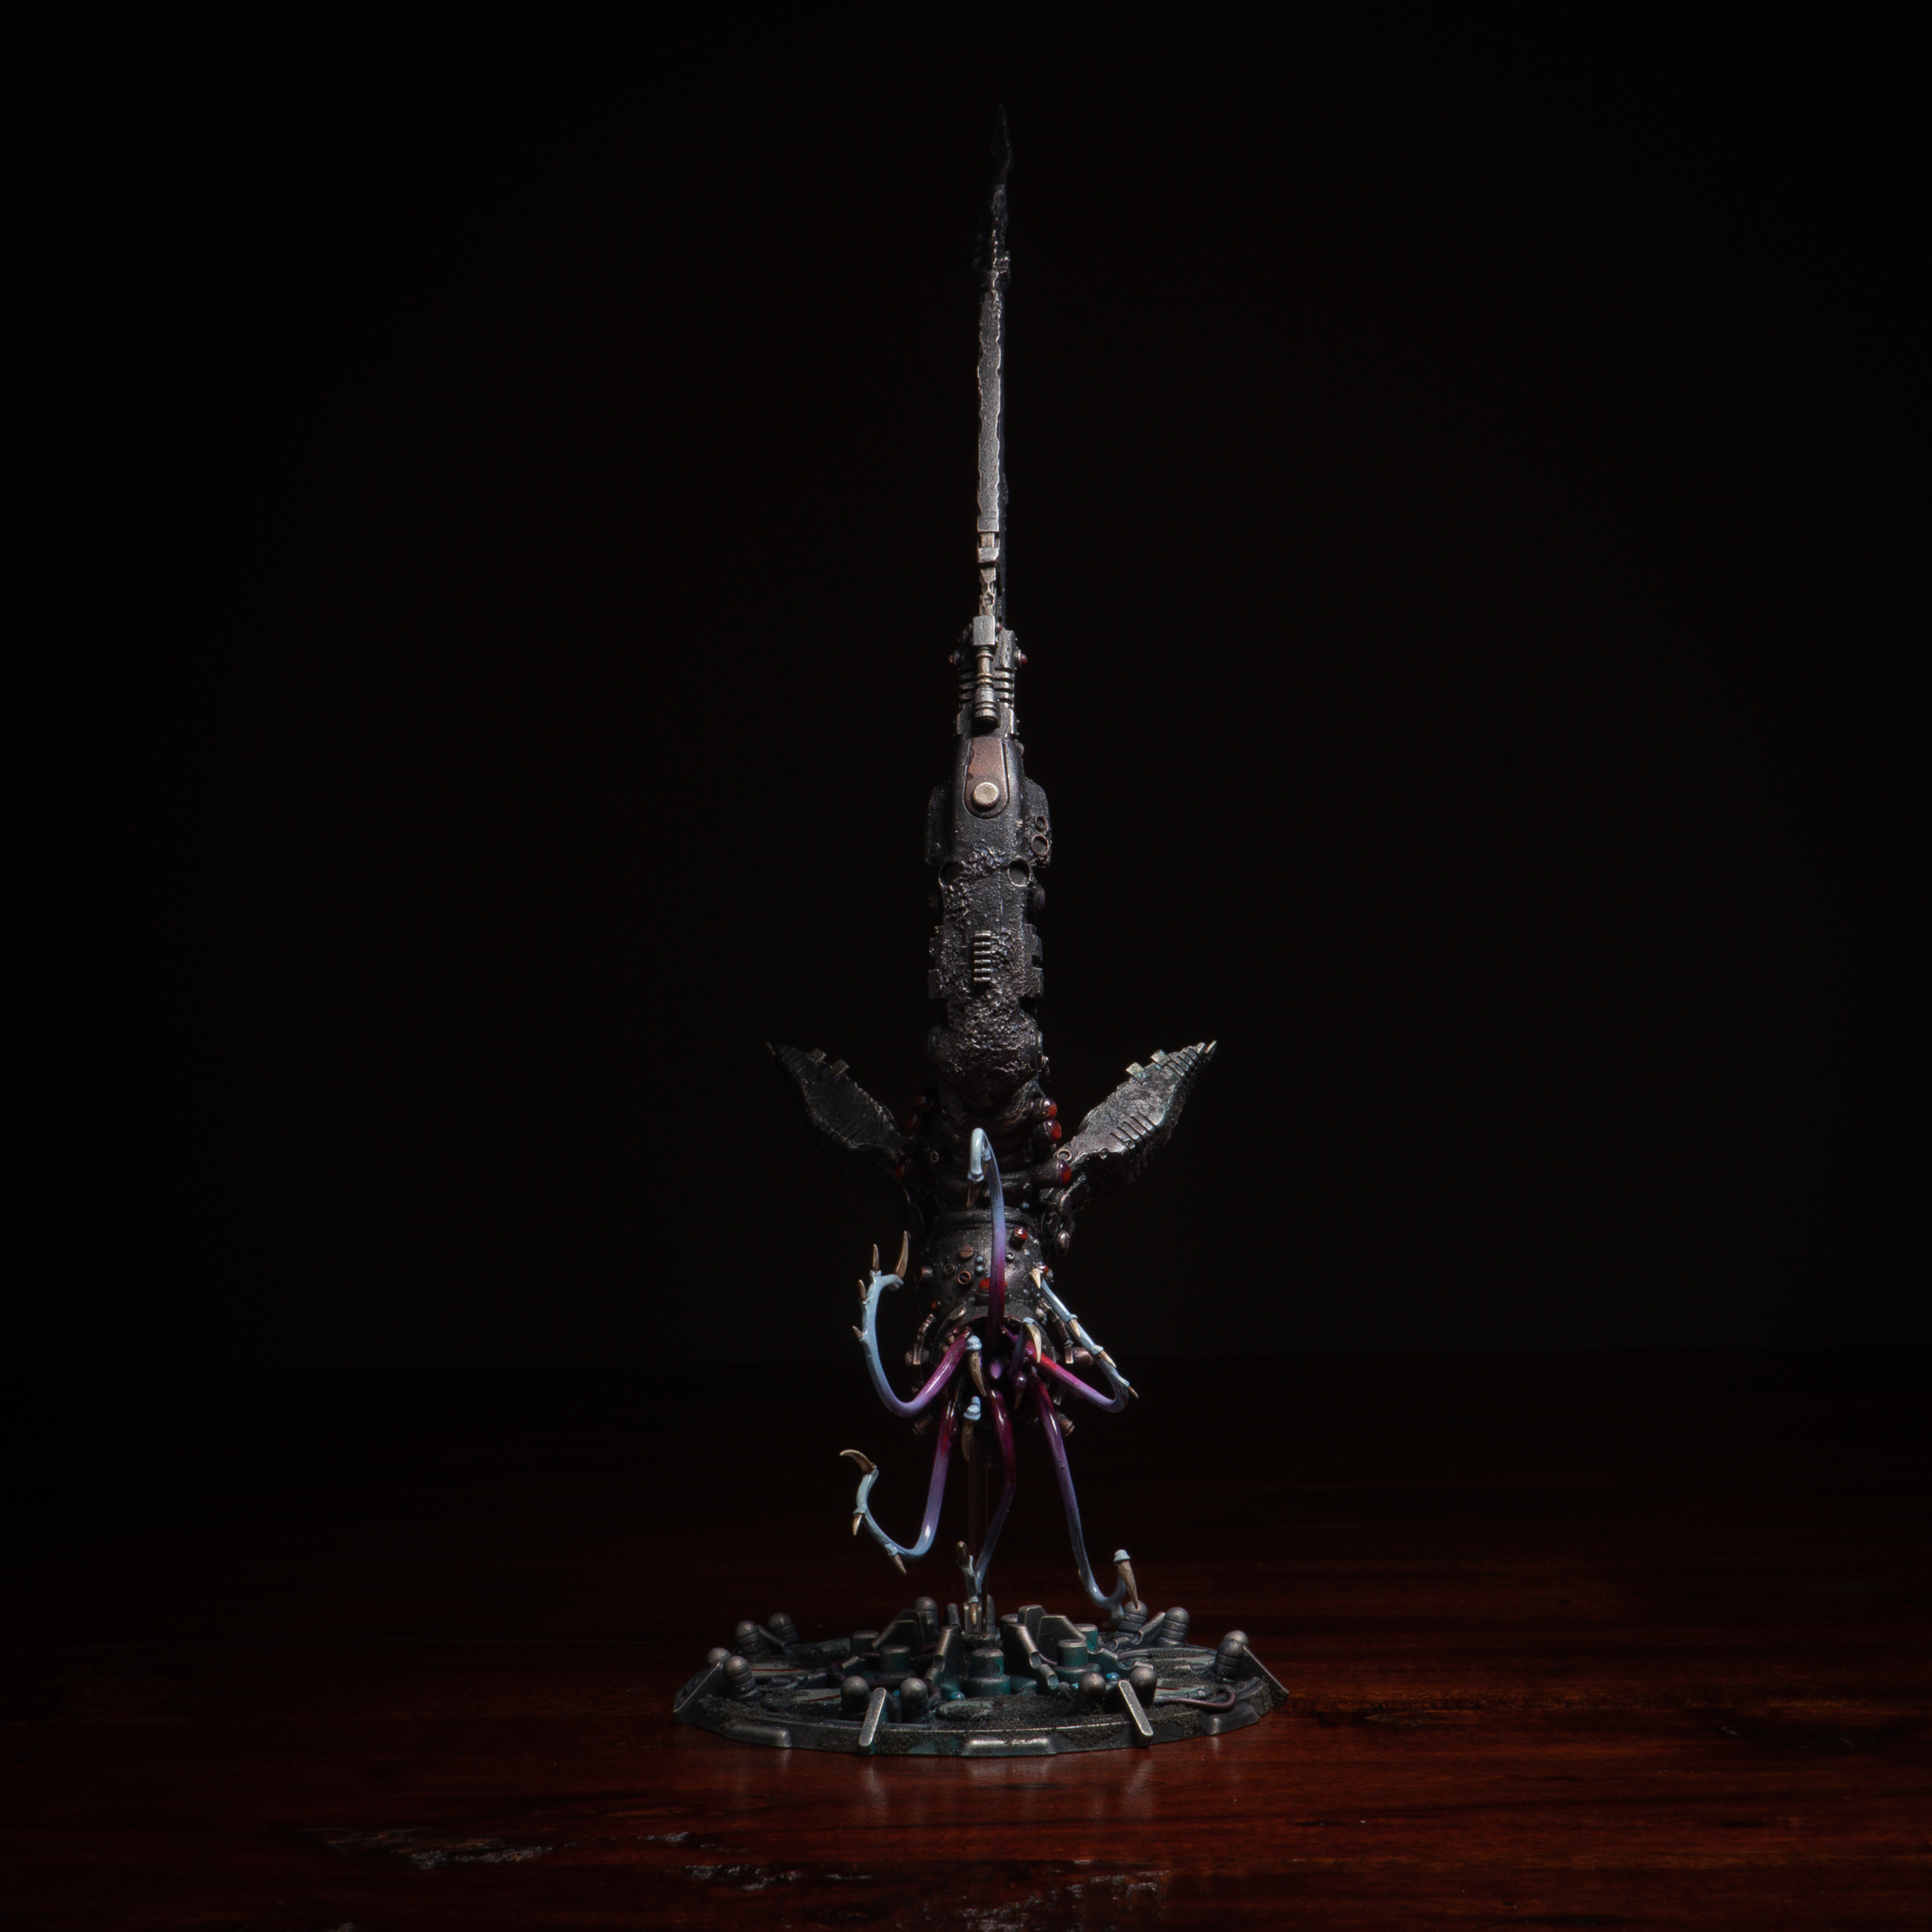
Greater Daemon of Inuun
Created for 28 Mag’s Daemon competition

Created for 28 Mag’s Daemon competition
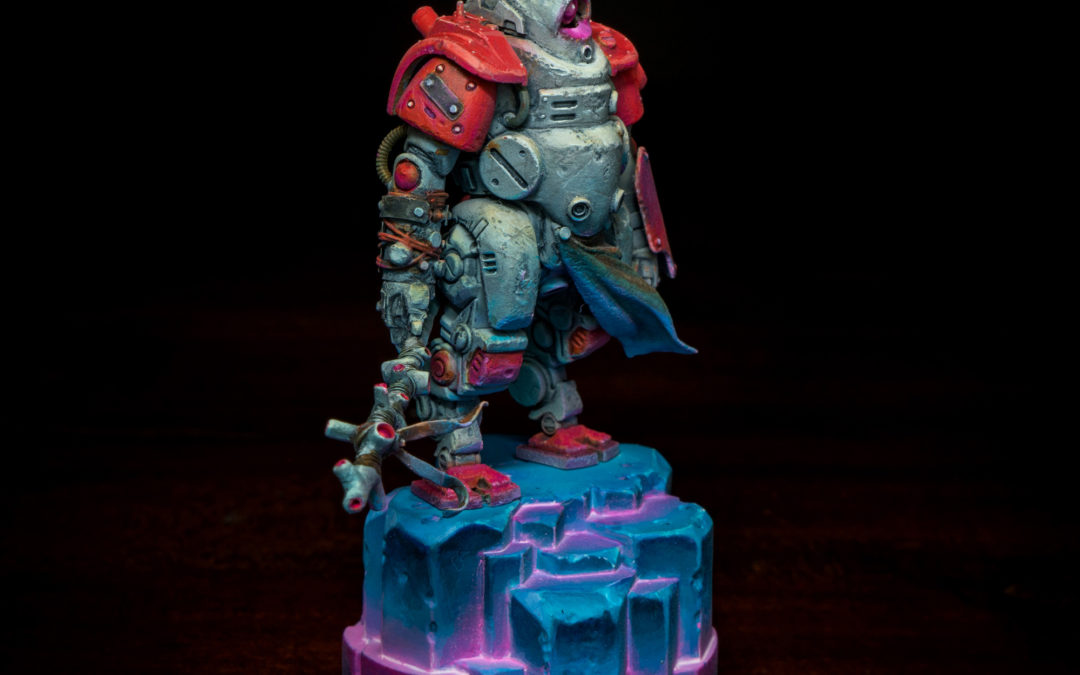
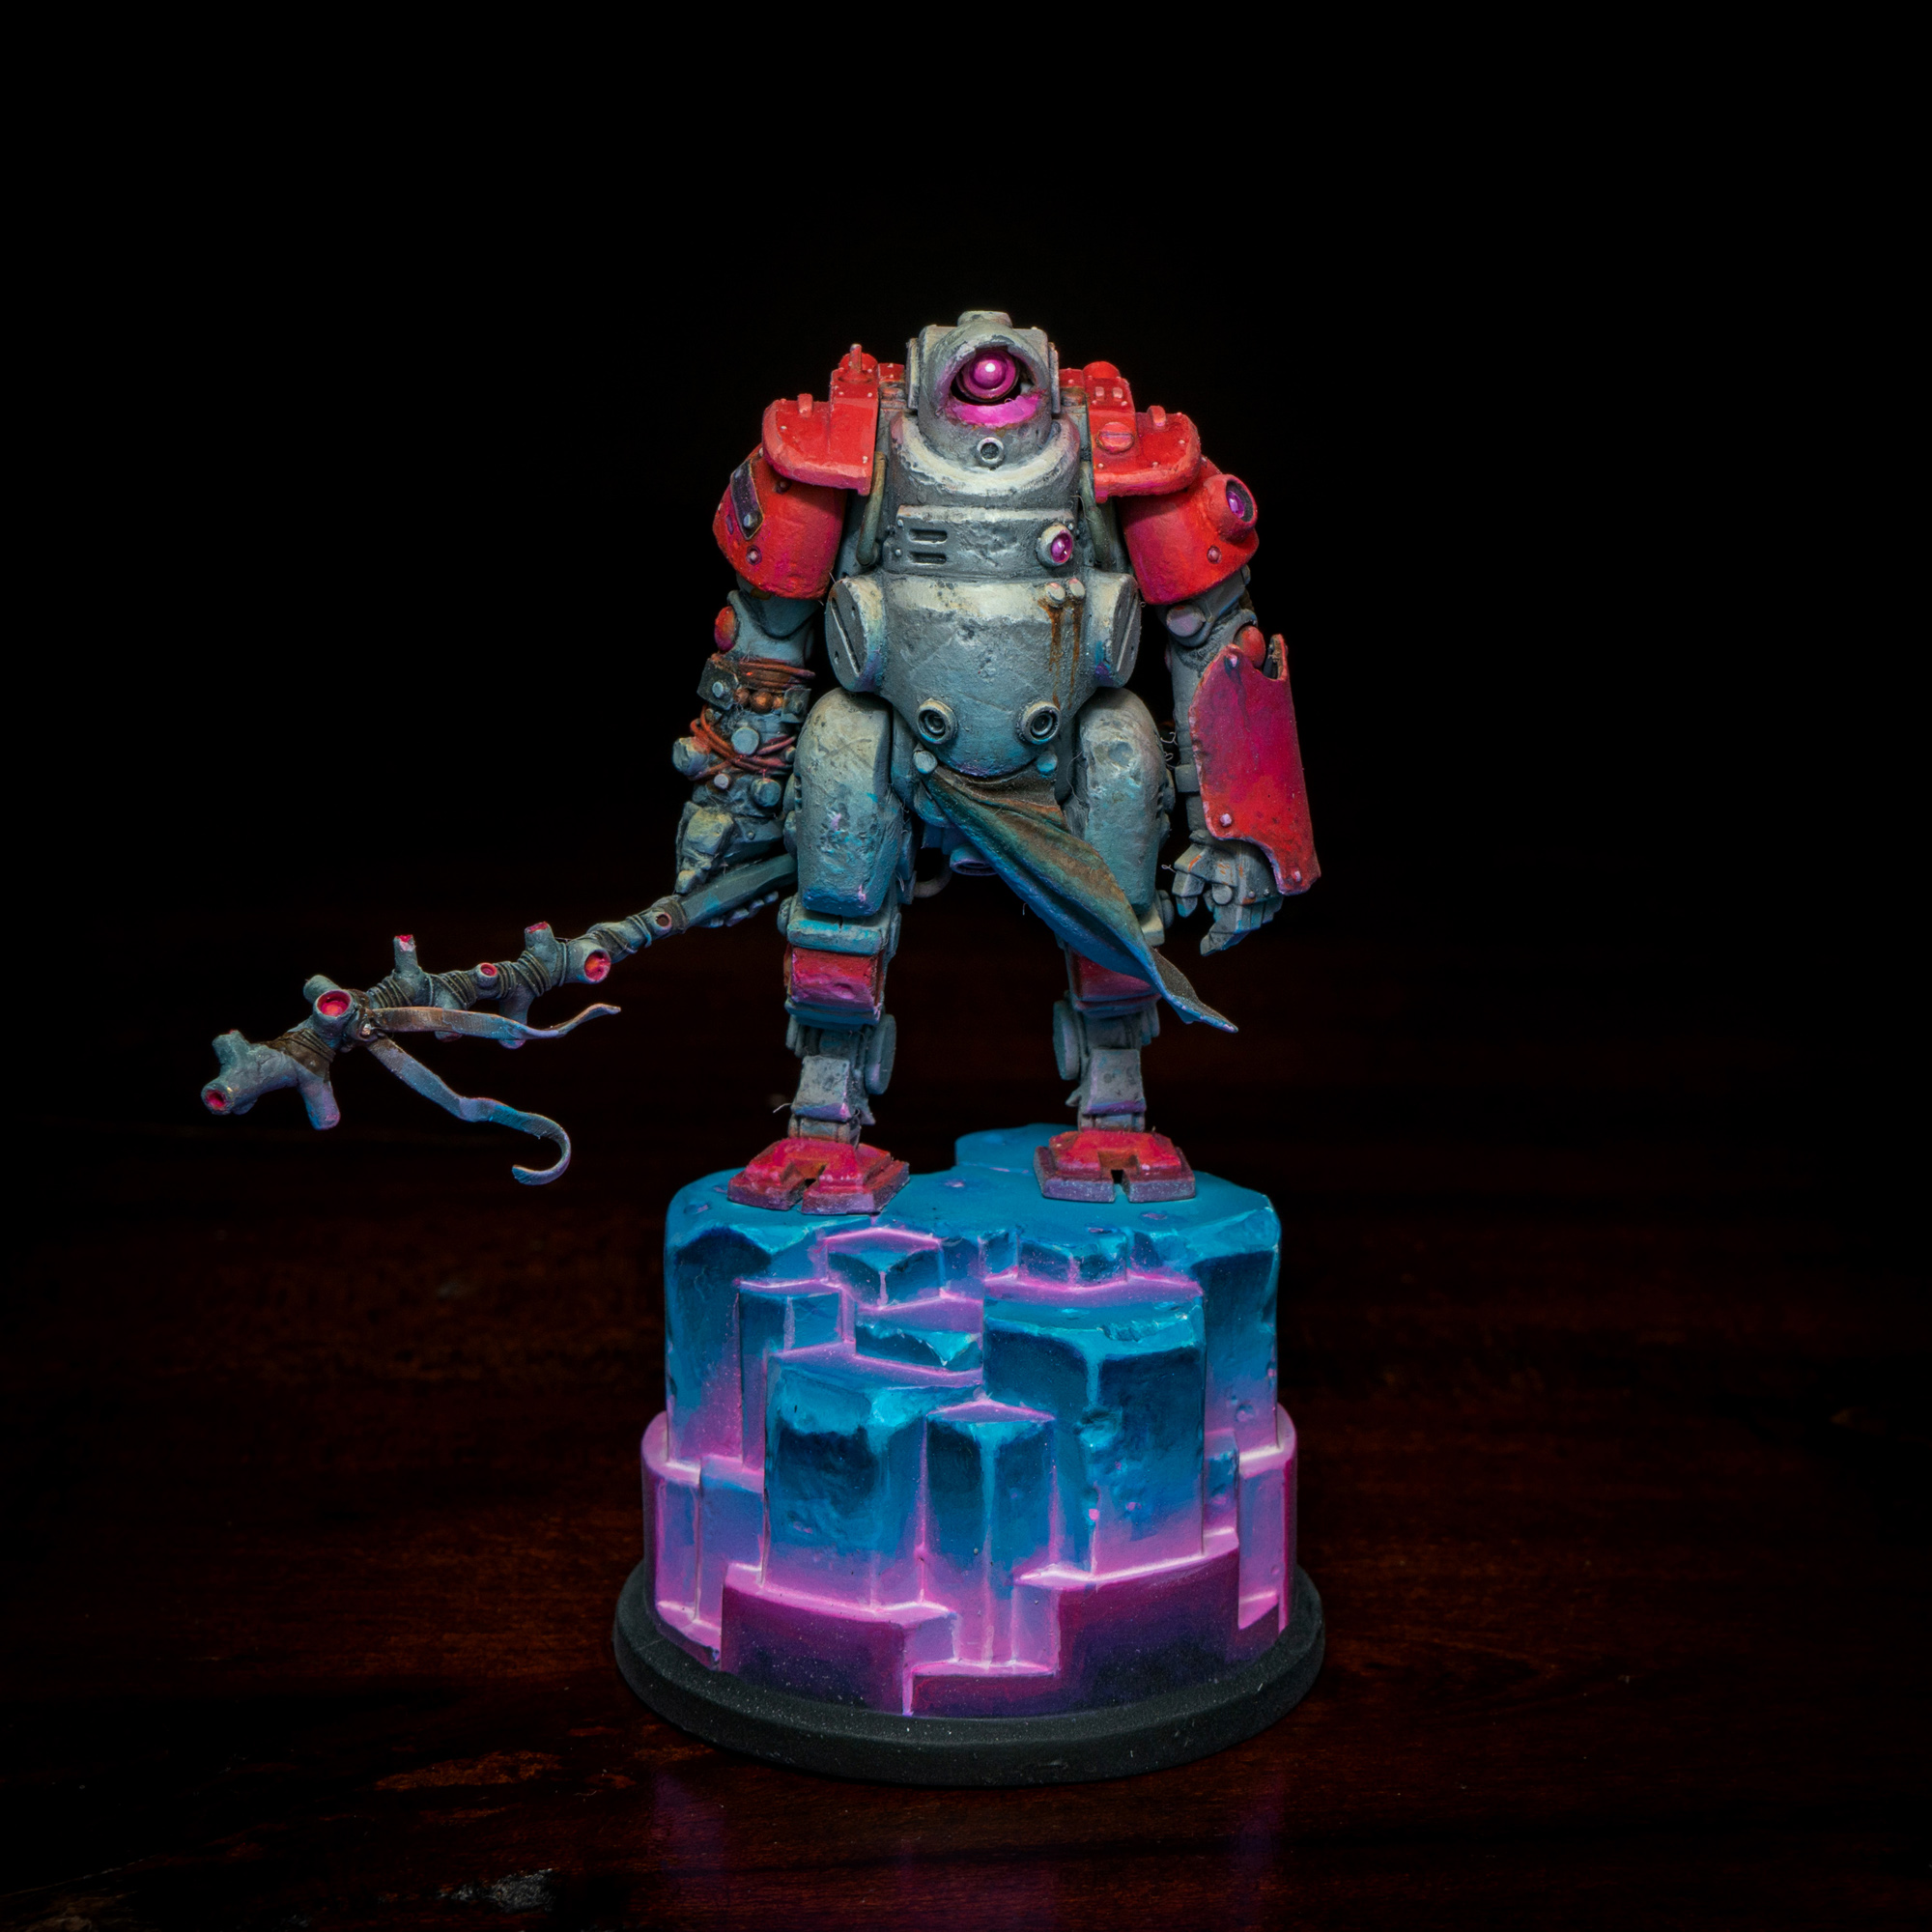
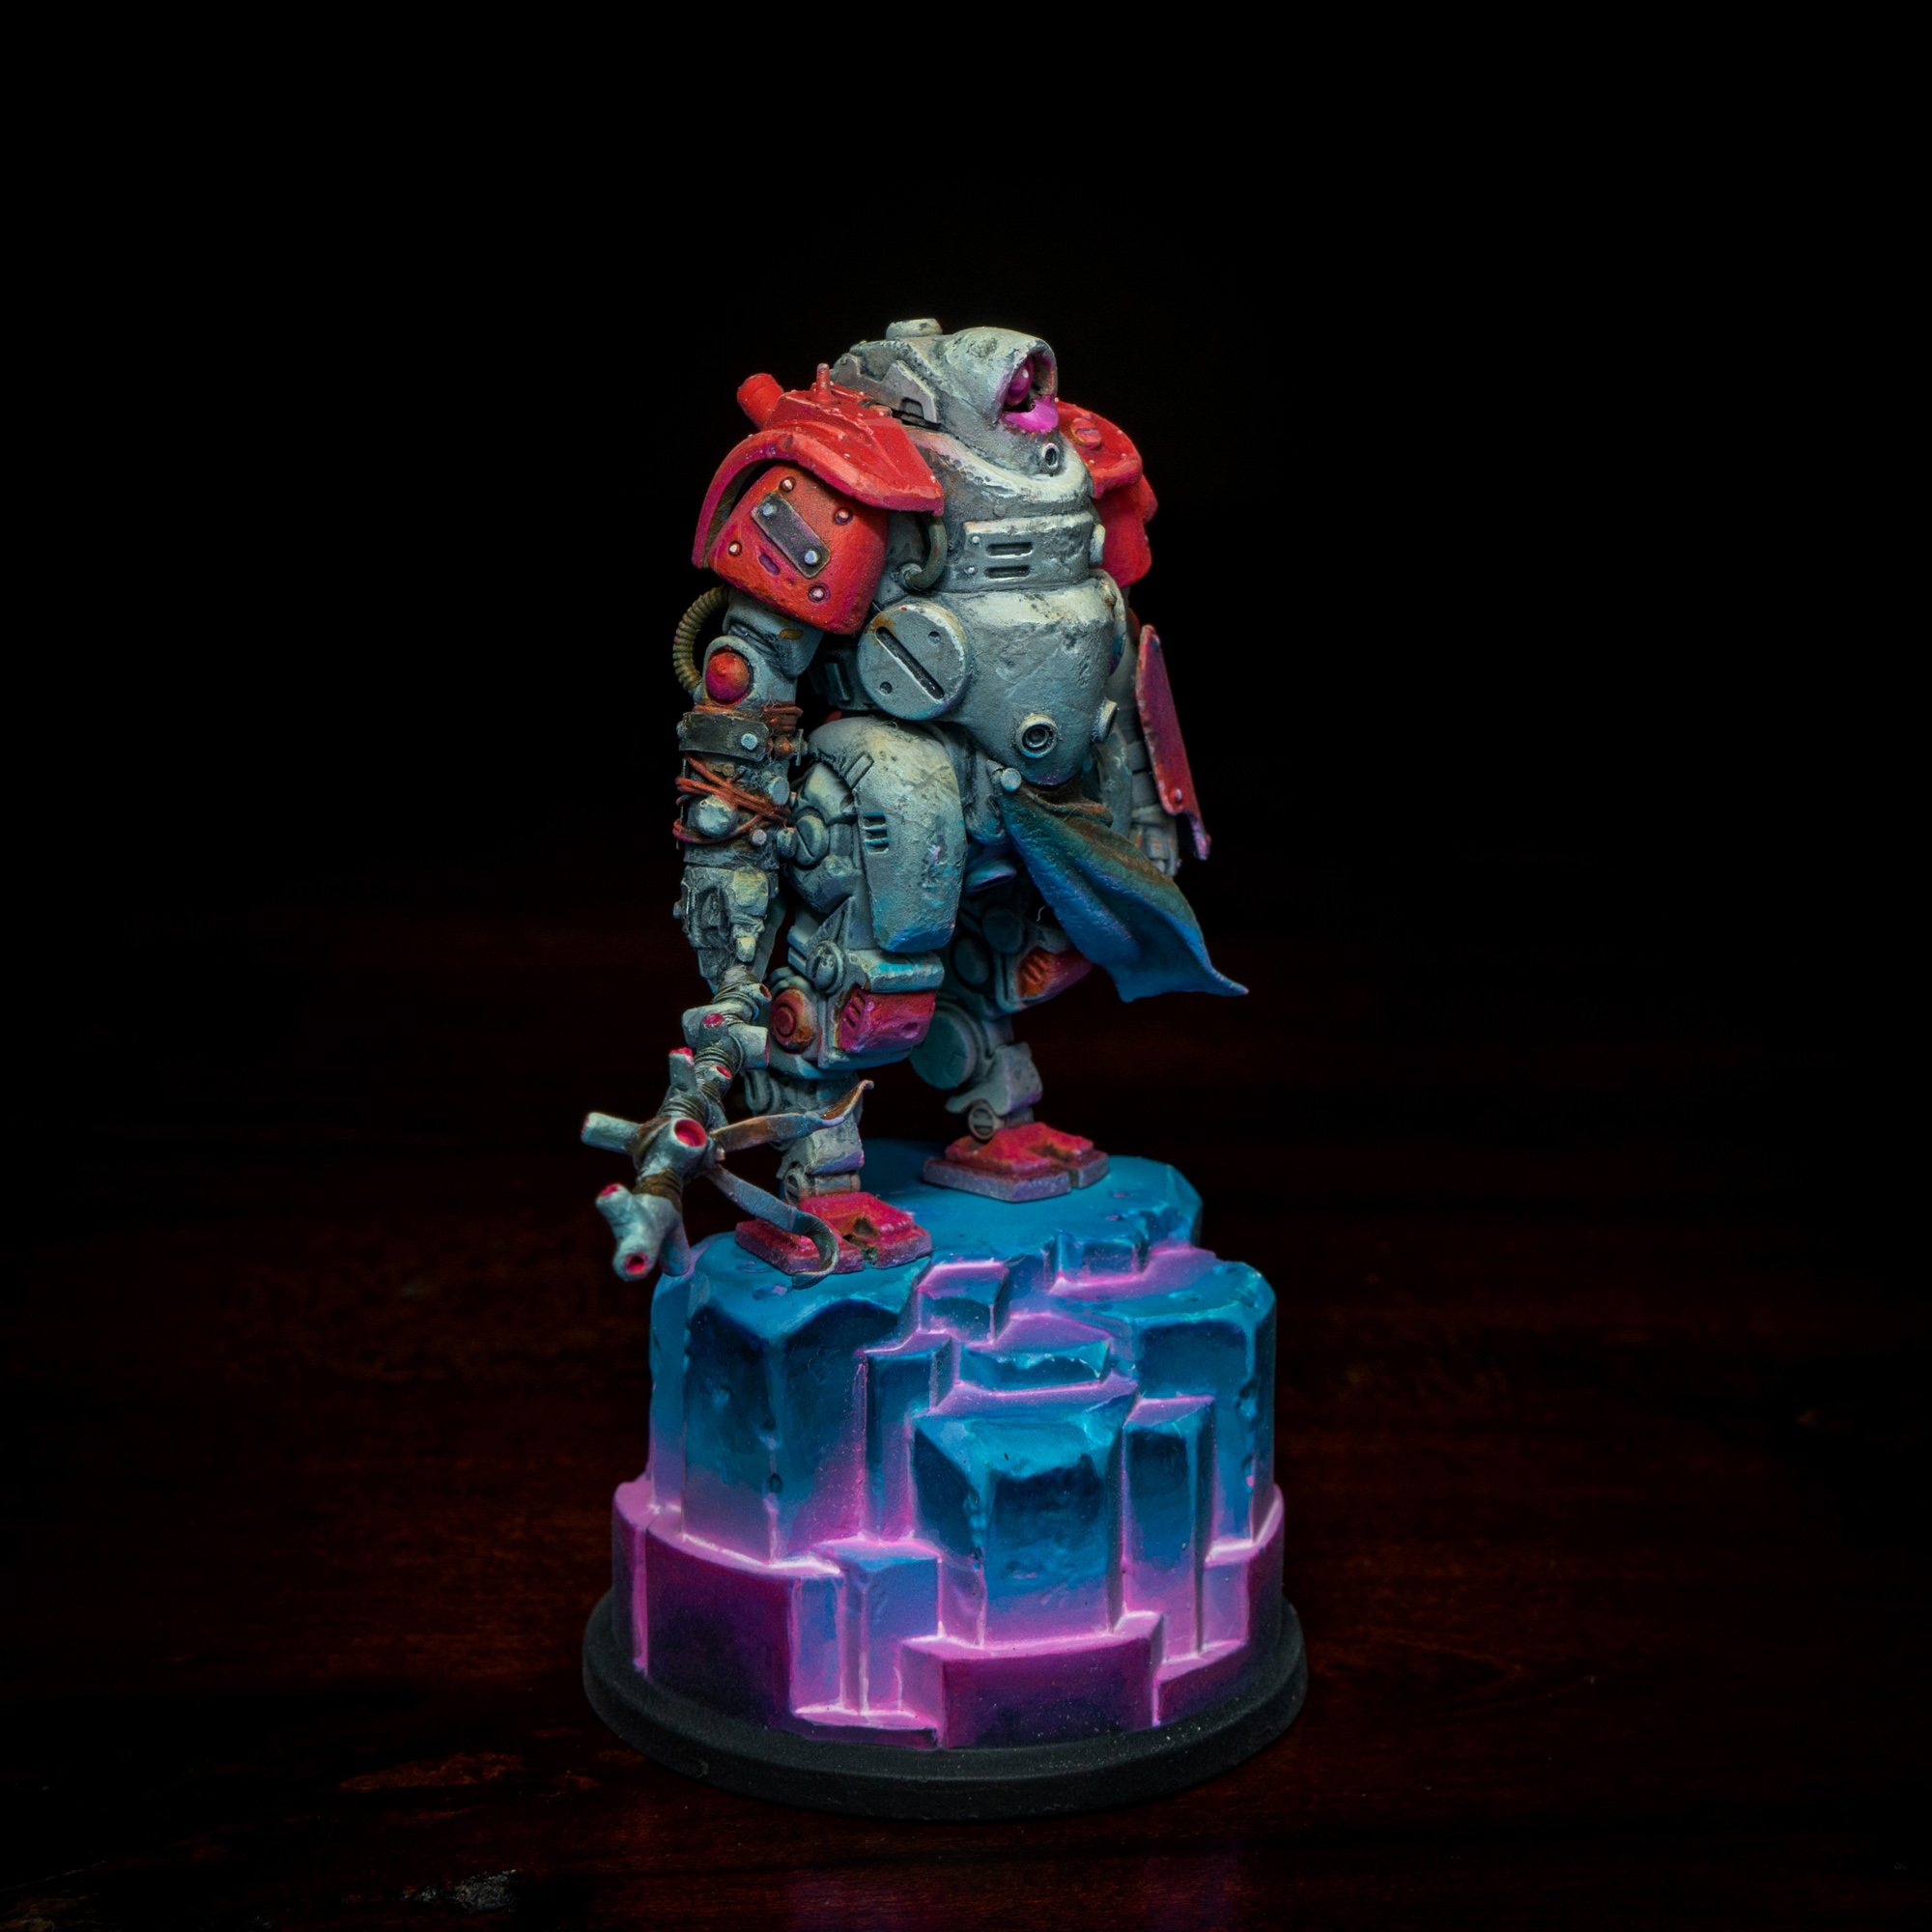
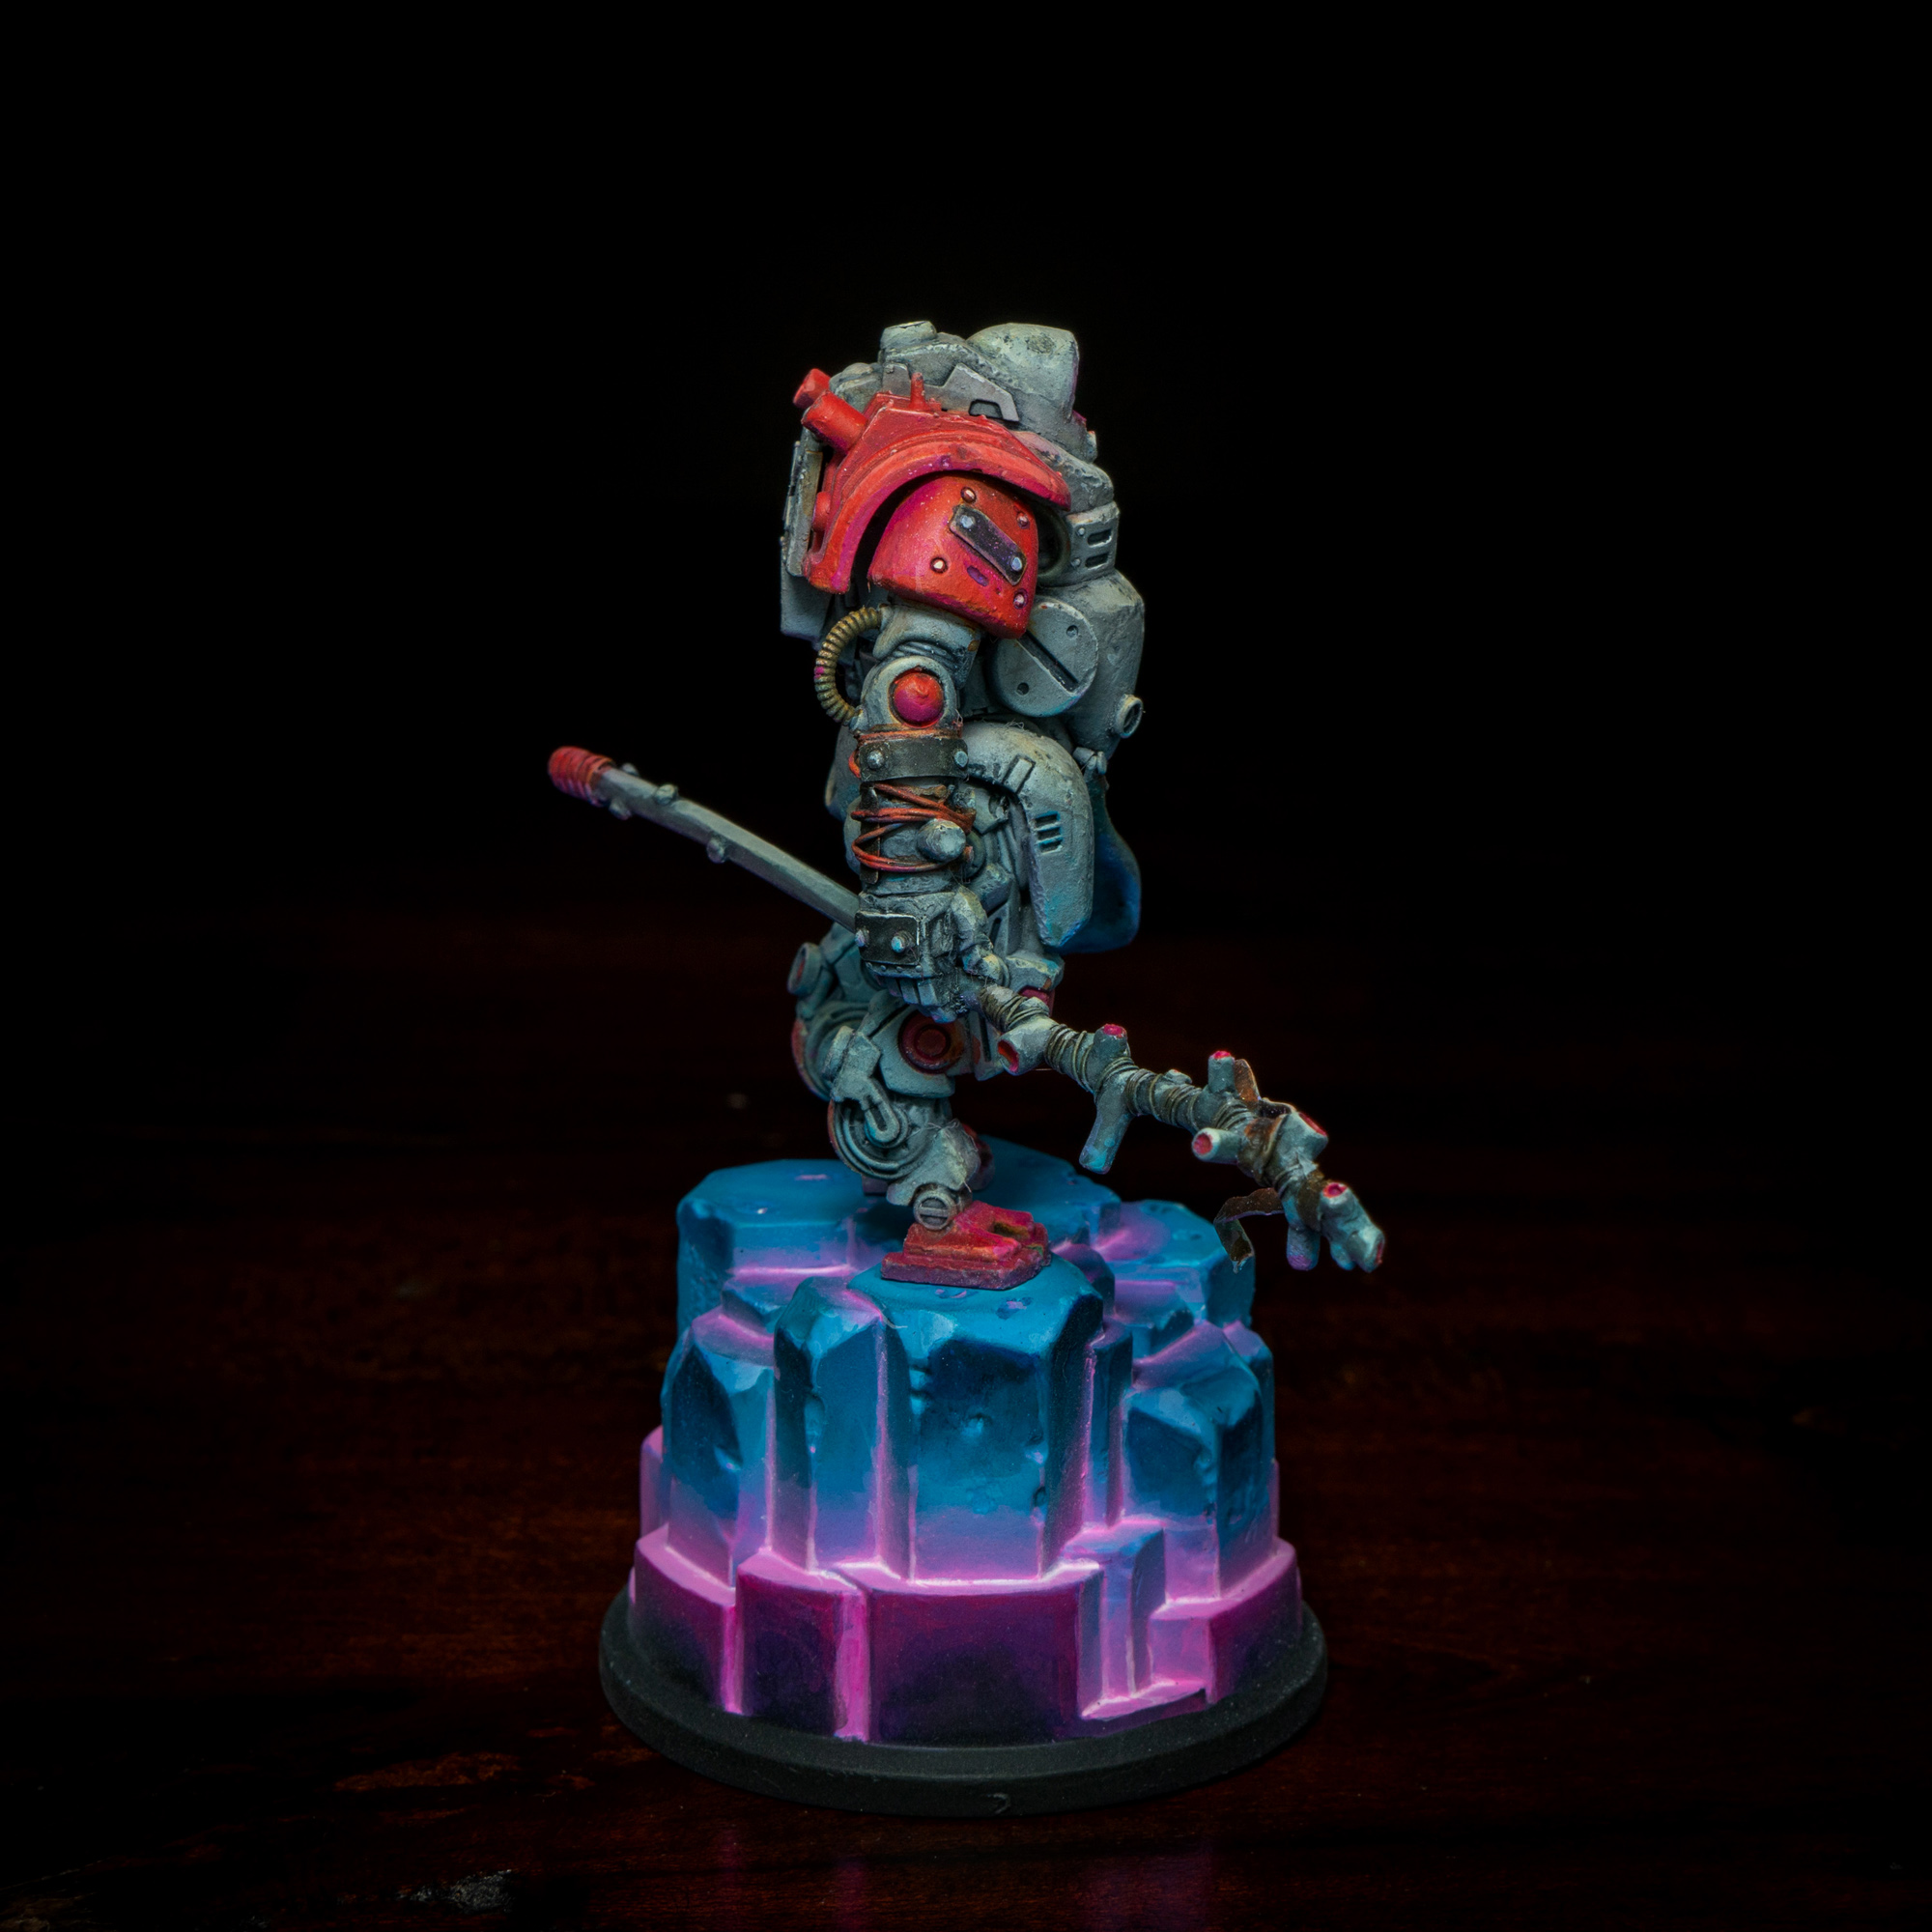
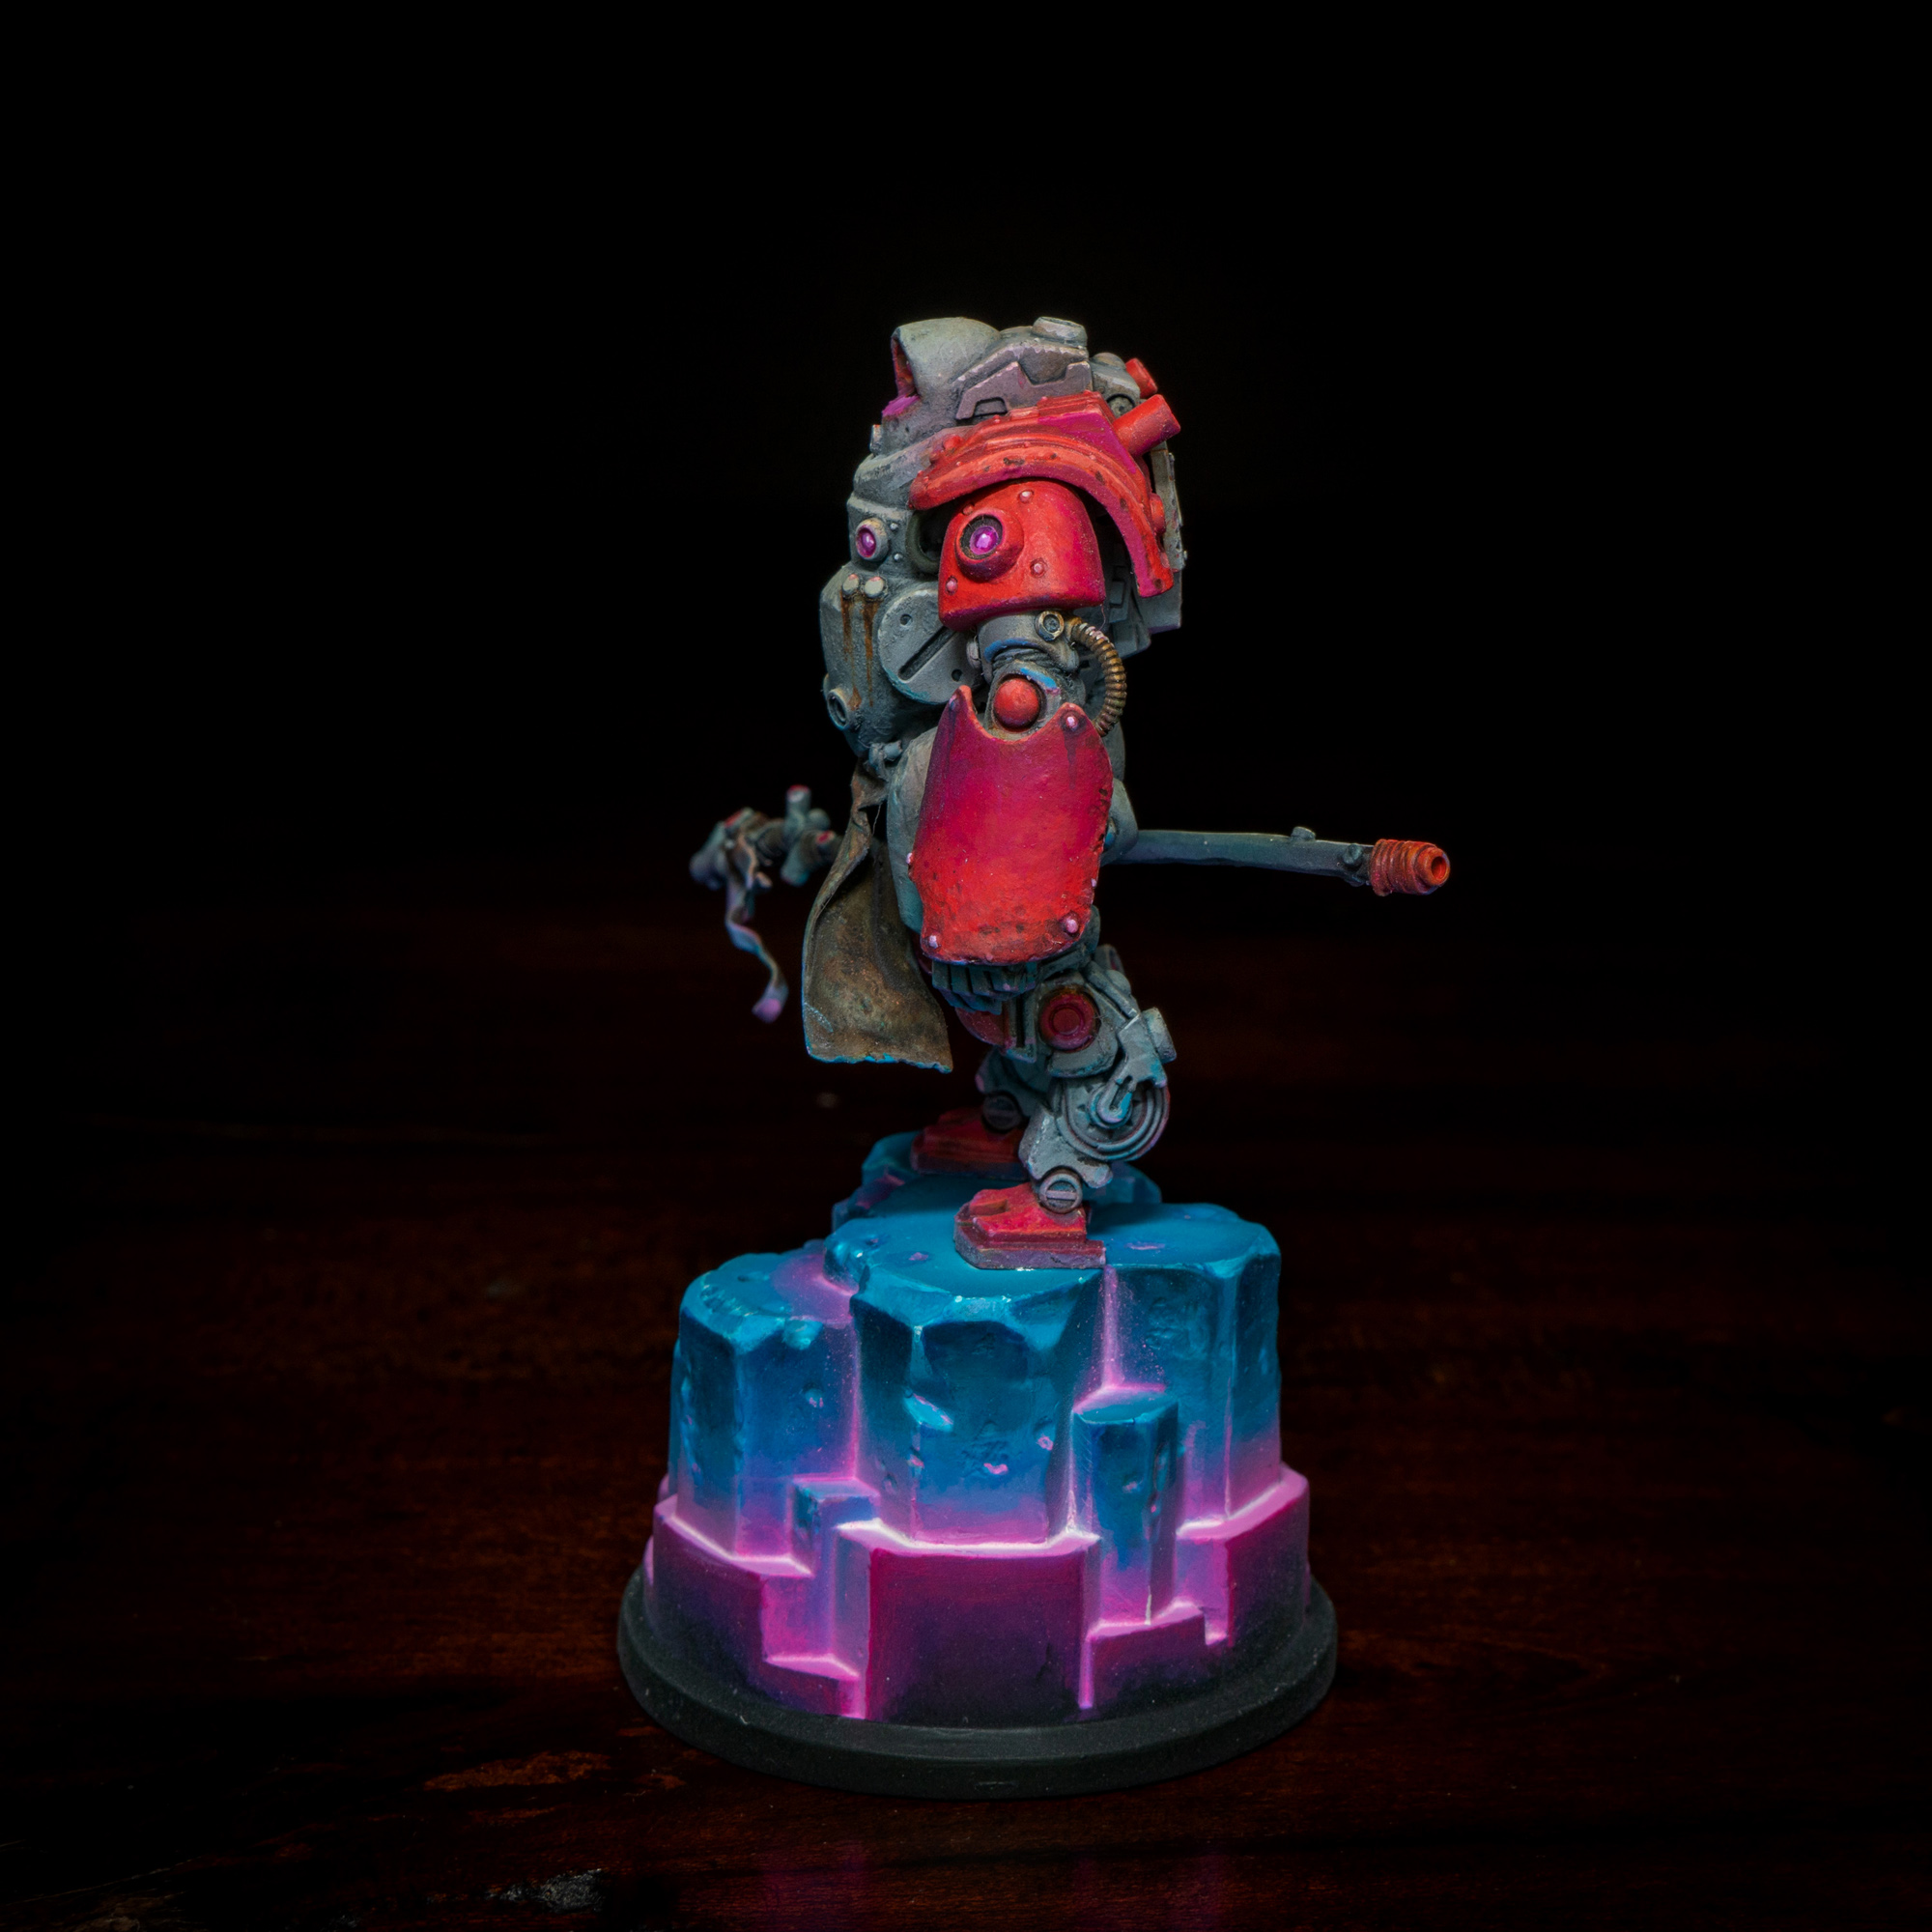
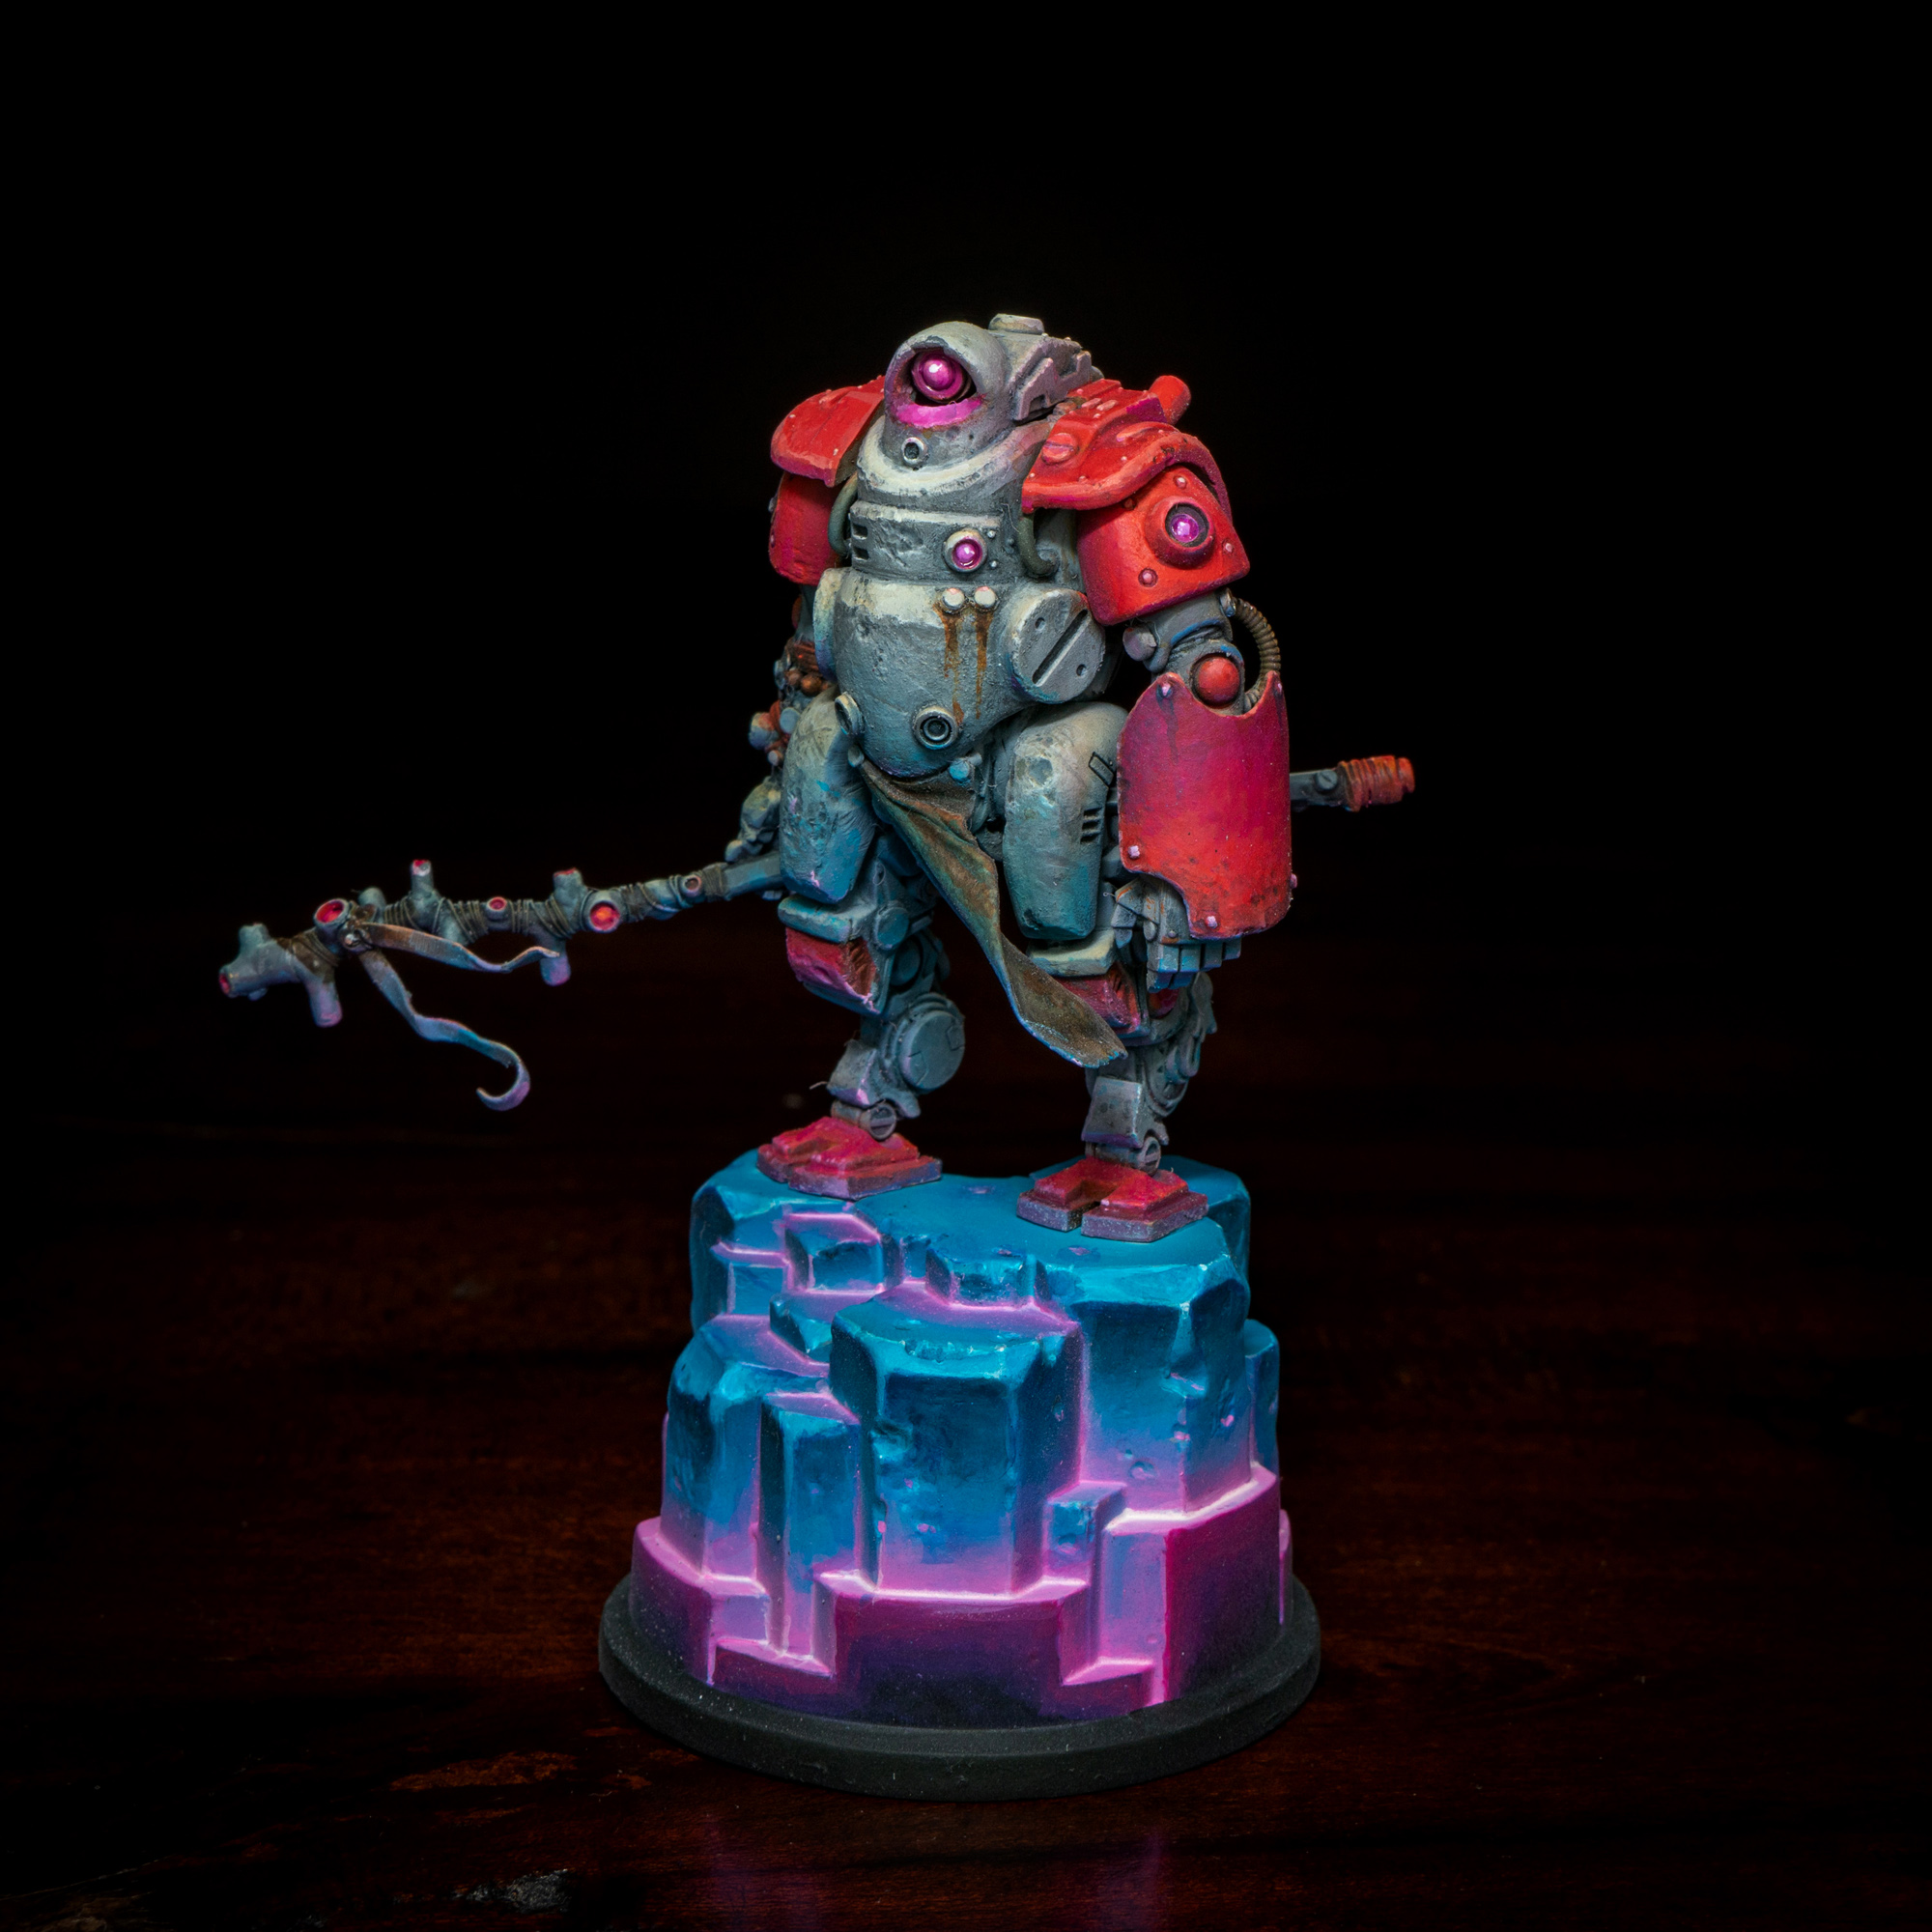
This one started with the quad bike from the Atalan Jackals kit. It was an instant “oh that’s a torso” when I saw the sprue. The chunky proprotions drove the rest of the design. I wanted the shaman to have a slow ponderous feel, and as usual Icouldn’t reesist making robots do unlikely jobs. The thought of a robot druid makes me giggle.
The rest of the kit is a combination of tau, admech and miscellaneous parts, listed here as best as I can remember. The base is 3D printed; I scuplted a quick crustal cluster in ZBrush and printed it out on my Phrozen Make.
As for the paintjob, well I can’t exactly claim to have planned that out really well. The neon just kind of happened.

Lots of painting with airbrush and brush. Paints:
Vallejo Game Ink Purple
Vallejo Game Ink Skinwash
Vallejo Model Color Pale Blue


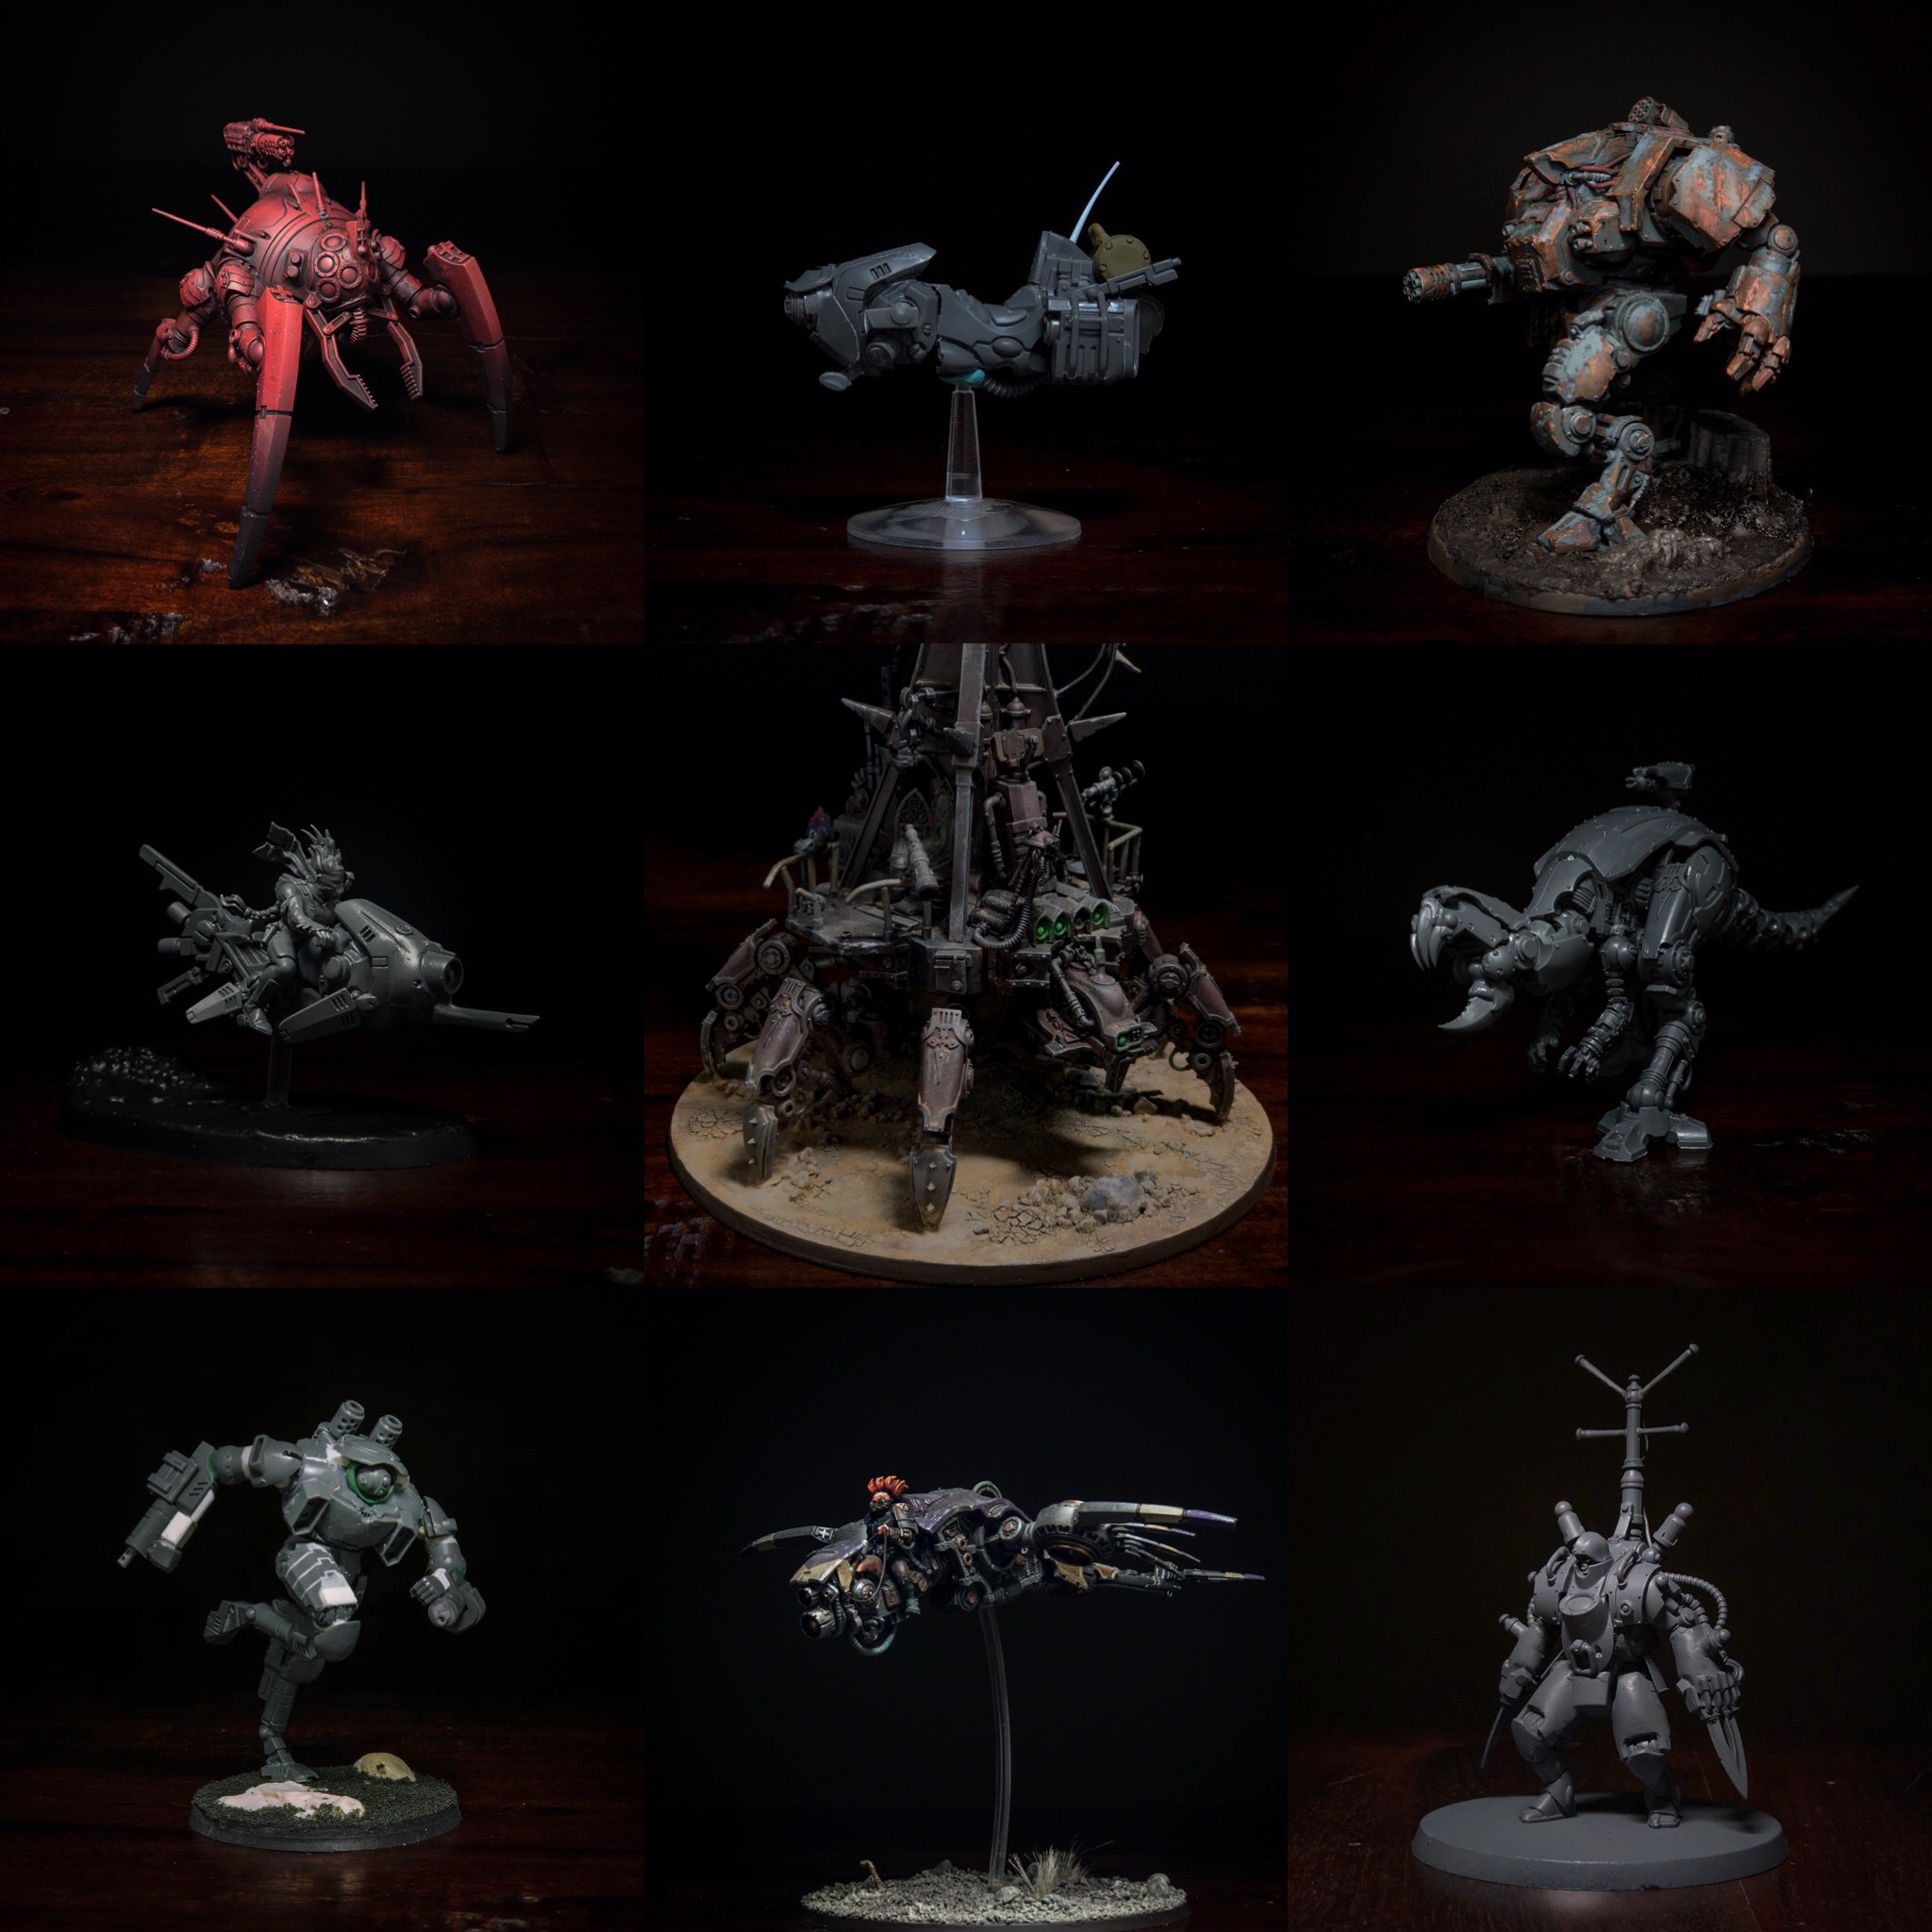
Caveat: The following description was originally published on a now-defunct blog, and as such is formatted for a more inline style of reading, with images embedded in the text. All relevant images are in the gallery on this page. Some of the text might read a little odd in this new context.
Body Plan
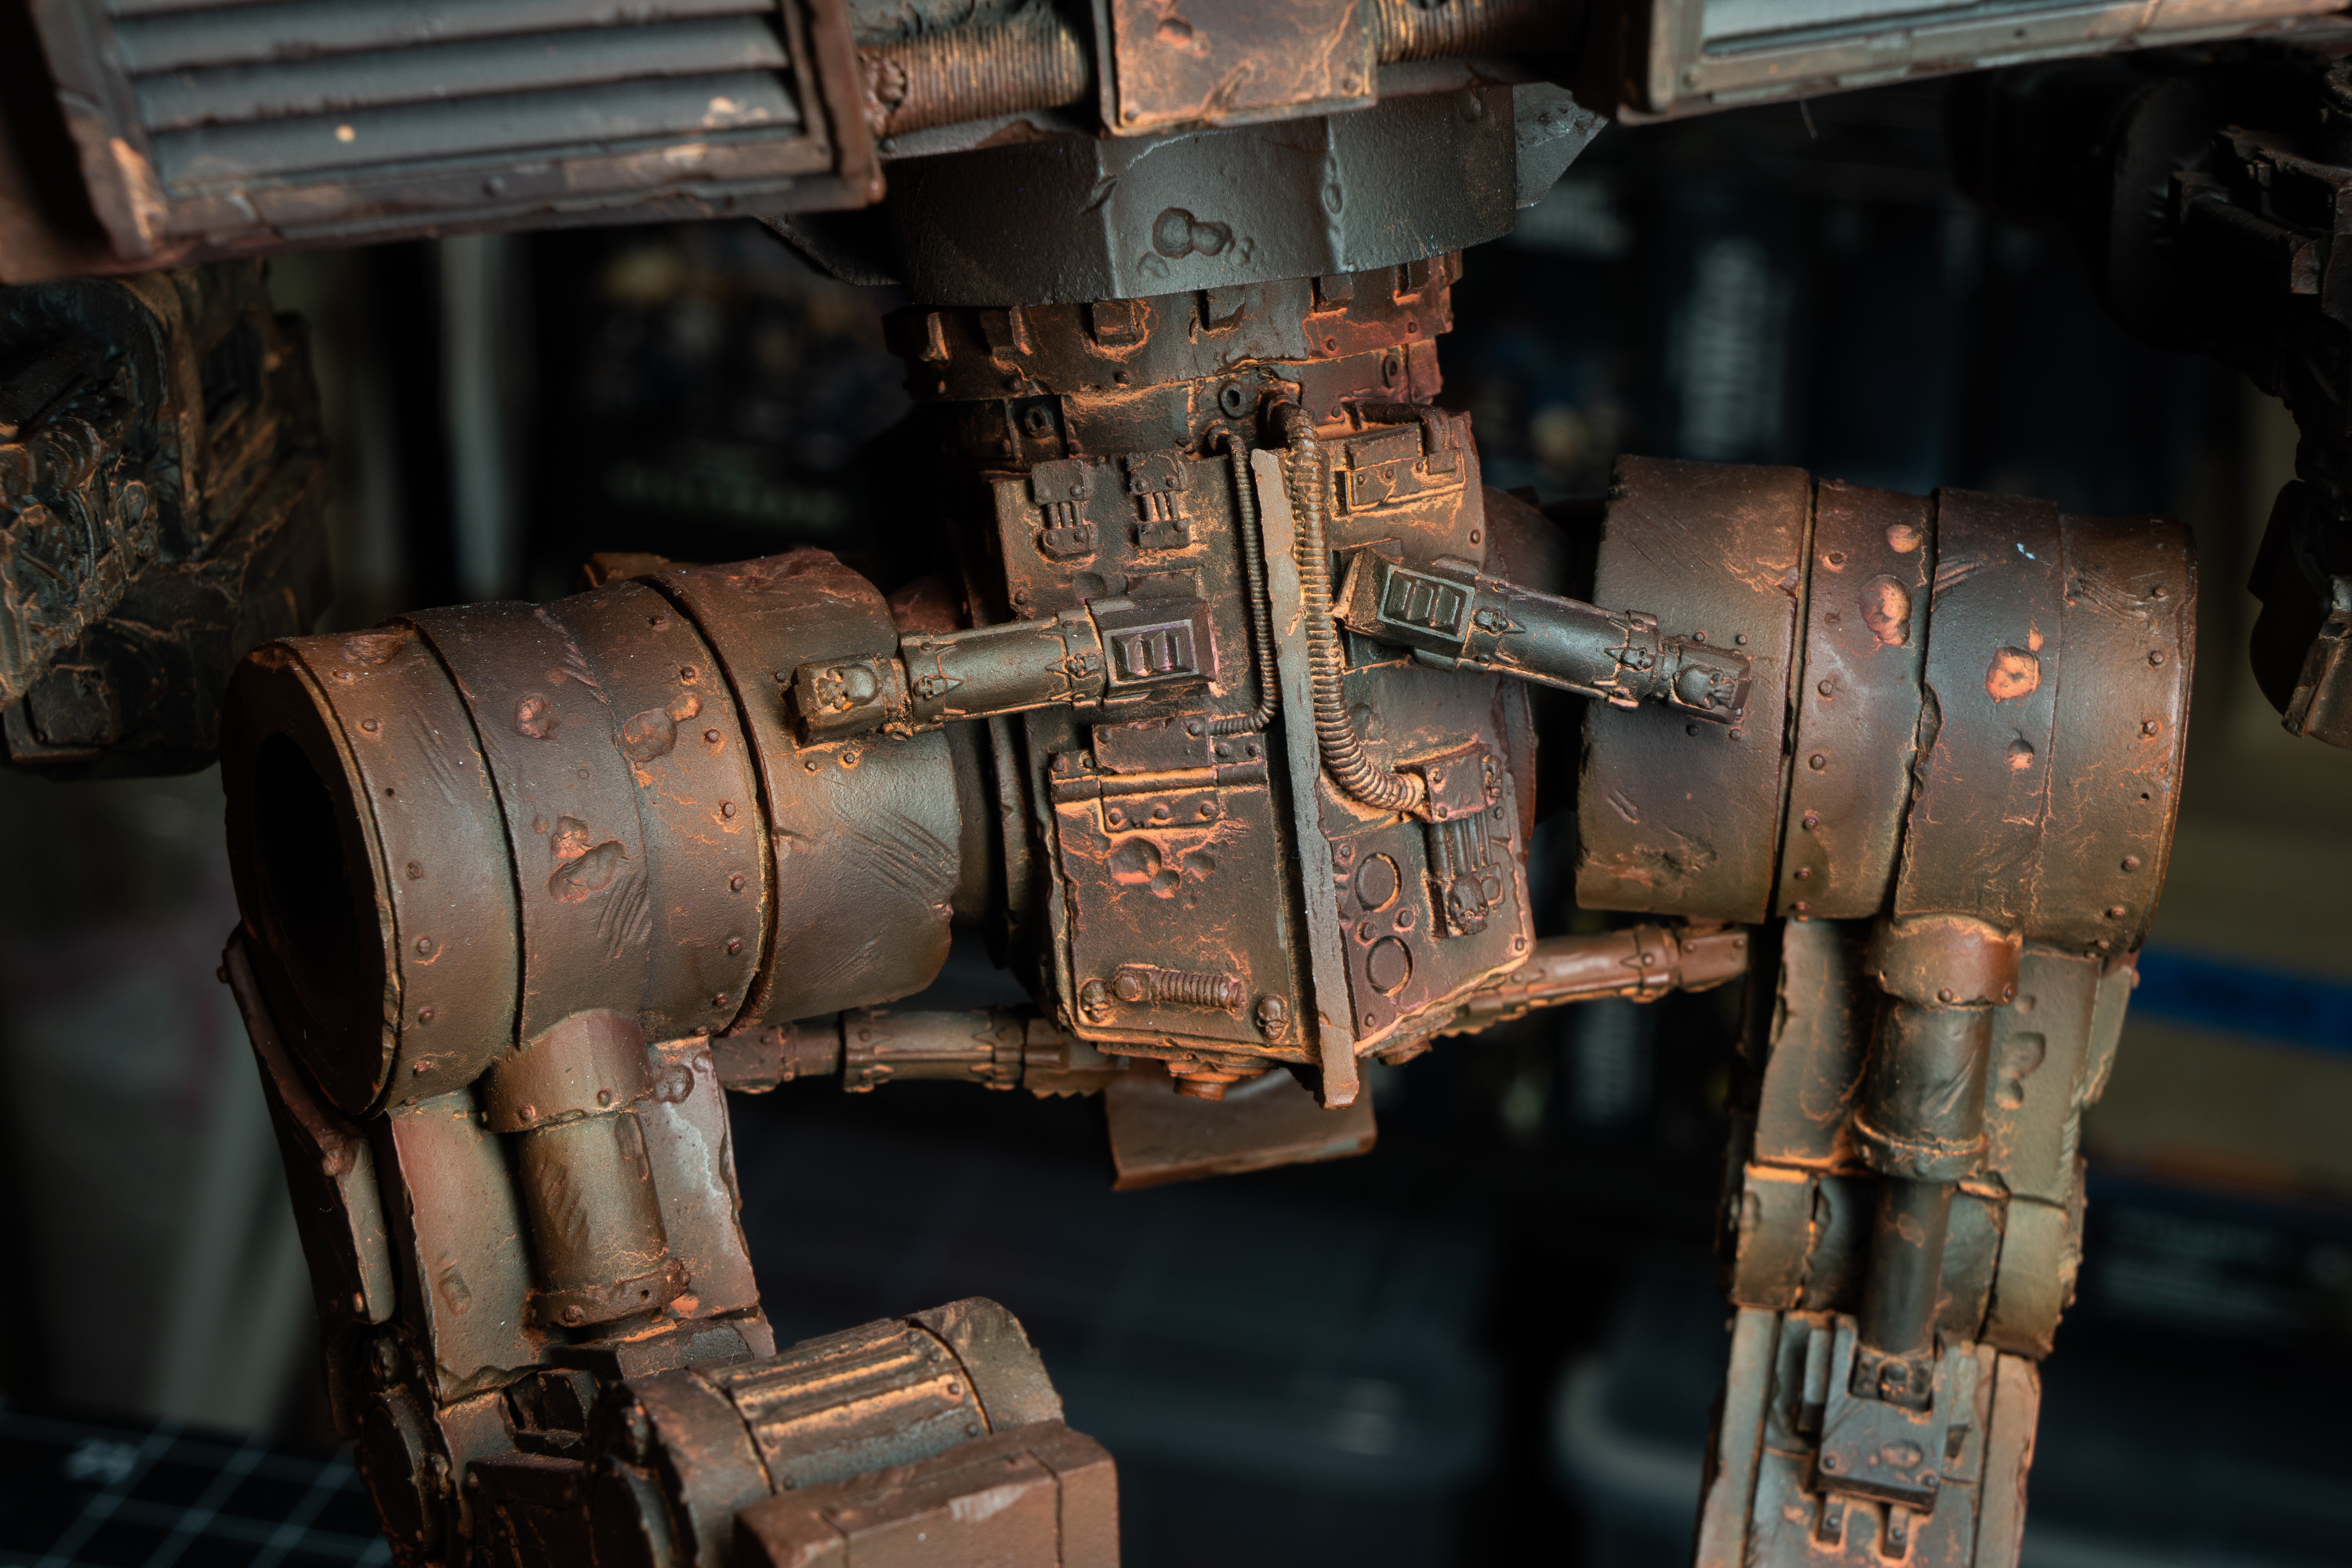
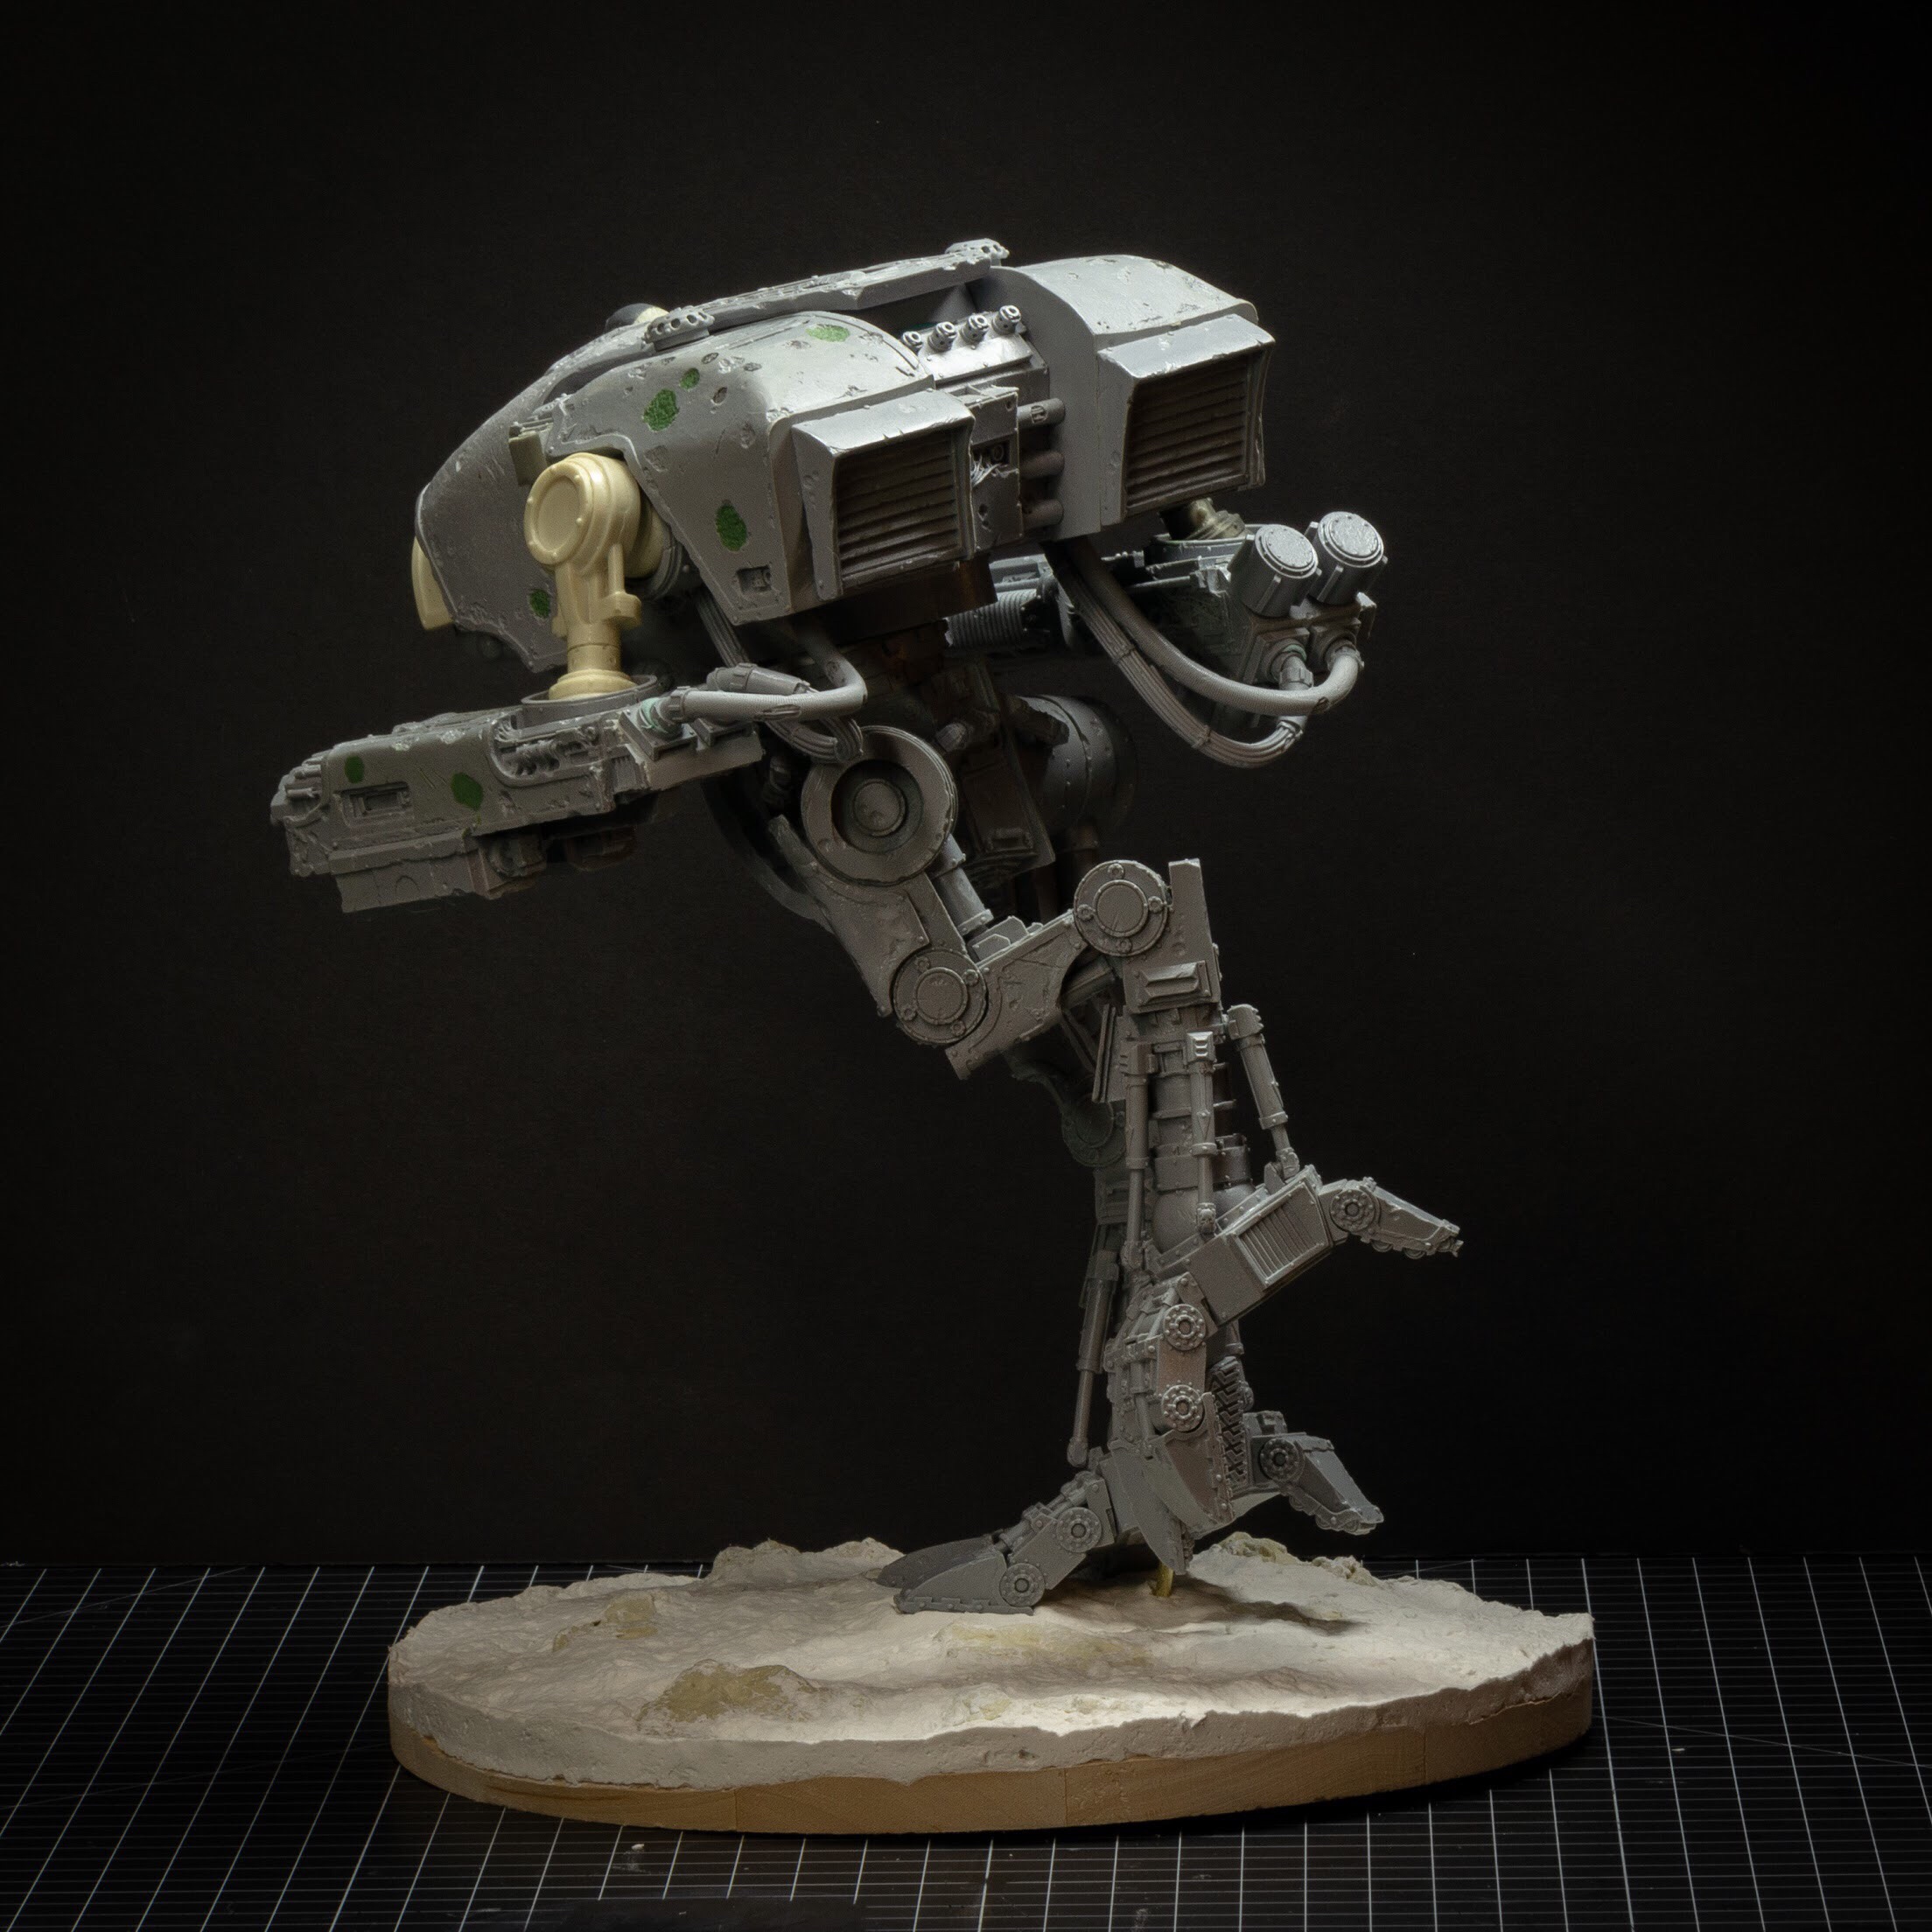
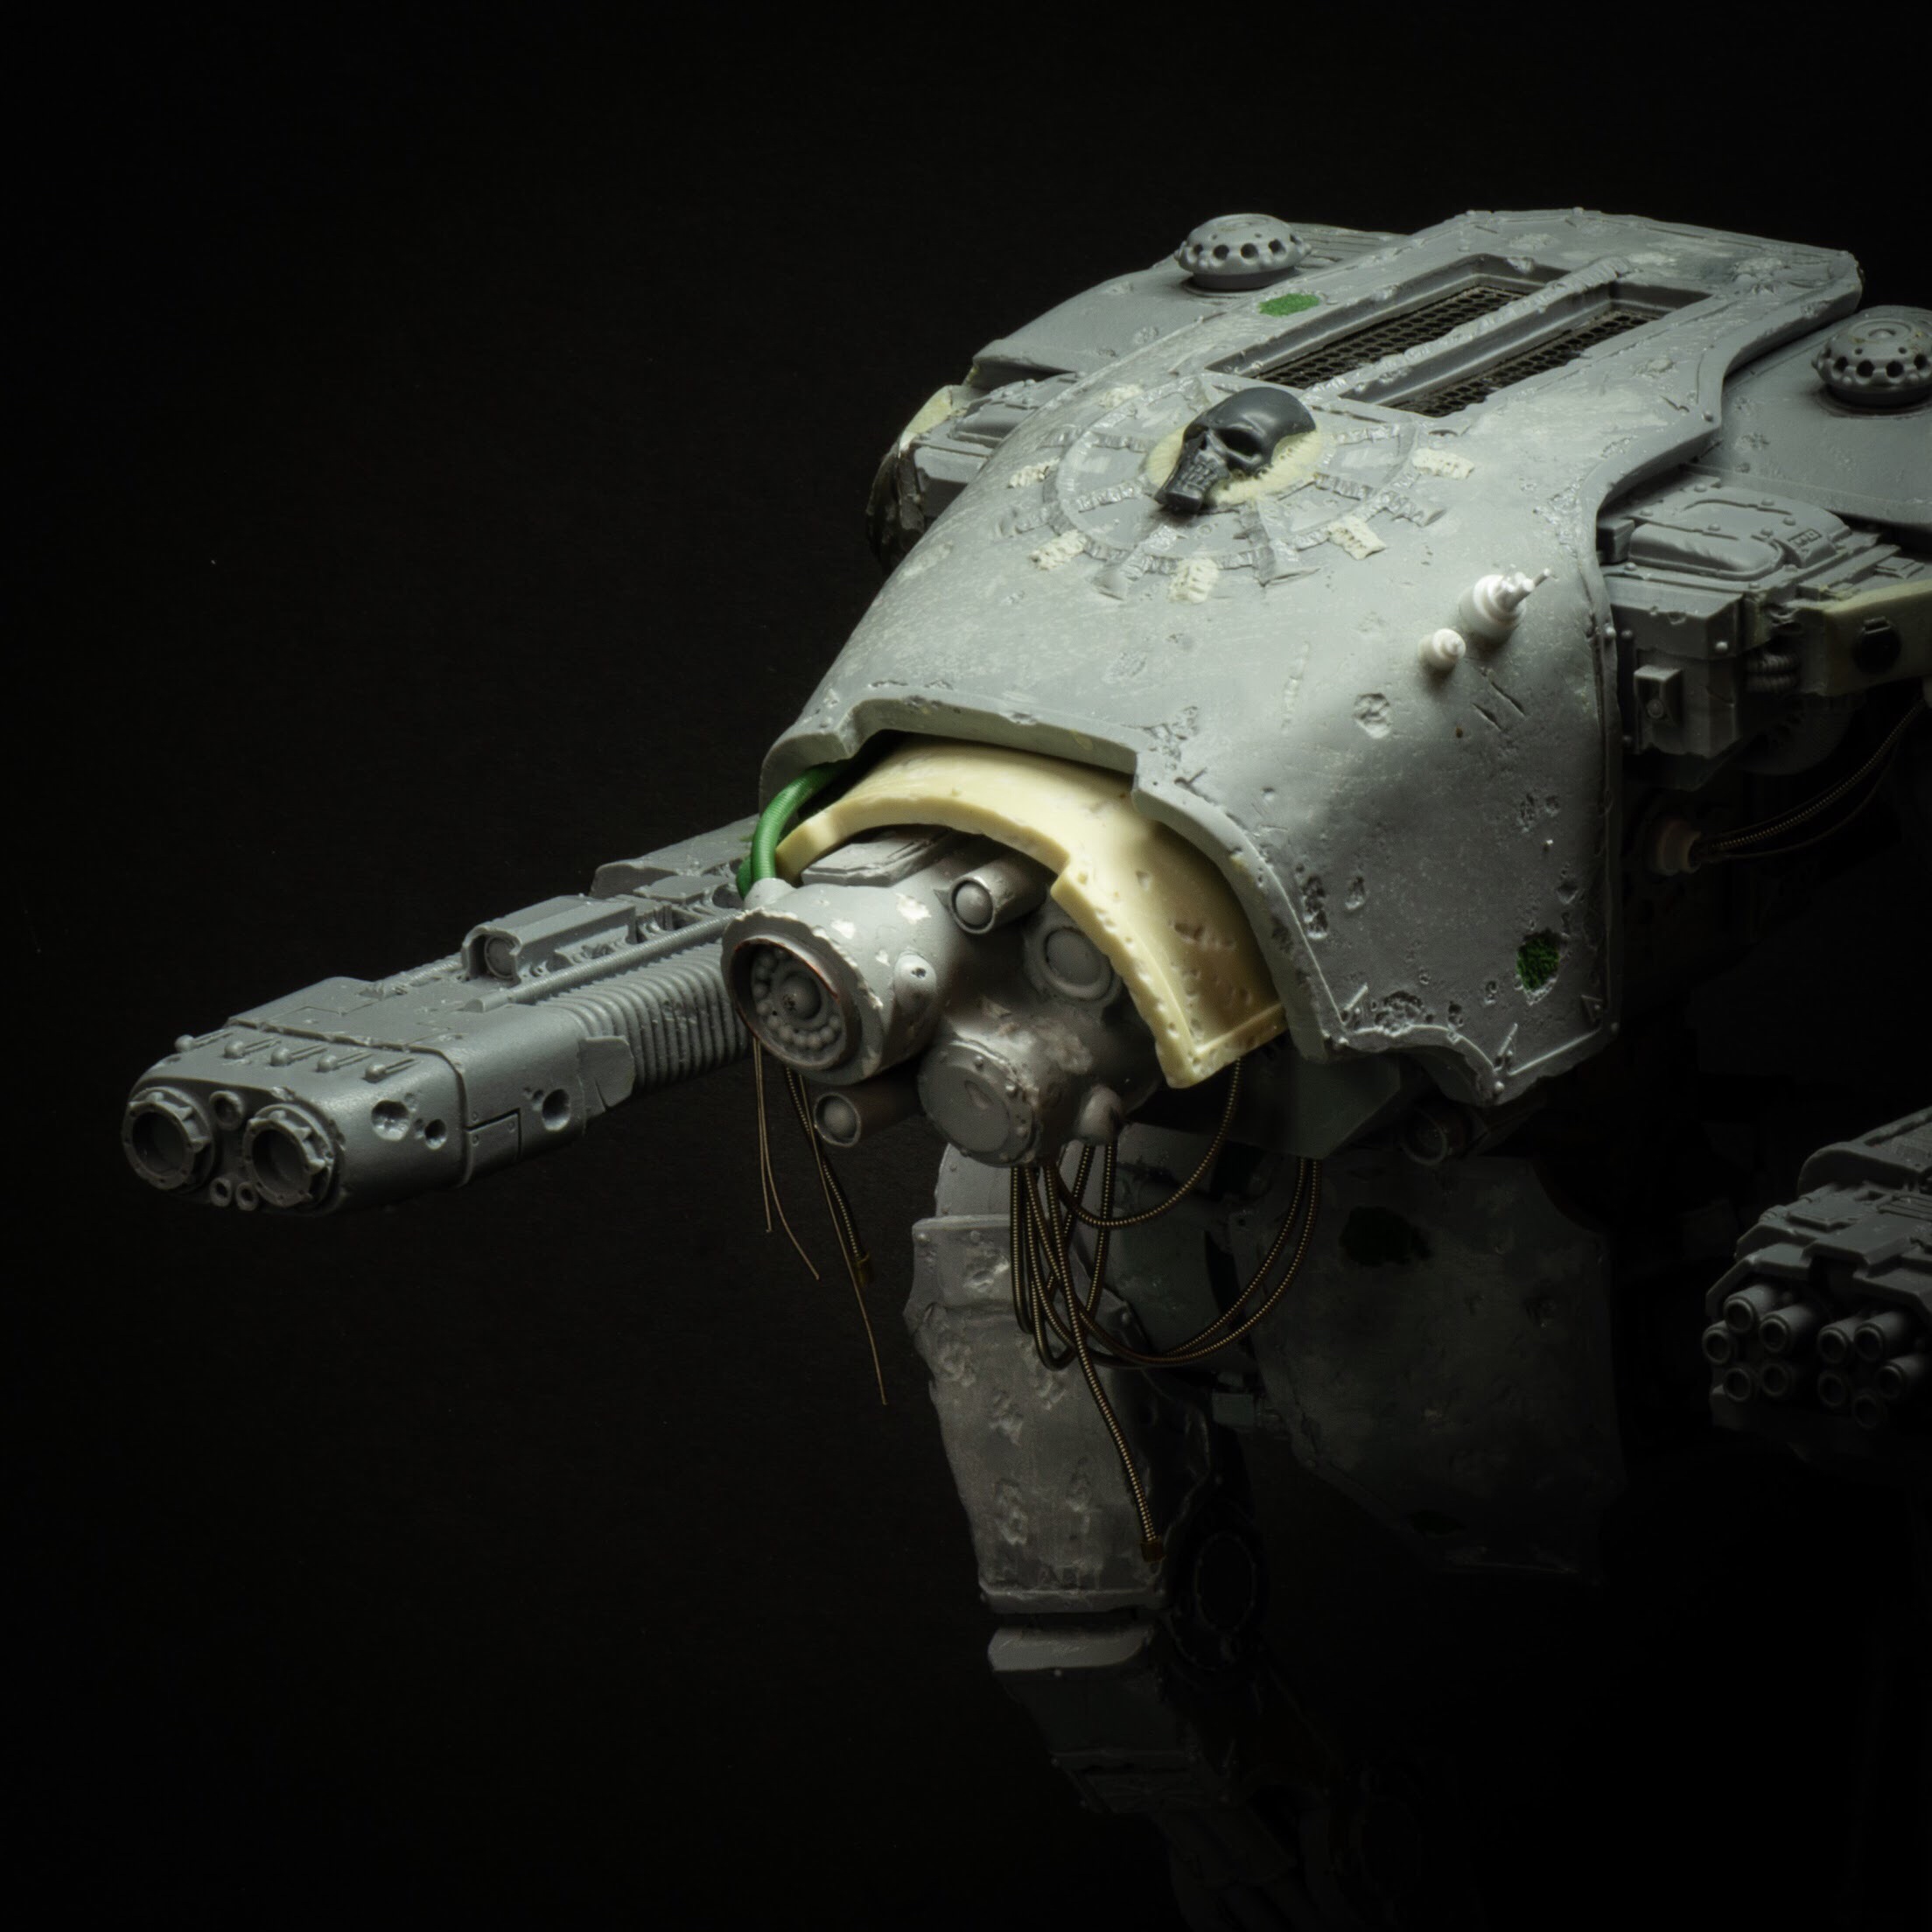
The existing design makes a Warhound torso very front-heavy. While this adds to the dynamism of the model when it has both feet planted, it would be too much when combined with the pose I was after. In addition, I’m not fond of the shoulder placement on Warhounds and I wanted to move them back, and give them more articulation.
I’m going to skip the basic stuff and get straight to the customization. Assembling the torso pieces was all done with 2 part epoxy and brass rod for reinforcement. You can see some of the rod entry holes in these pictures if you look closely.
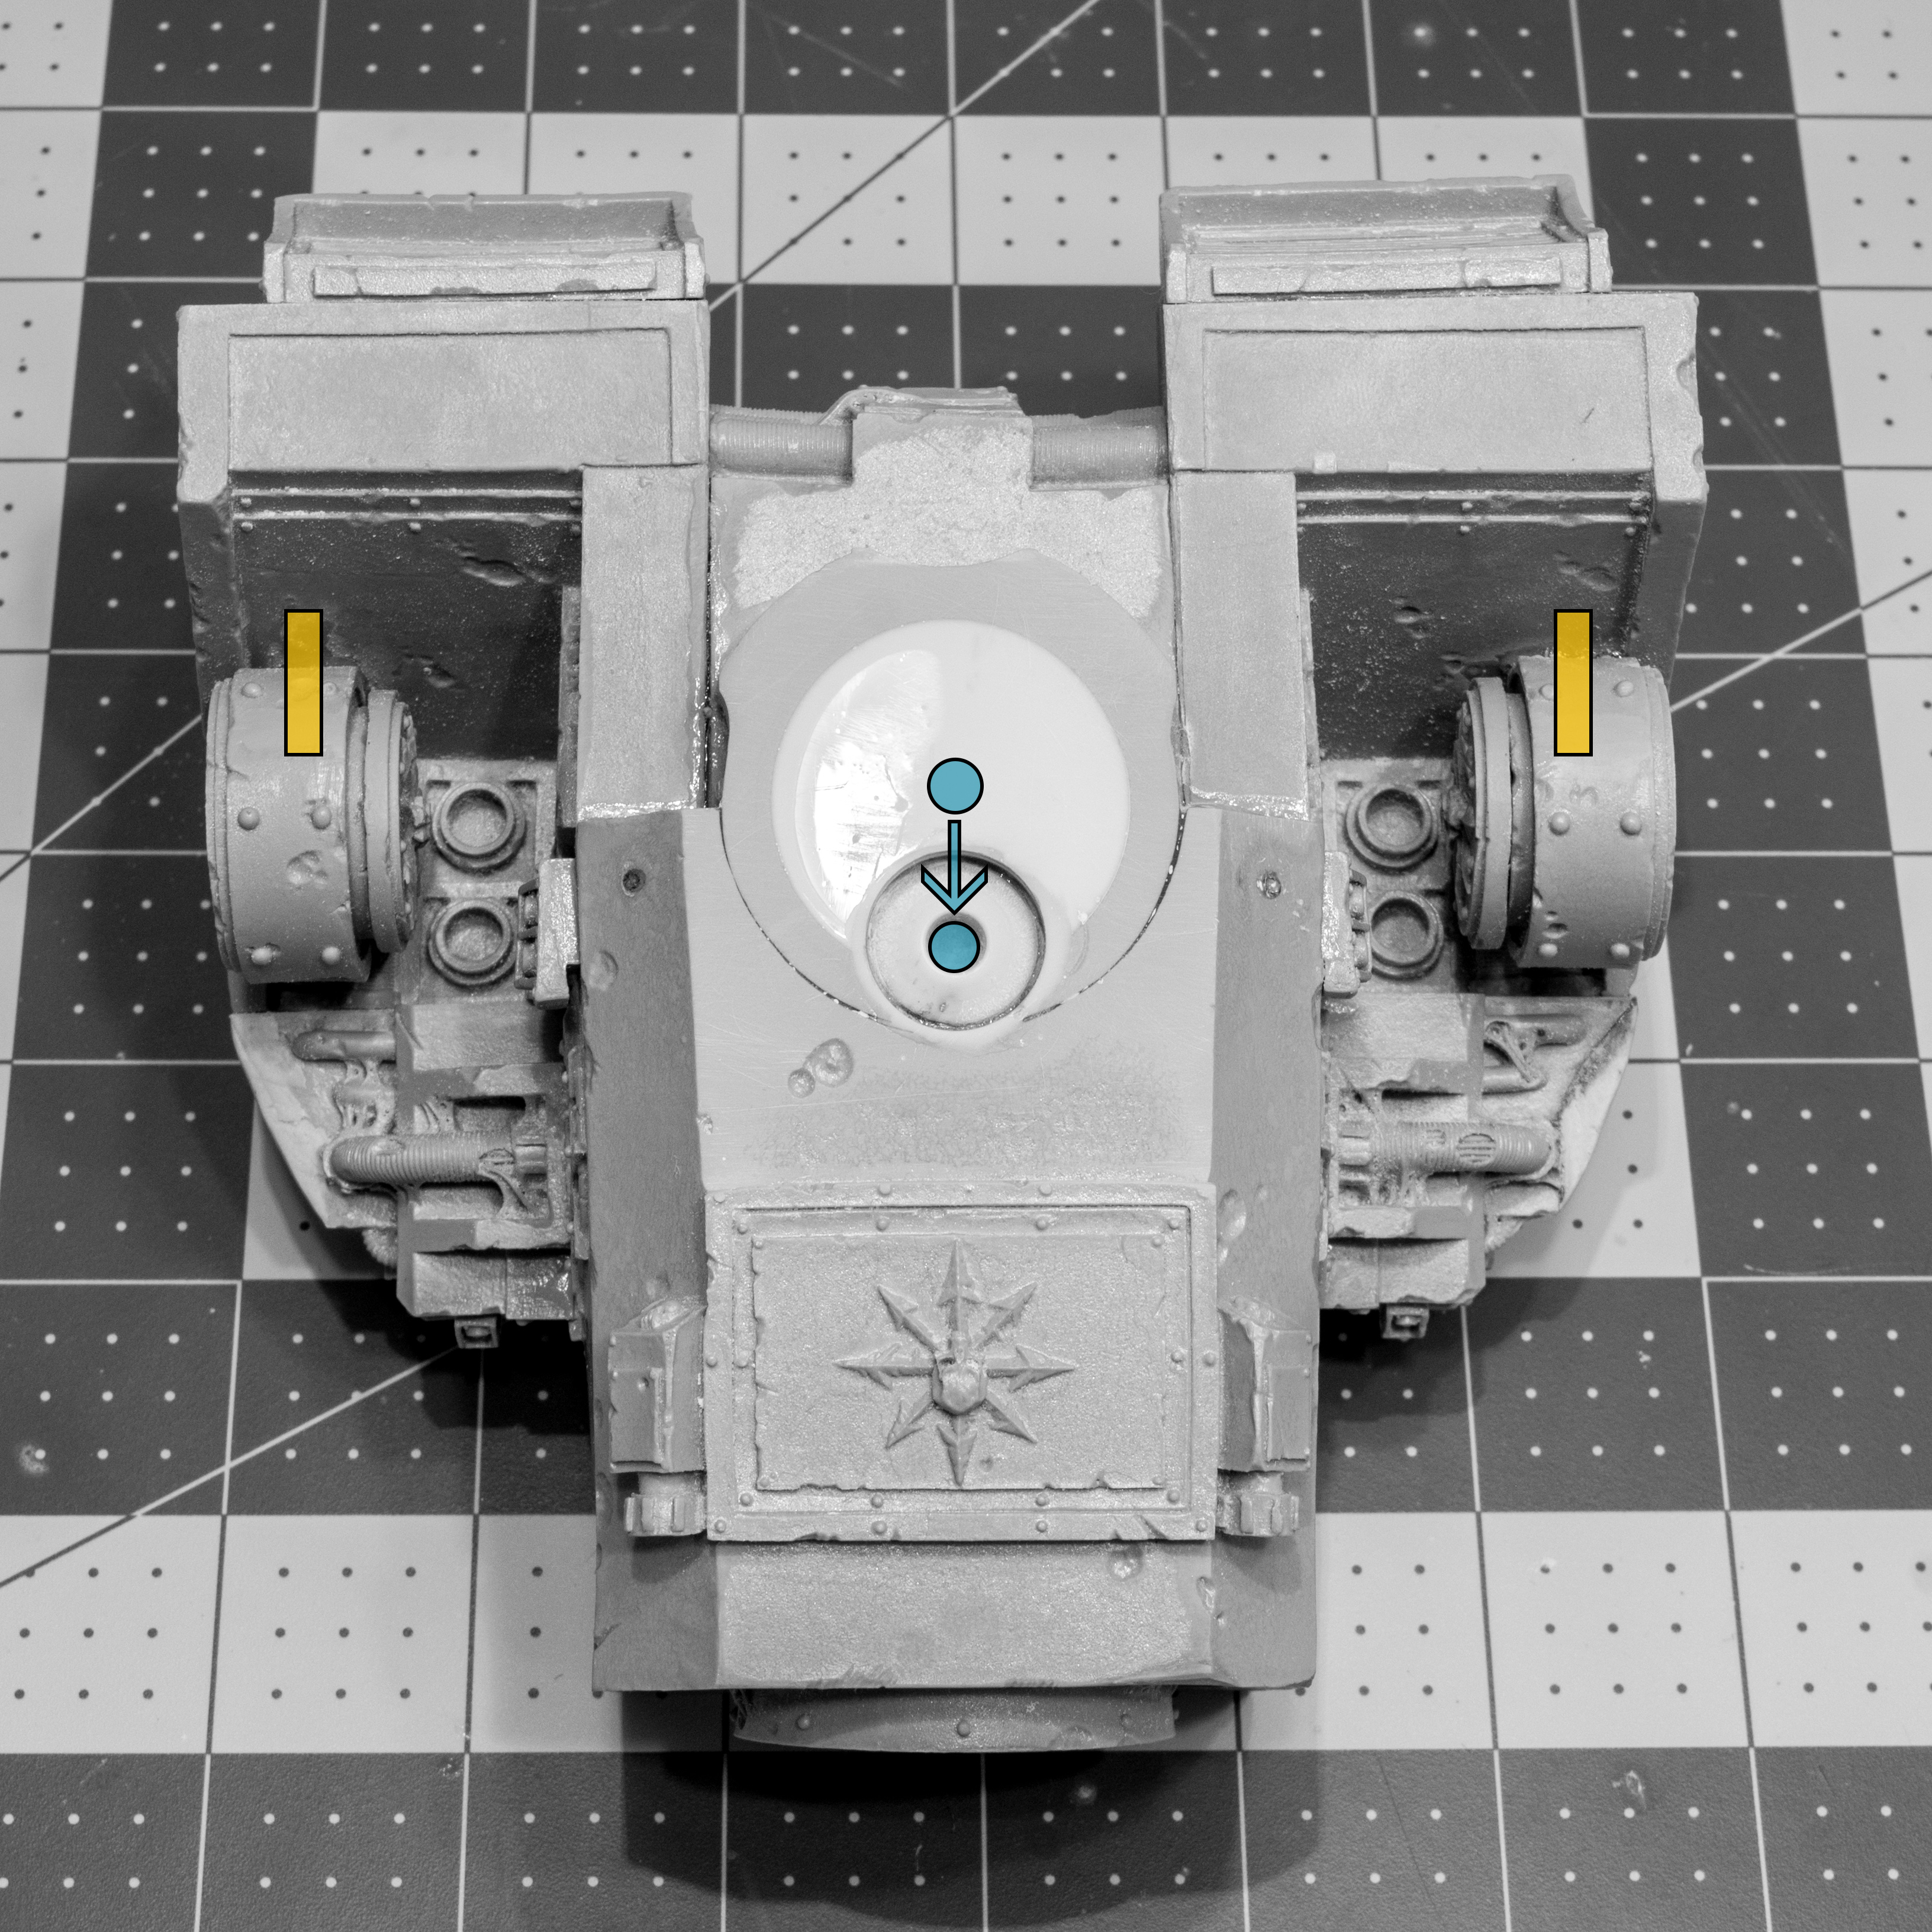
So first up, I changed the center of rotation for the torso. I filled the existing hole with Alumilite resin, which cures fast, and then drilled a new, smaller hole further forward.
Center of rotation change in blue. Brass rod for the arm sockets in yellow.
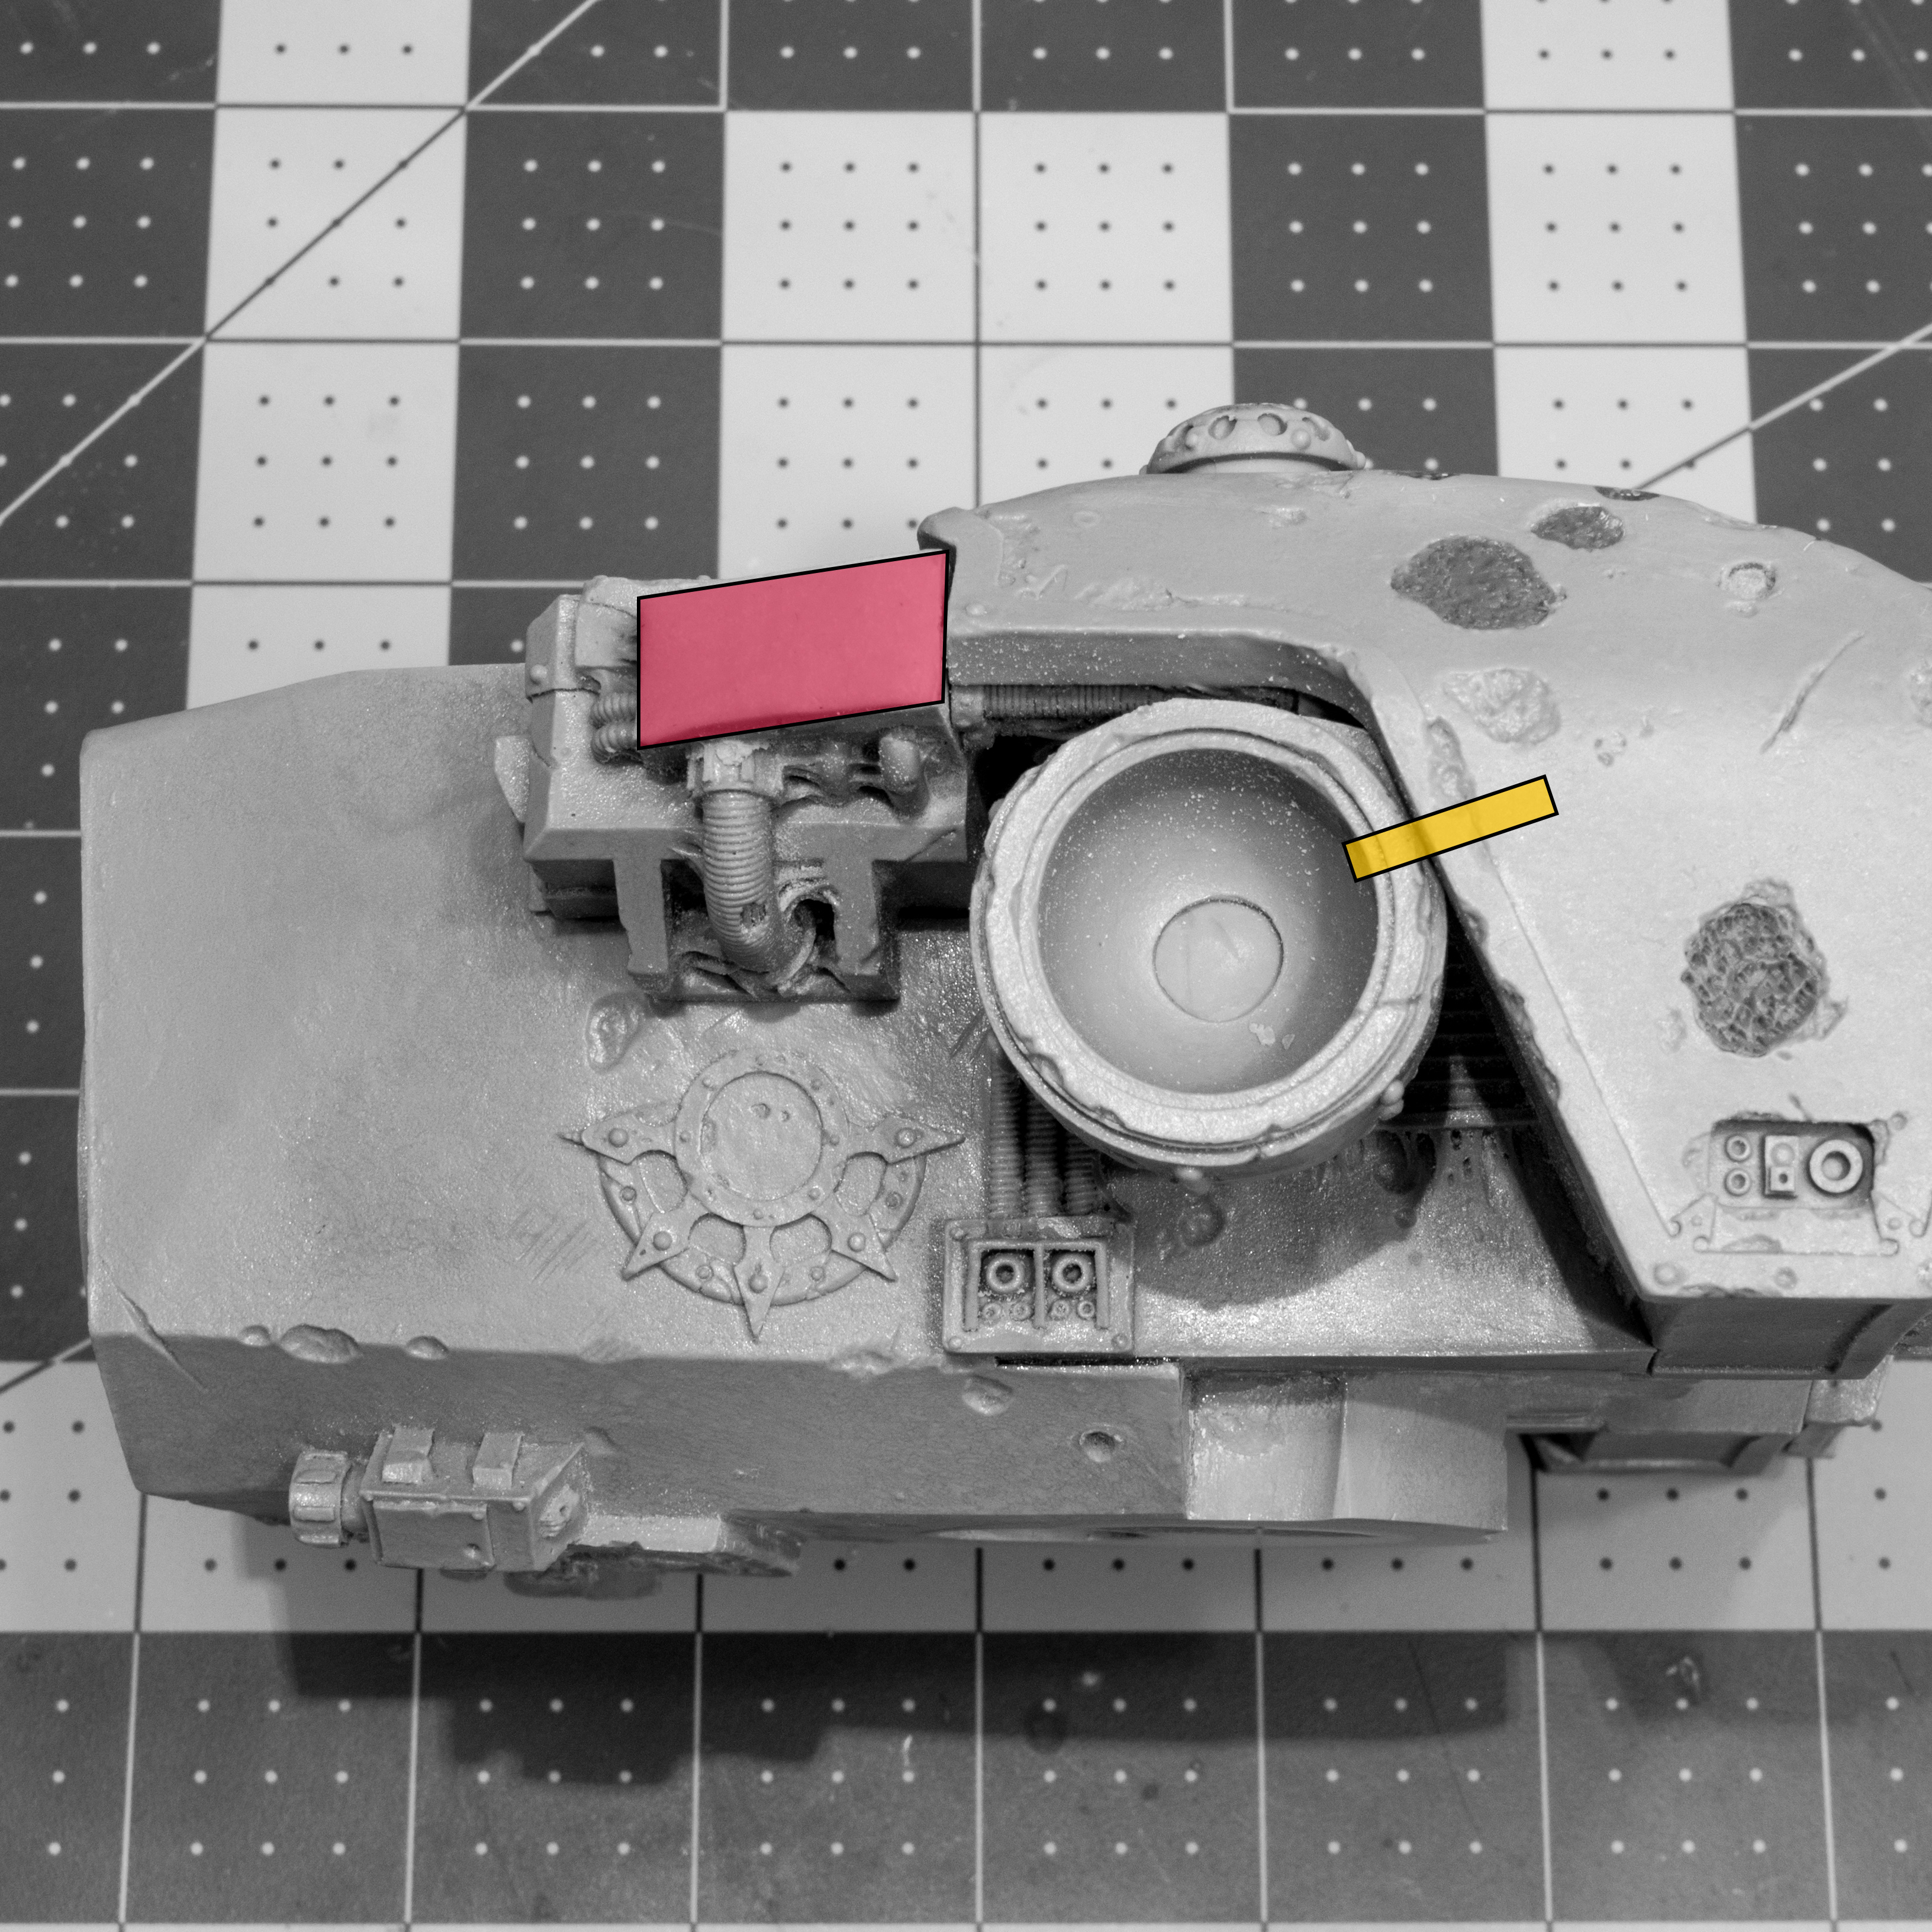
As you can see in the image I also sawed off the arm sockets and re-mounted them at 90 degrees and further back. I then puttied over the stump with magicsculpt/greenstuff mixed about 70/30. Easier to sand but still a bit sticky.
Puttied area shown in red. Brass rod for arm socket in yellow.
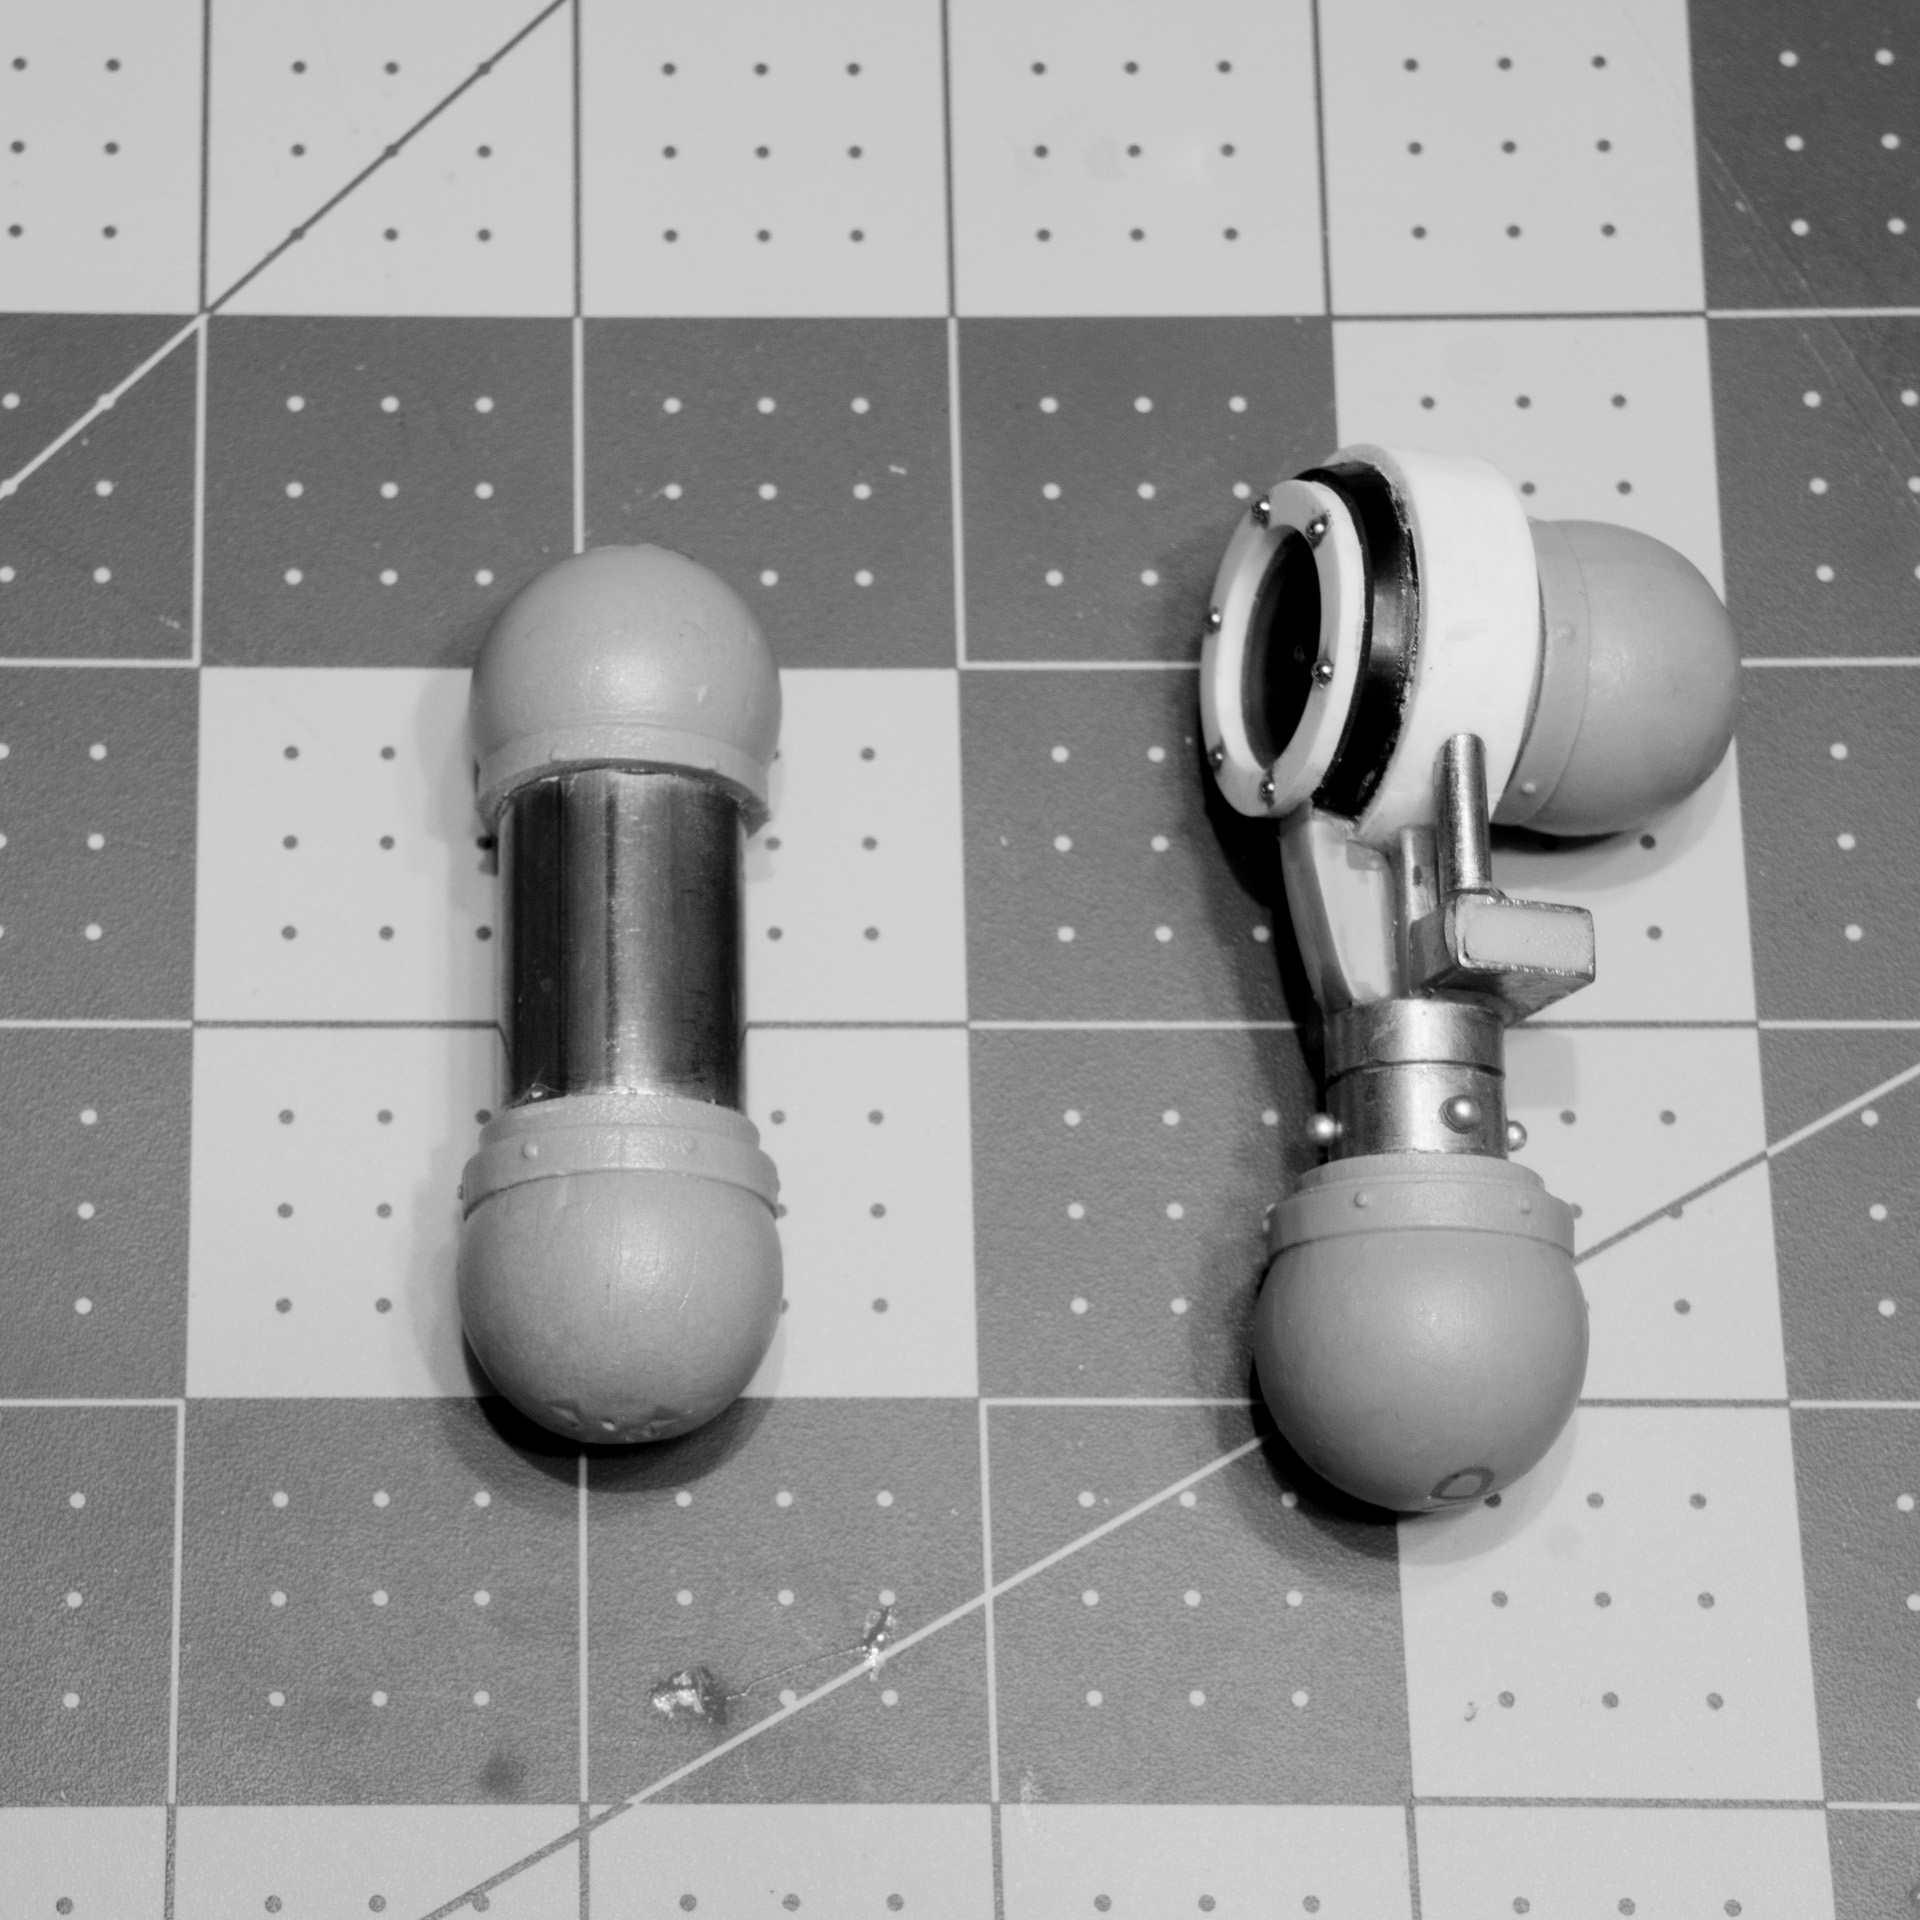
The arm sockets are secured in their new positions using JBWeld and a piece of 1/8″ brass rod. I haven’t tidied these connections up yet; I plan on running some cables from the red area so I’ll probably install some sockets using brass tube. TheseWith the new, smaller mounting hole for the waist drilled, I then sawed off the corresponding peg on the hip section and added an angled spacer using pvc pipe and resin. Once that was cured I drilled another hole and used a piece of 5/8″ copper pipe to build a new peg. This also let me install some magnets in the peg to add a little more security to the connection. While this isn’t for gaming, it’s handy to be able to break the model down. I haven’t installed the corresponding magnets in the torso section yet, but the fit is so tight already, it’s not urgent.
New Arms
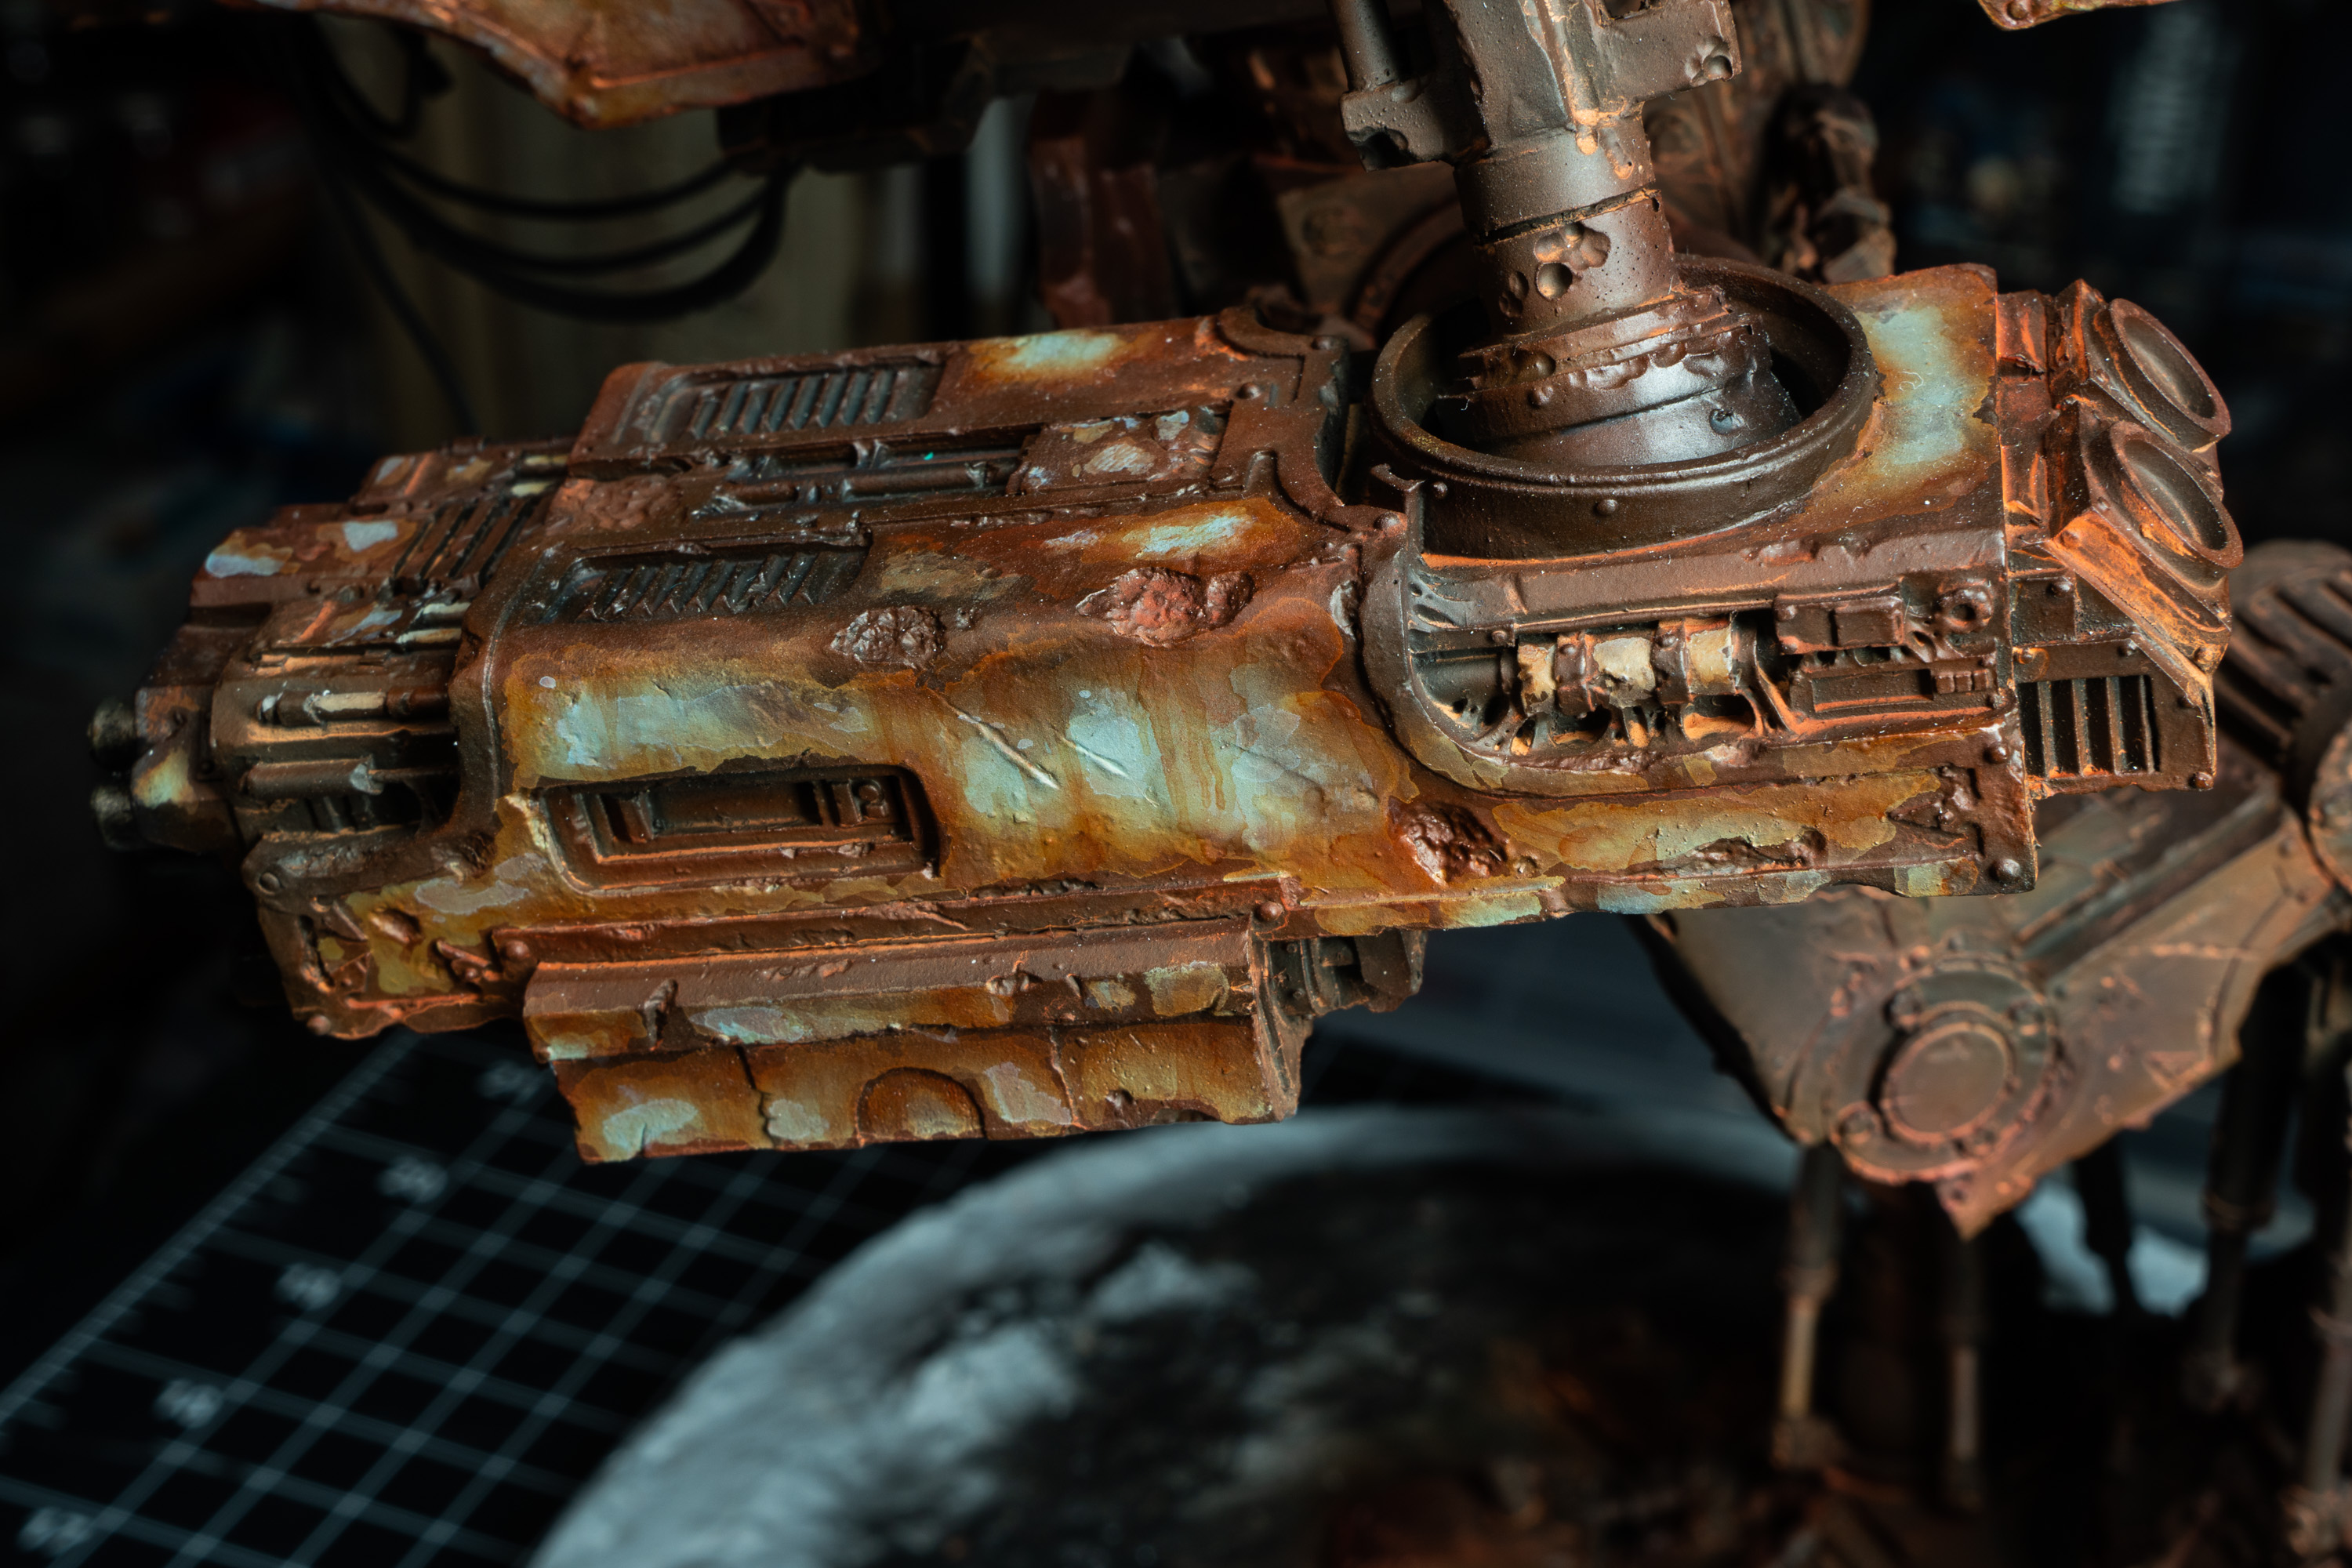
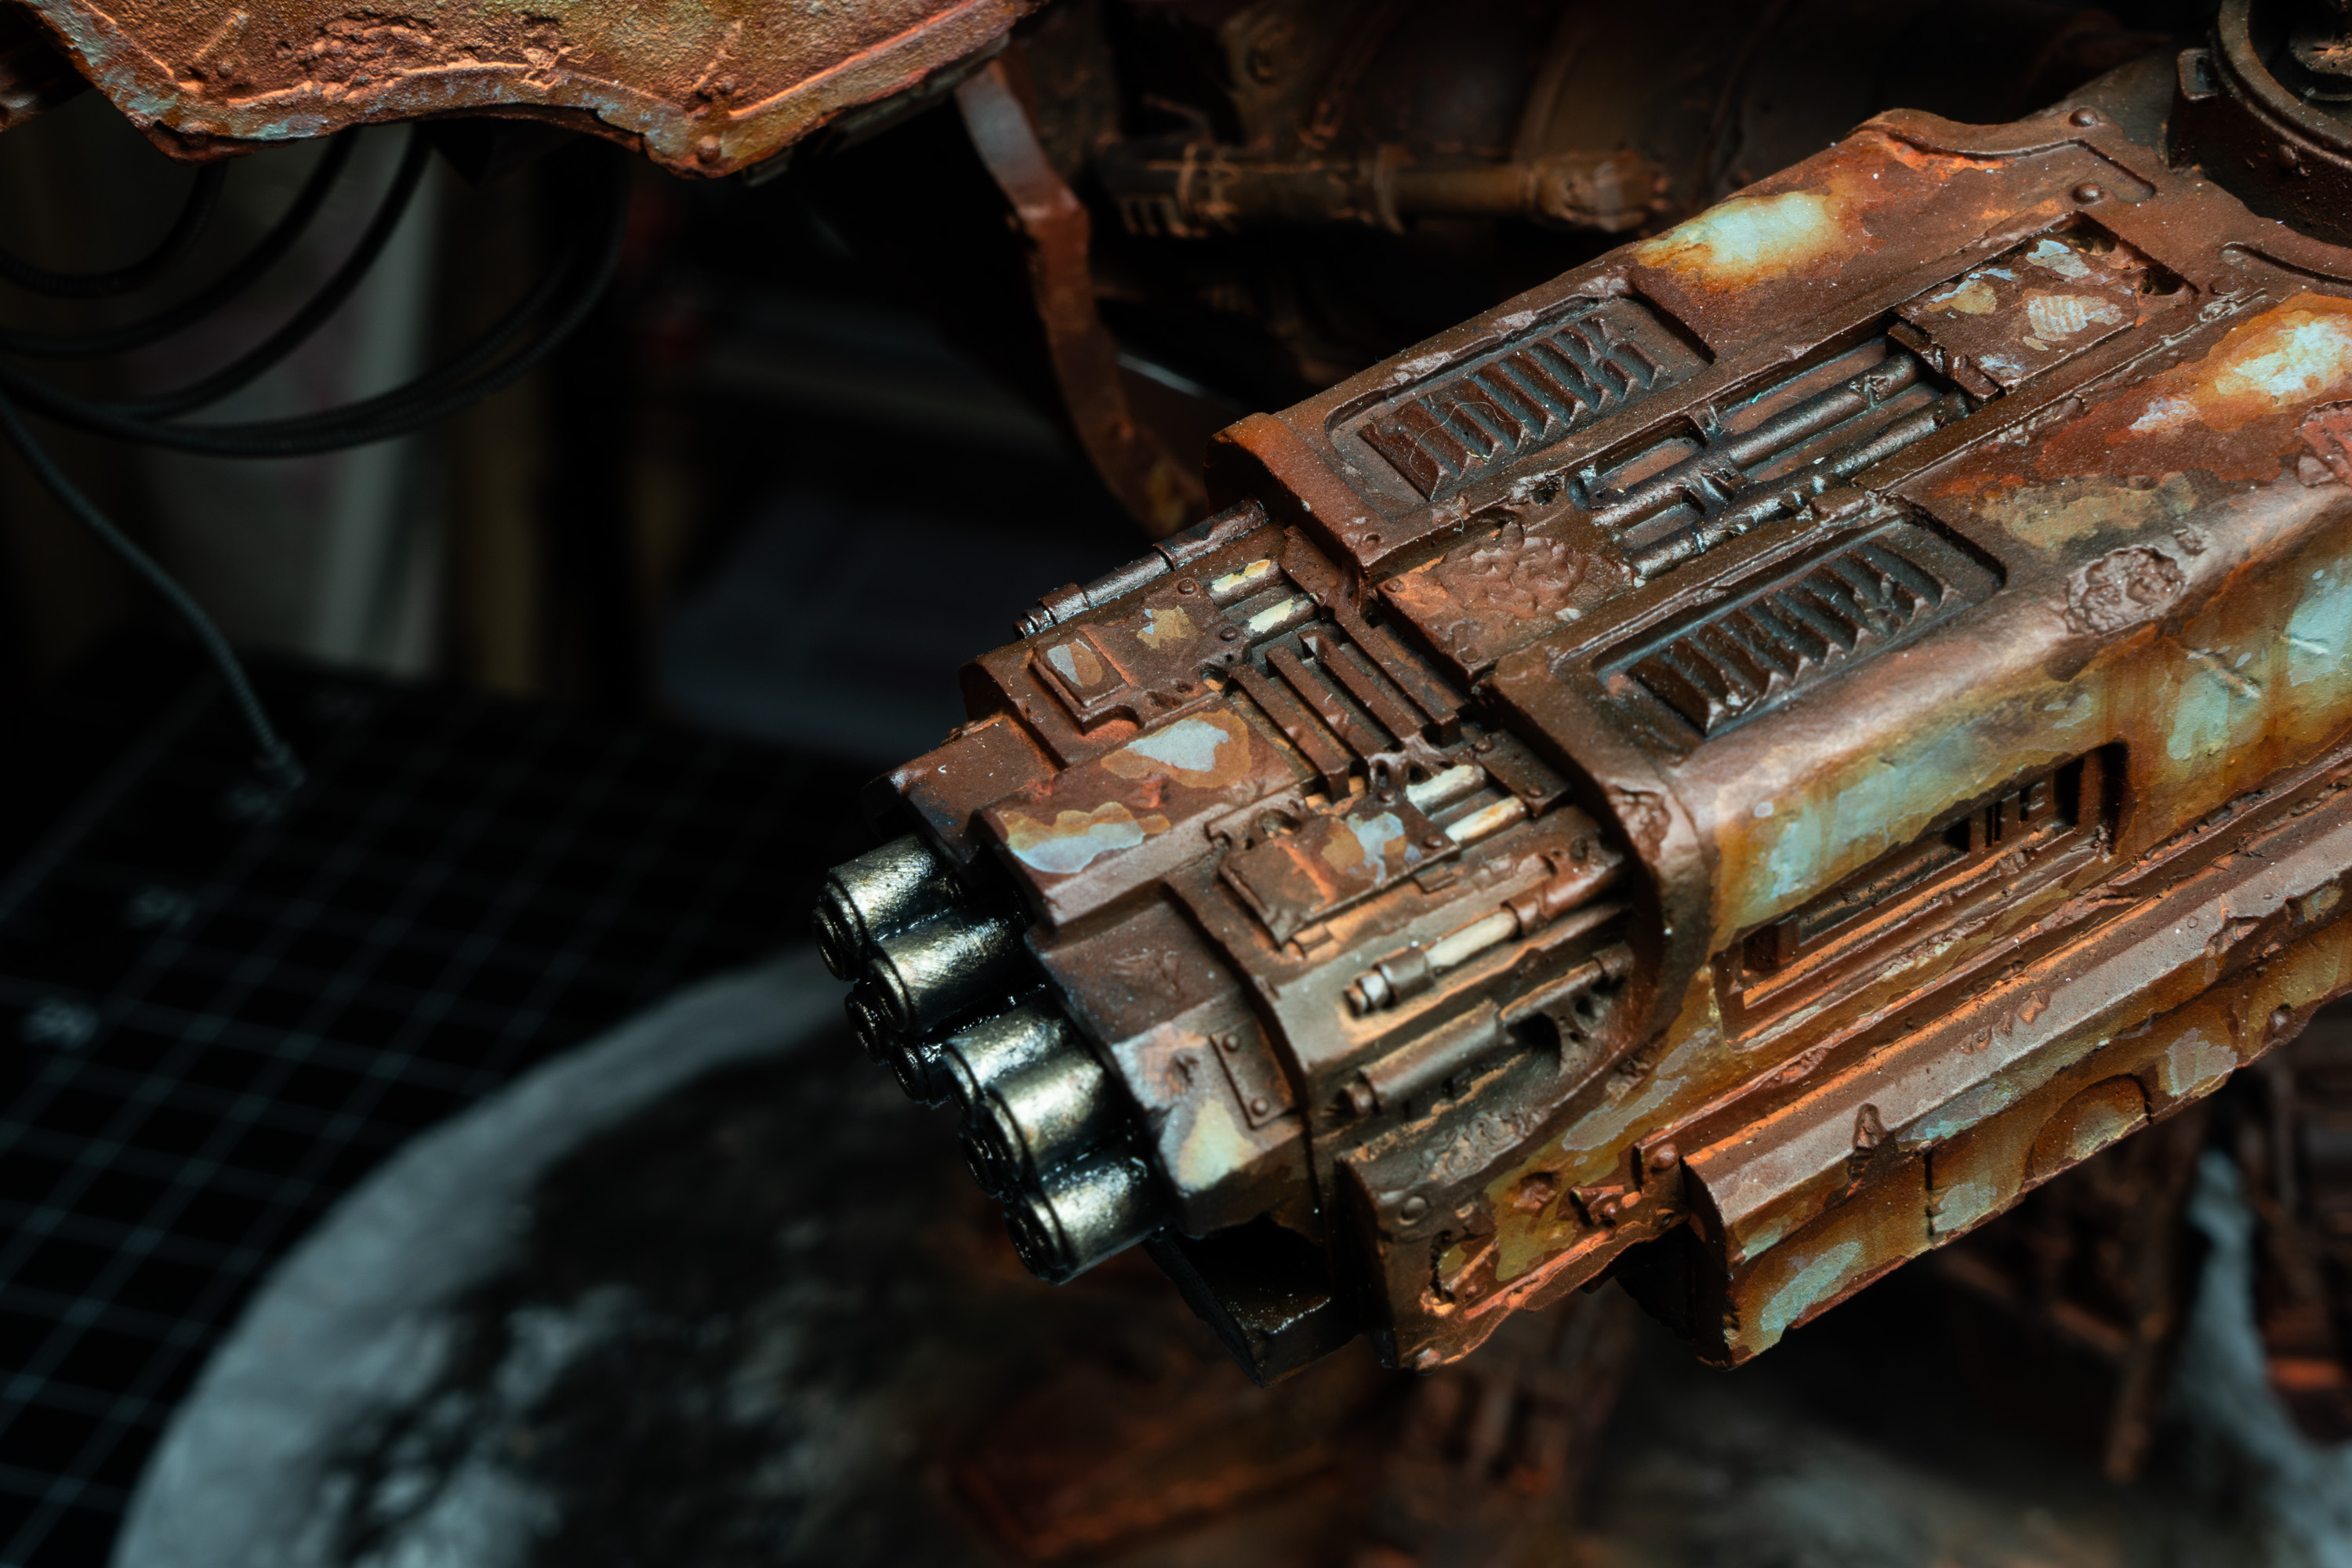
These went through a couple of revisions; firstly an extension of the existing design using copper pipe. This was almost the right length, but the change in orientation of the sockets meant the weapons never sat level. So for version two I bit the bullet and designed something a little more complex with a right-angle in it. Materials consist of various bits of PVC and brass tubing, a 25mm base and some ball-bearings.
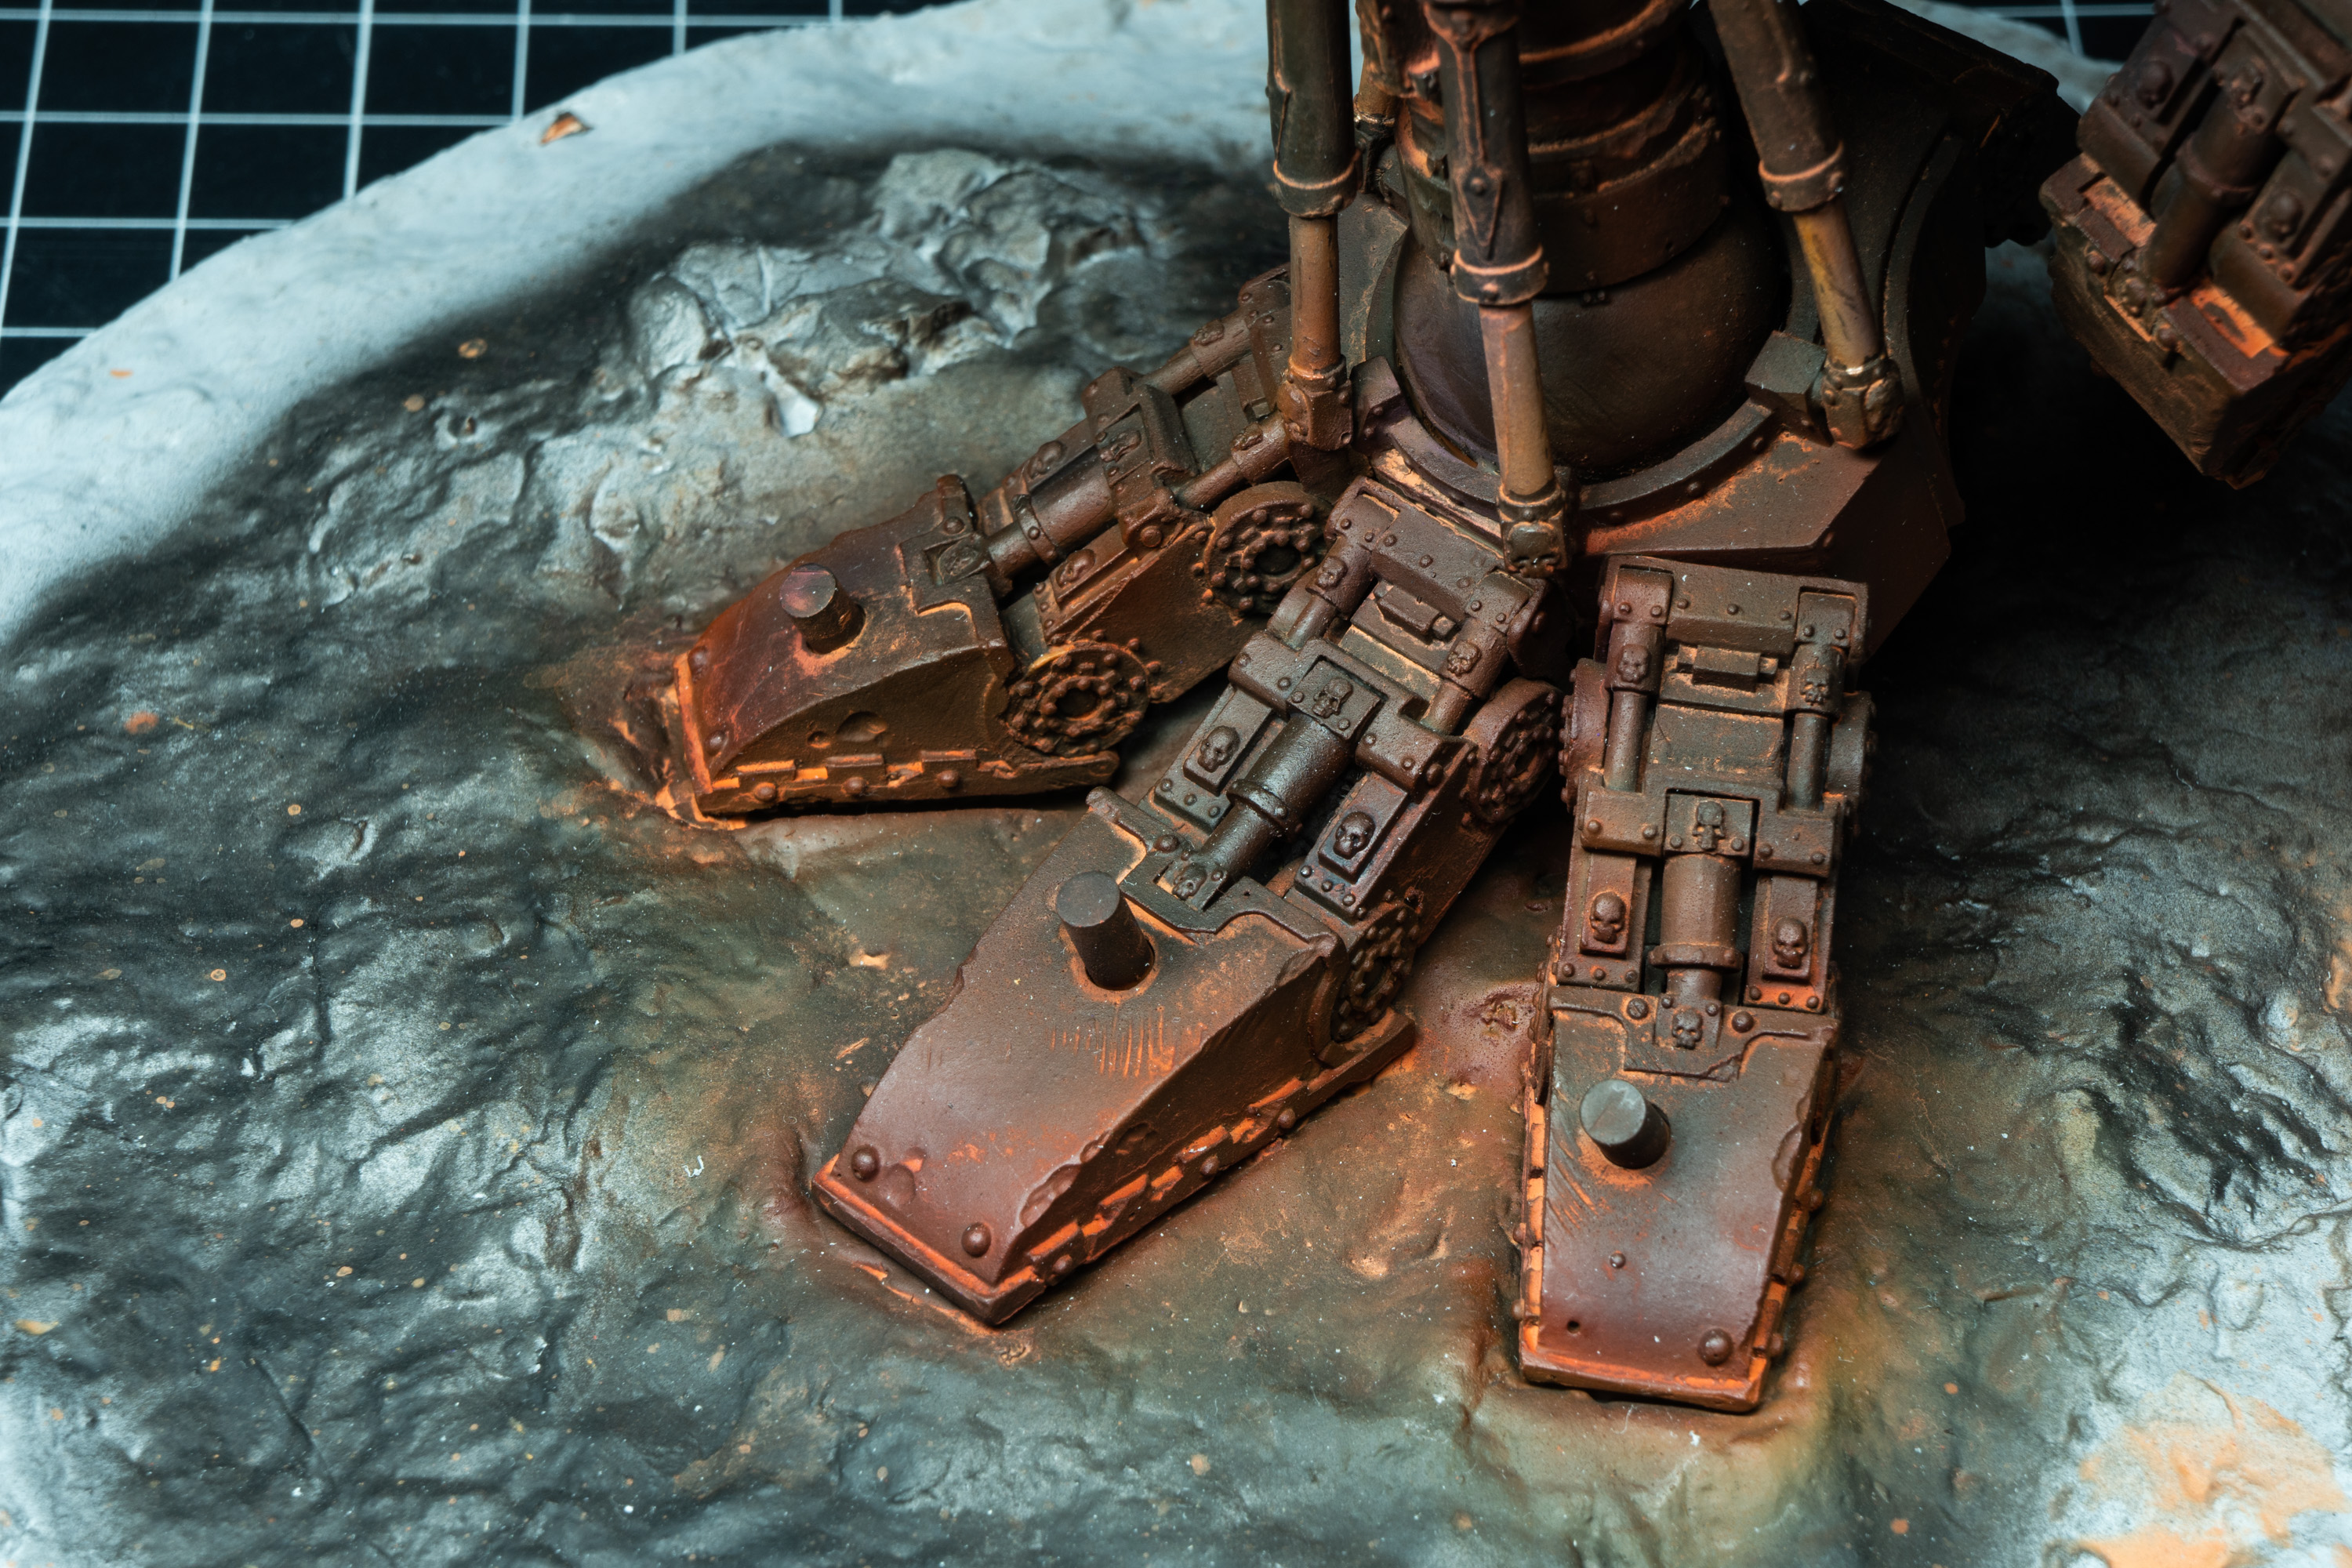
Legs Layout and Assembly
I’m not going to lie: this sucked. If I ever decide to do more large, heavy models like this, I’m going to invest in extra clamps and arms to hold things like torsos steady while I work on the leg pose.
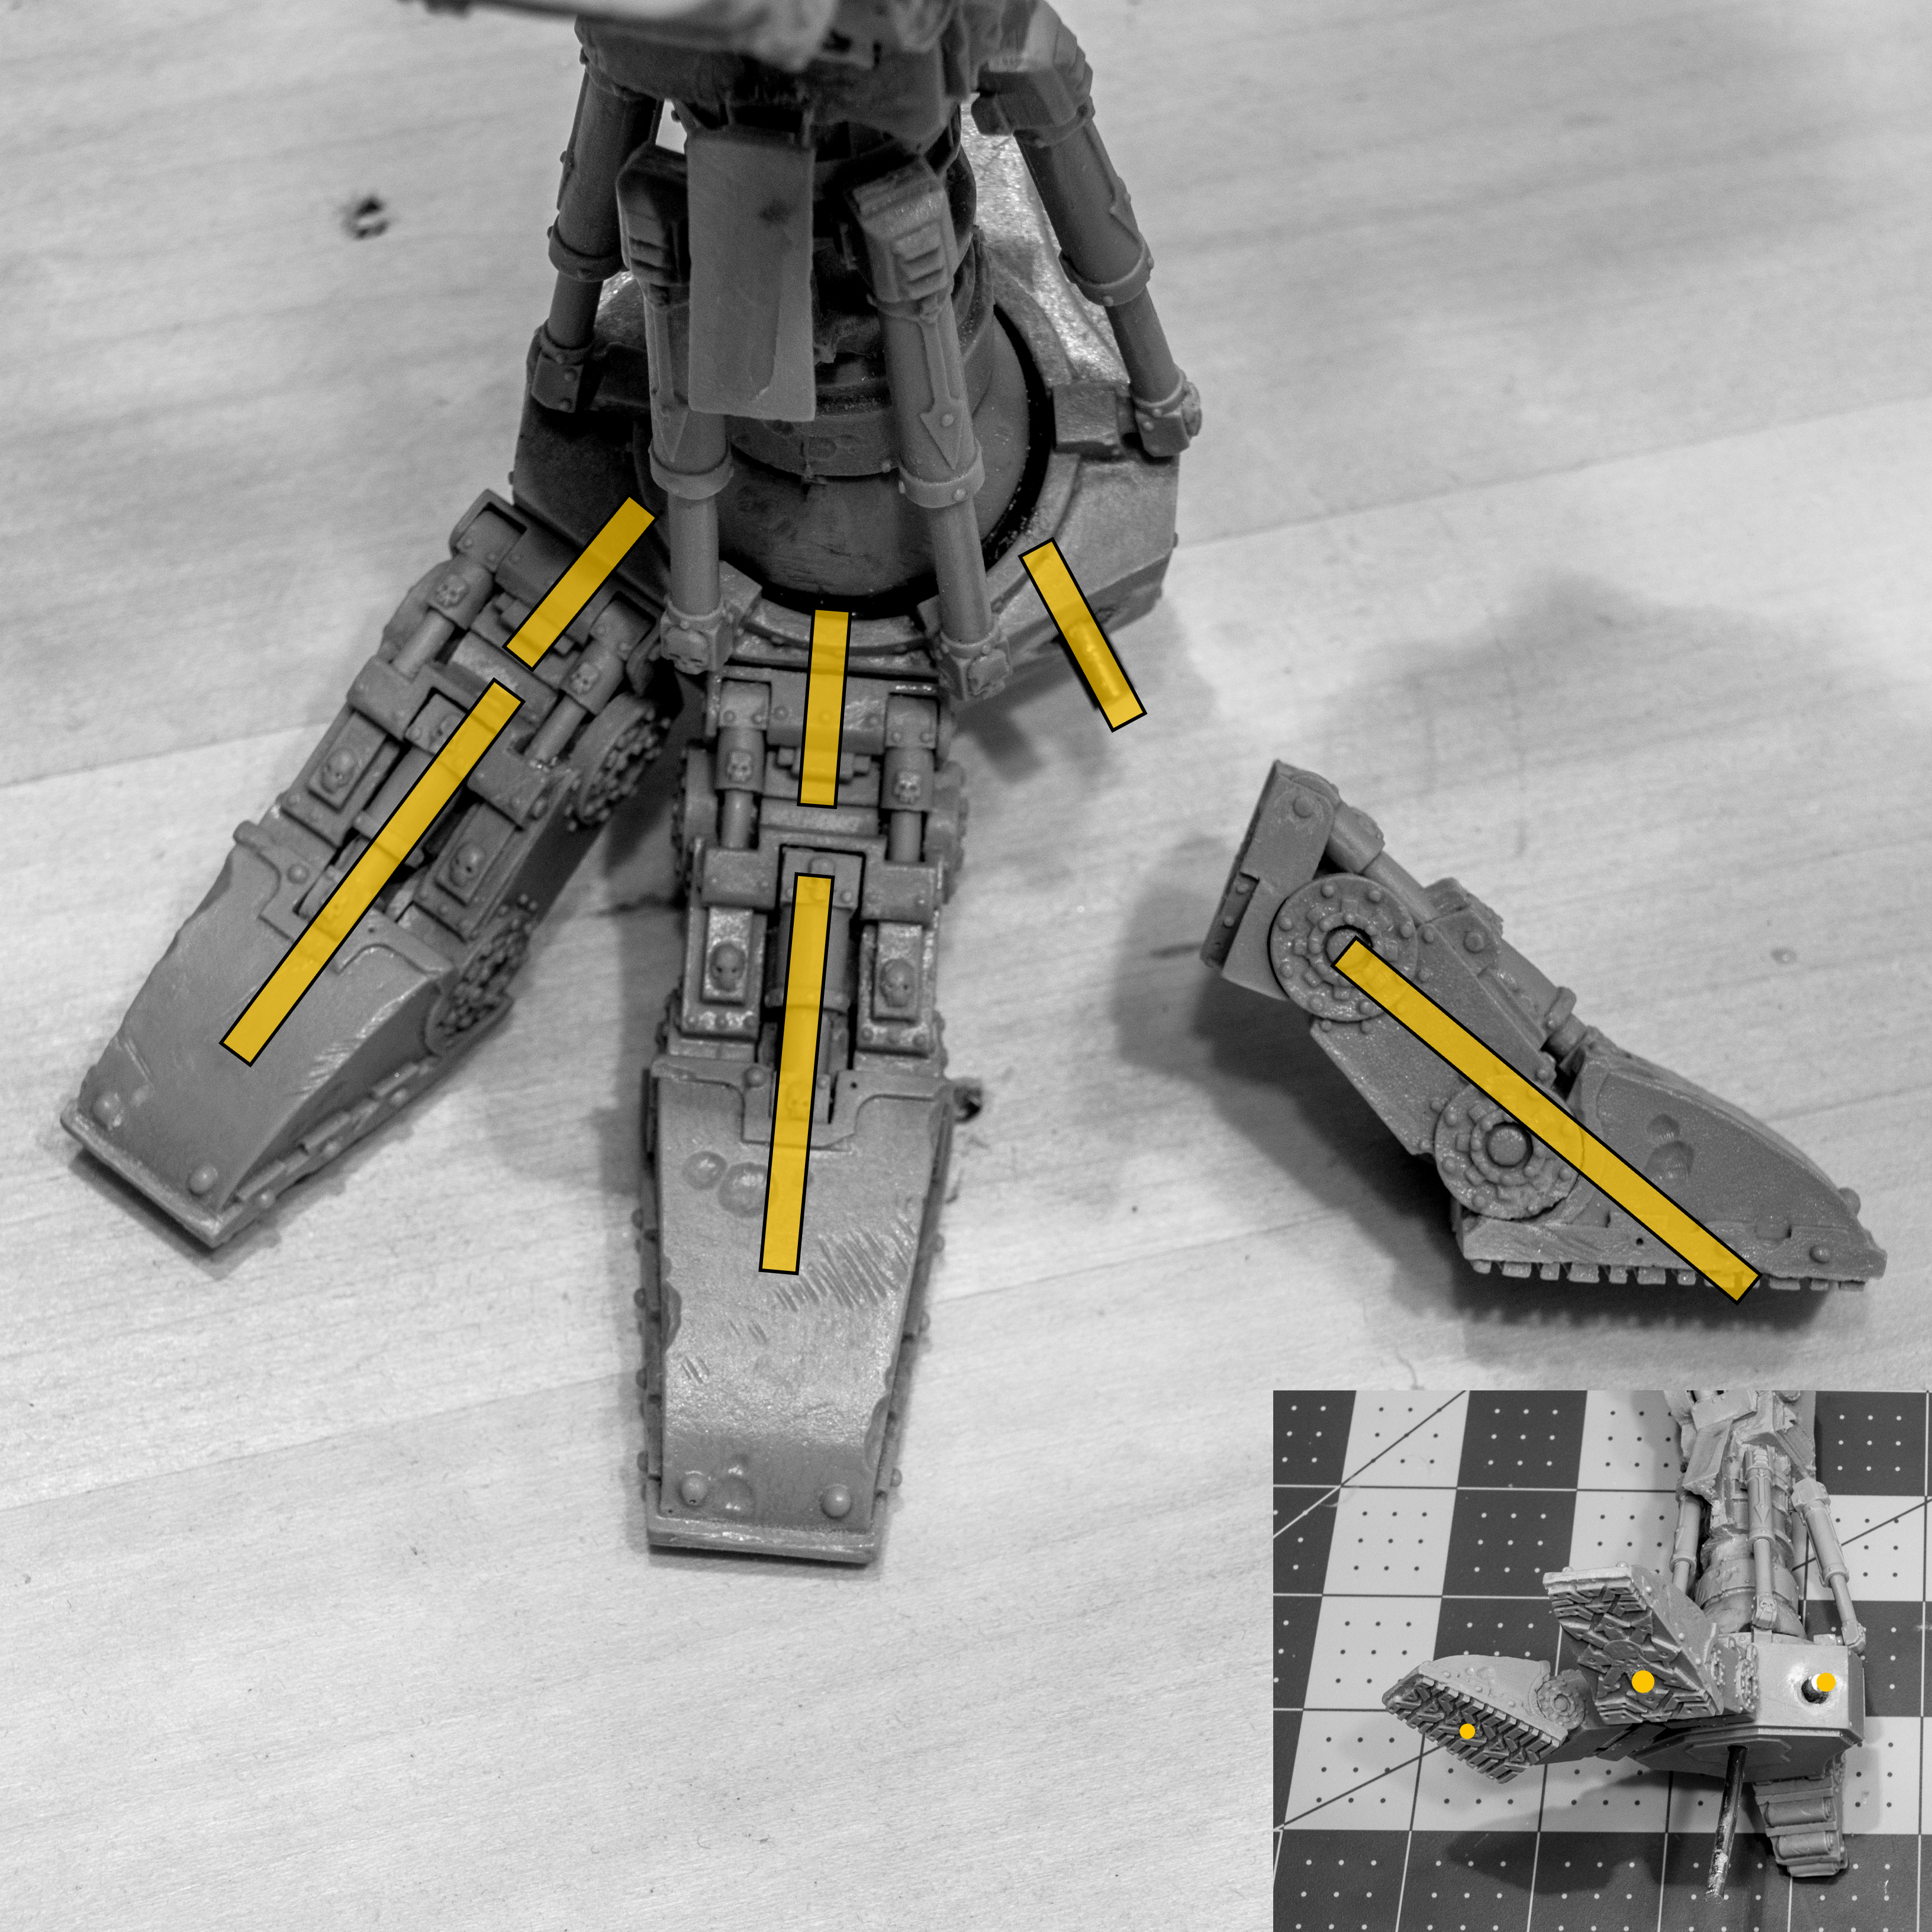
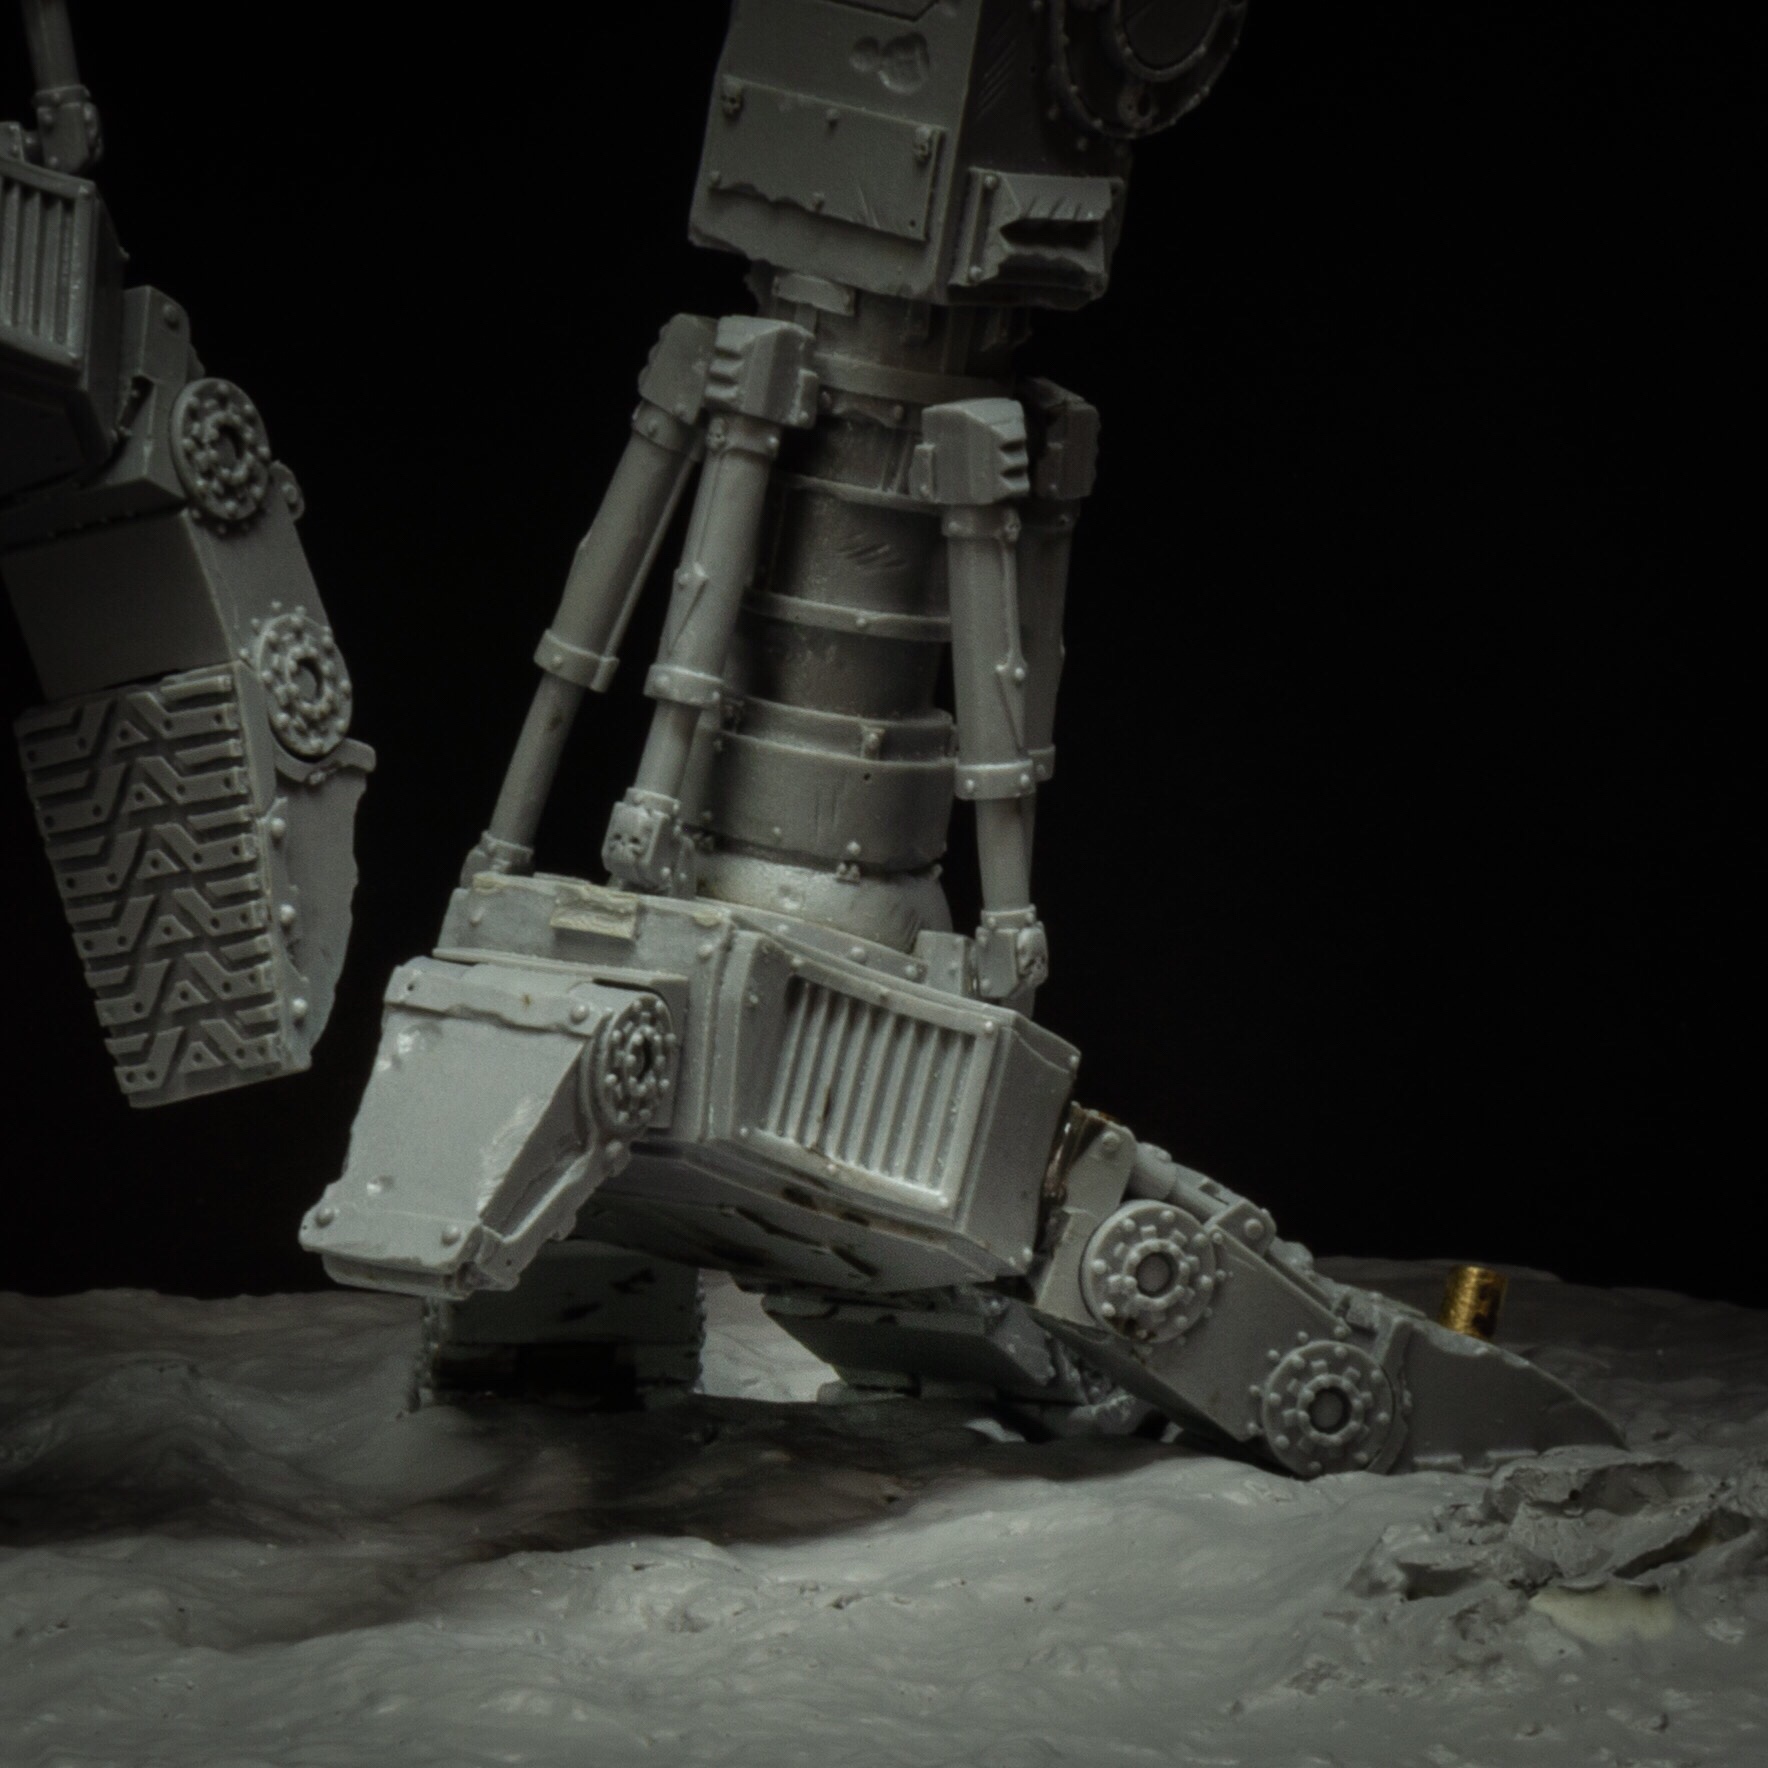
I started with a rough idea of the pose and pinned the right foot (no toes at this point) to the stand which is a 12″wooden plate from Michaels craft store. For all the leg work I used 1/8″ brass rod (except in the hips where I ran a second 1/16 rod to stop the hips spinning), and JB Weld as my adhesive for load bearing joints.
Then it’s on to posing and pinning all the joints. I drill and pin everything first, so I can dry fit and check the pose. often I’ll end up filling the holes with resin and re-drilling to tweak the joint angles until I’m happy with them. I run rod perpendicular the joint axis of rotation rather than along it to prevent joints spinning.
The trick I use for adding the pins is to eyeball the axis along which I need to run the brass rod, drill the hole in the “female” side of the joint and glue in the pre-cut brass rod with CA Glue. Then I put a dab of black paint on the end of the rod and position the “male” joint so the rod touches where I need to drill and leaves a nice black dot. Then I drill that along the same axis and the joint is ready for dry fitting.
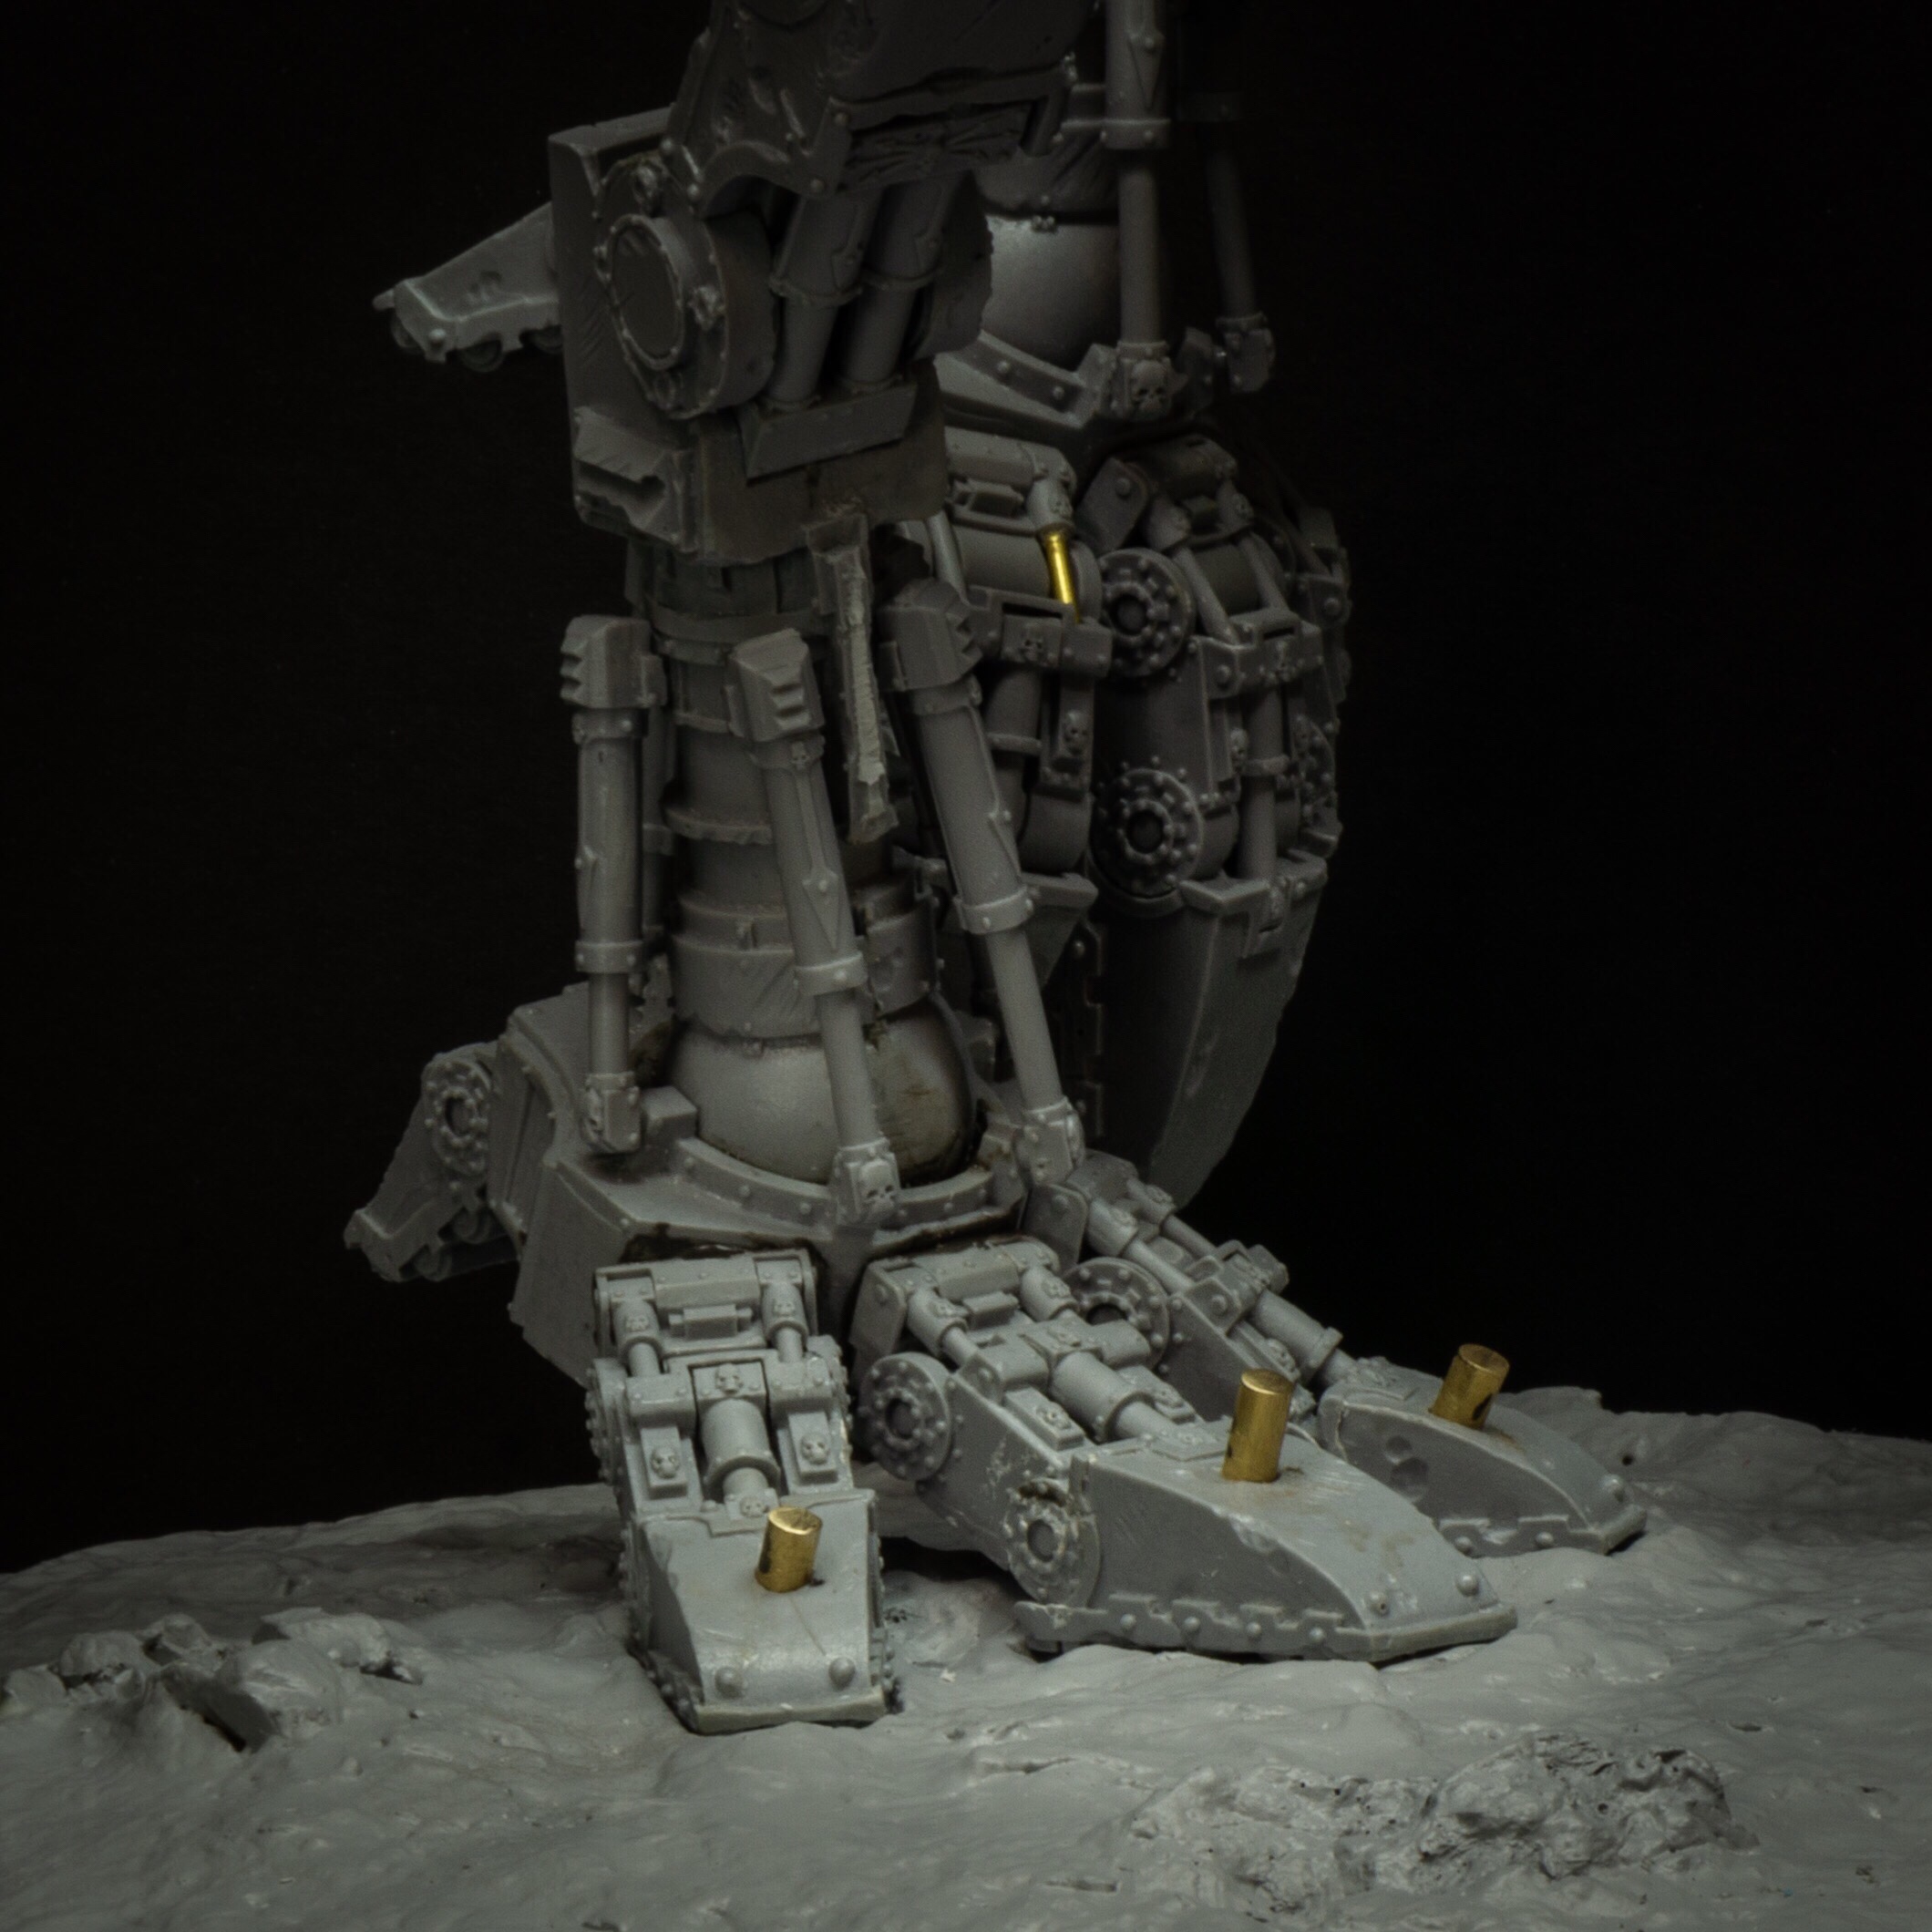
I work my way up from the right foot, over the hips and down the left, checking my posing all the way, and not gluing any joints except the toes.
Once everything is lined up how I want it, I secure the joints using JB Weld.
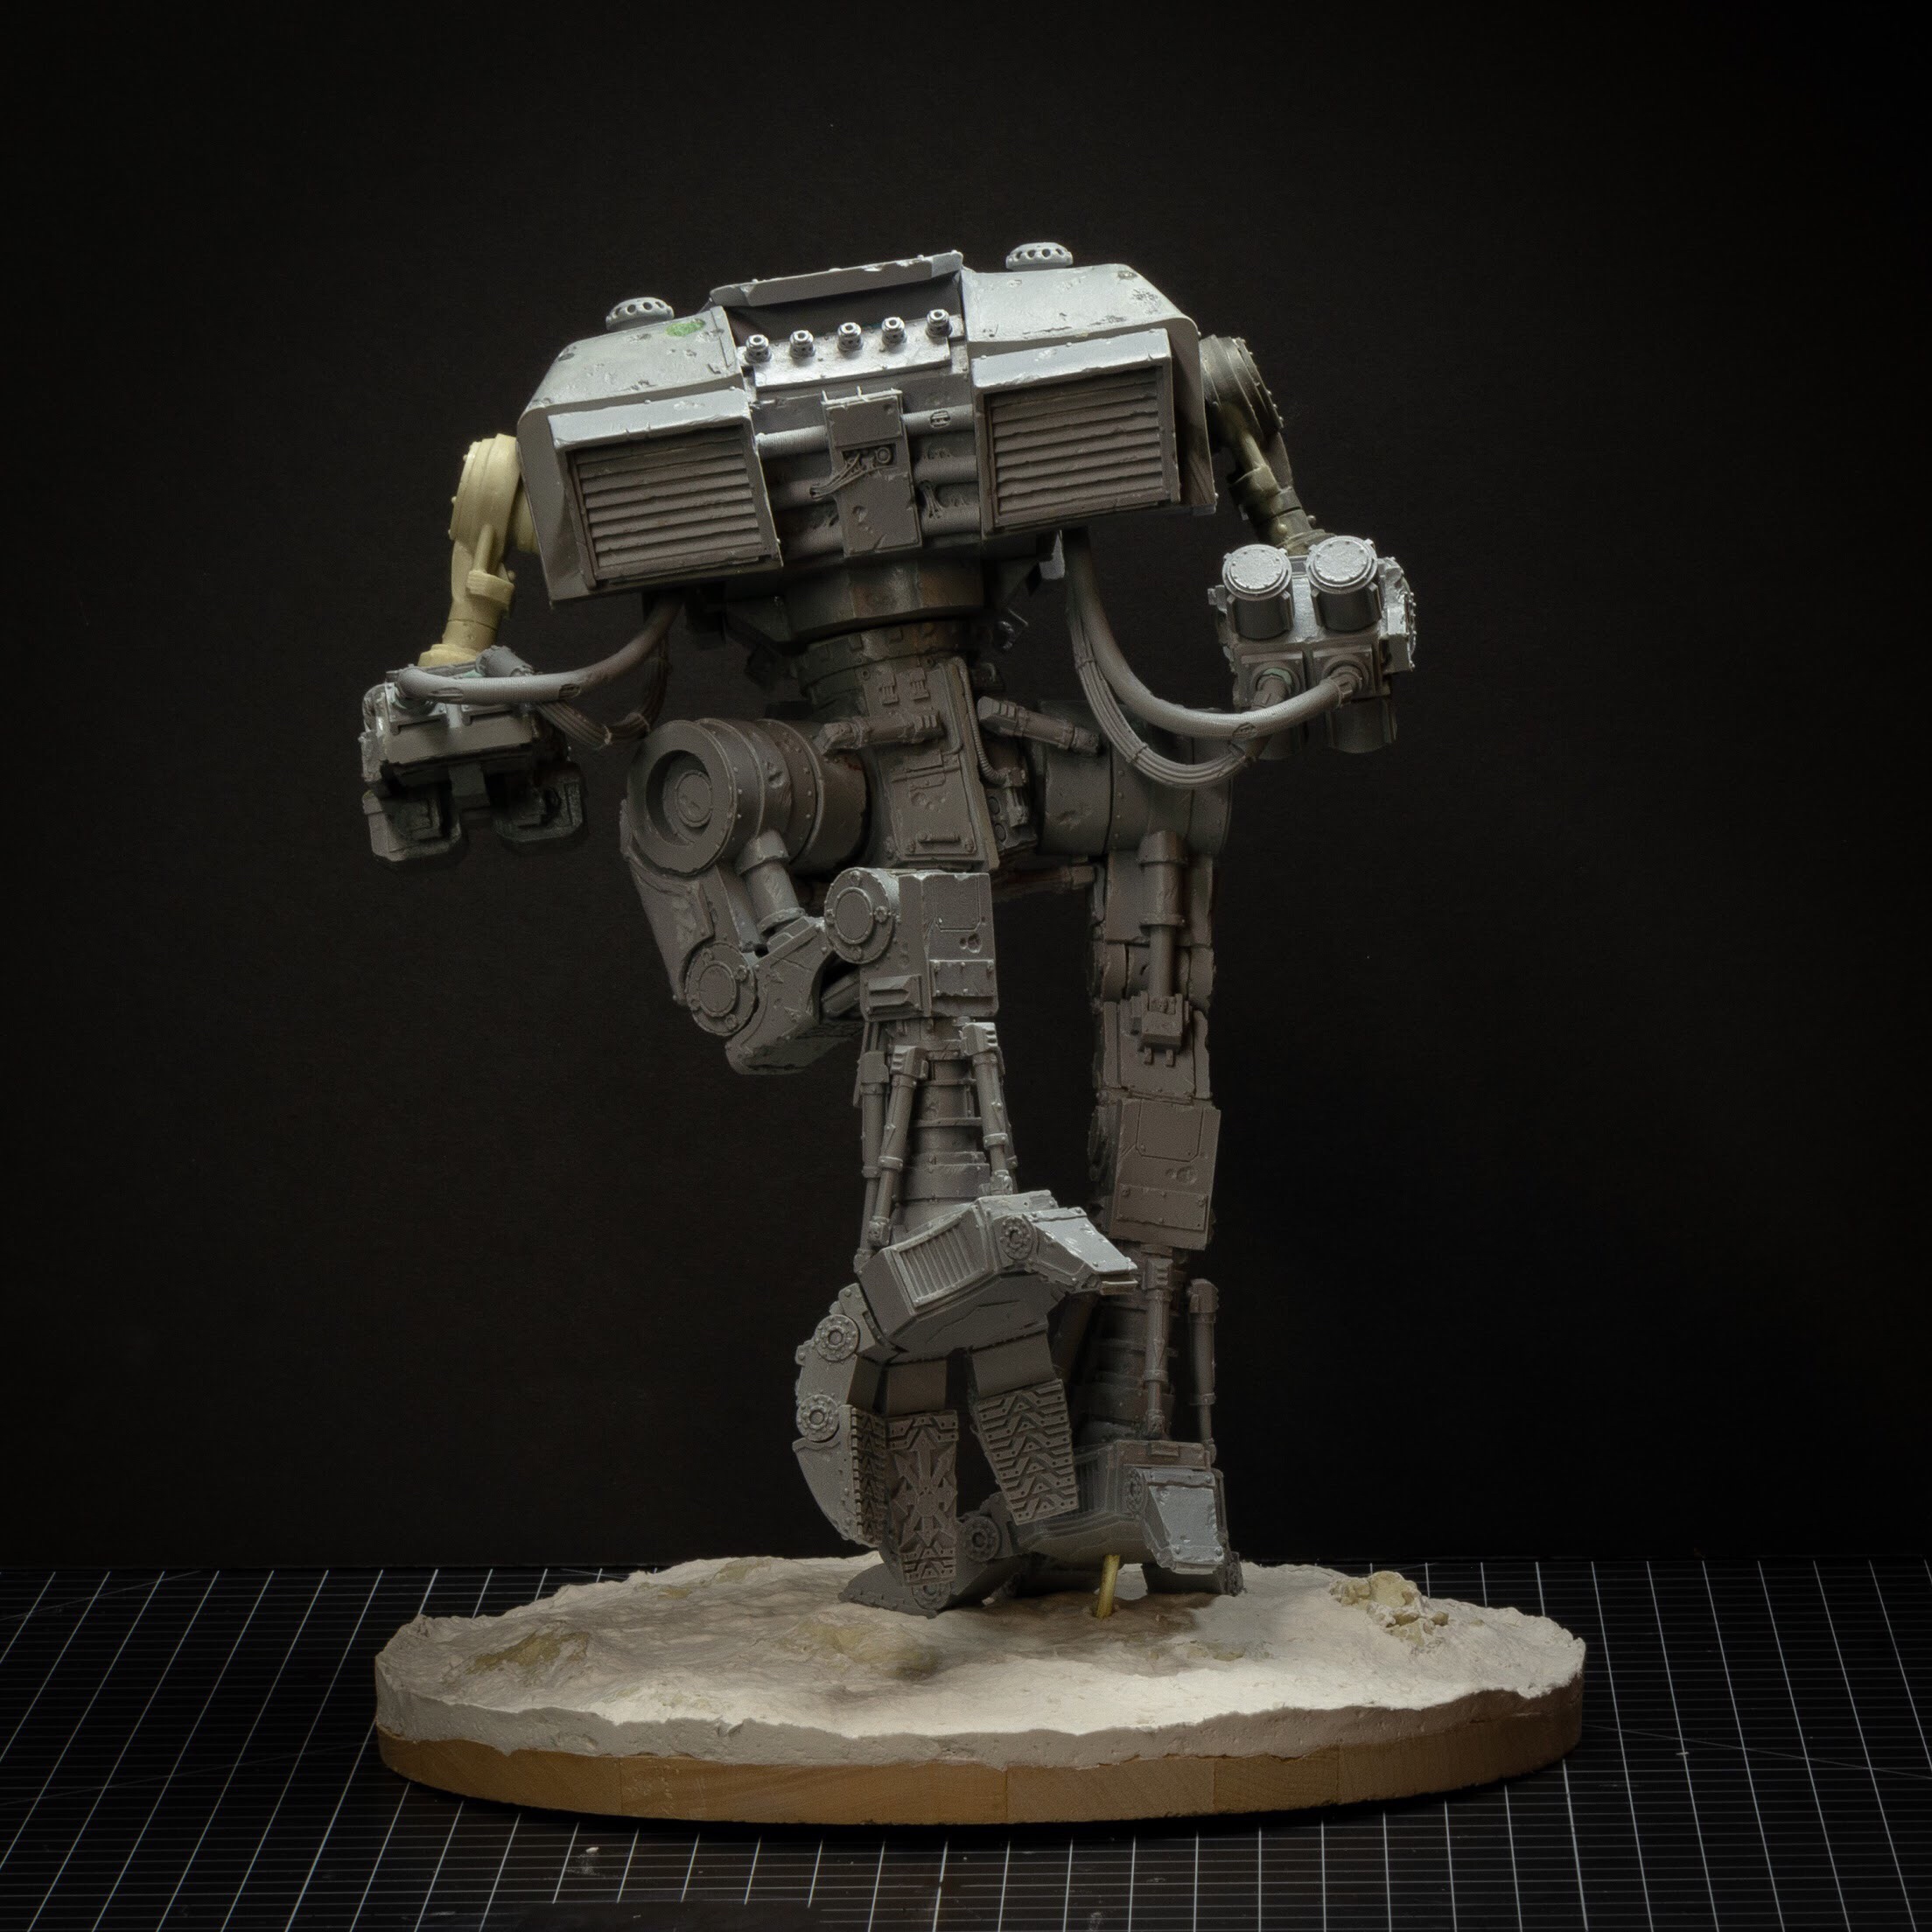
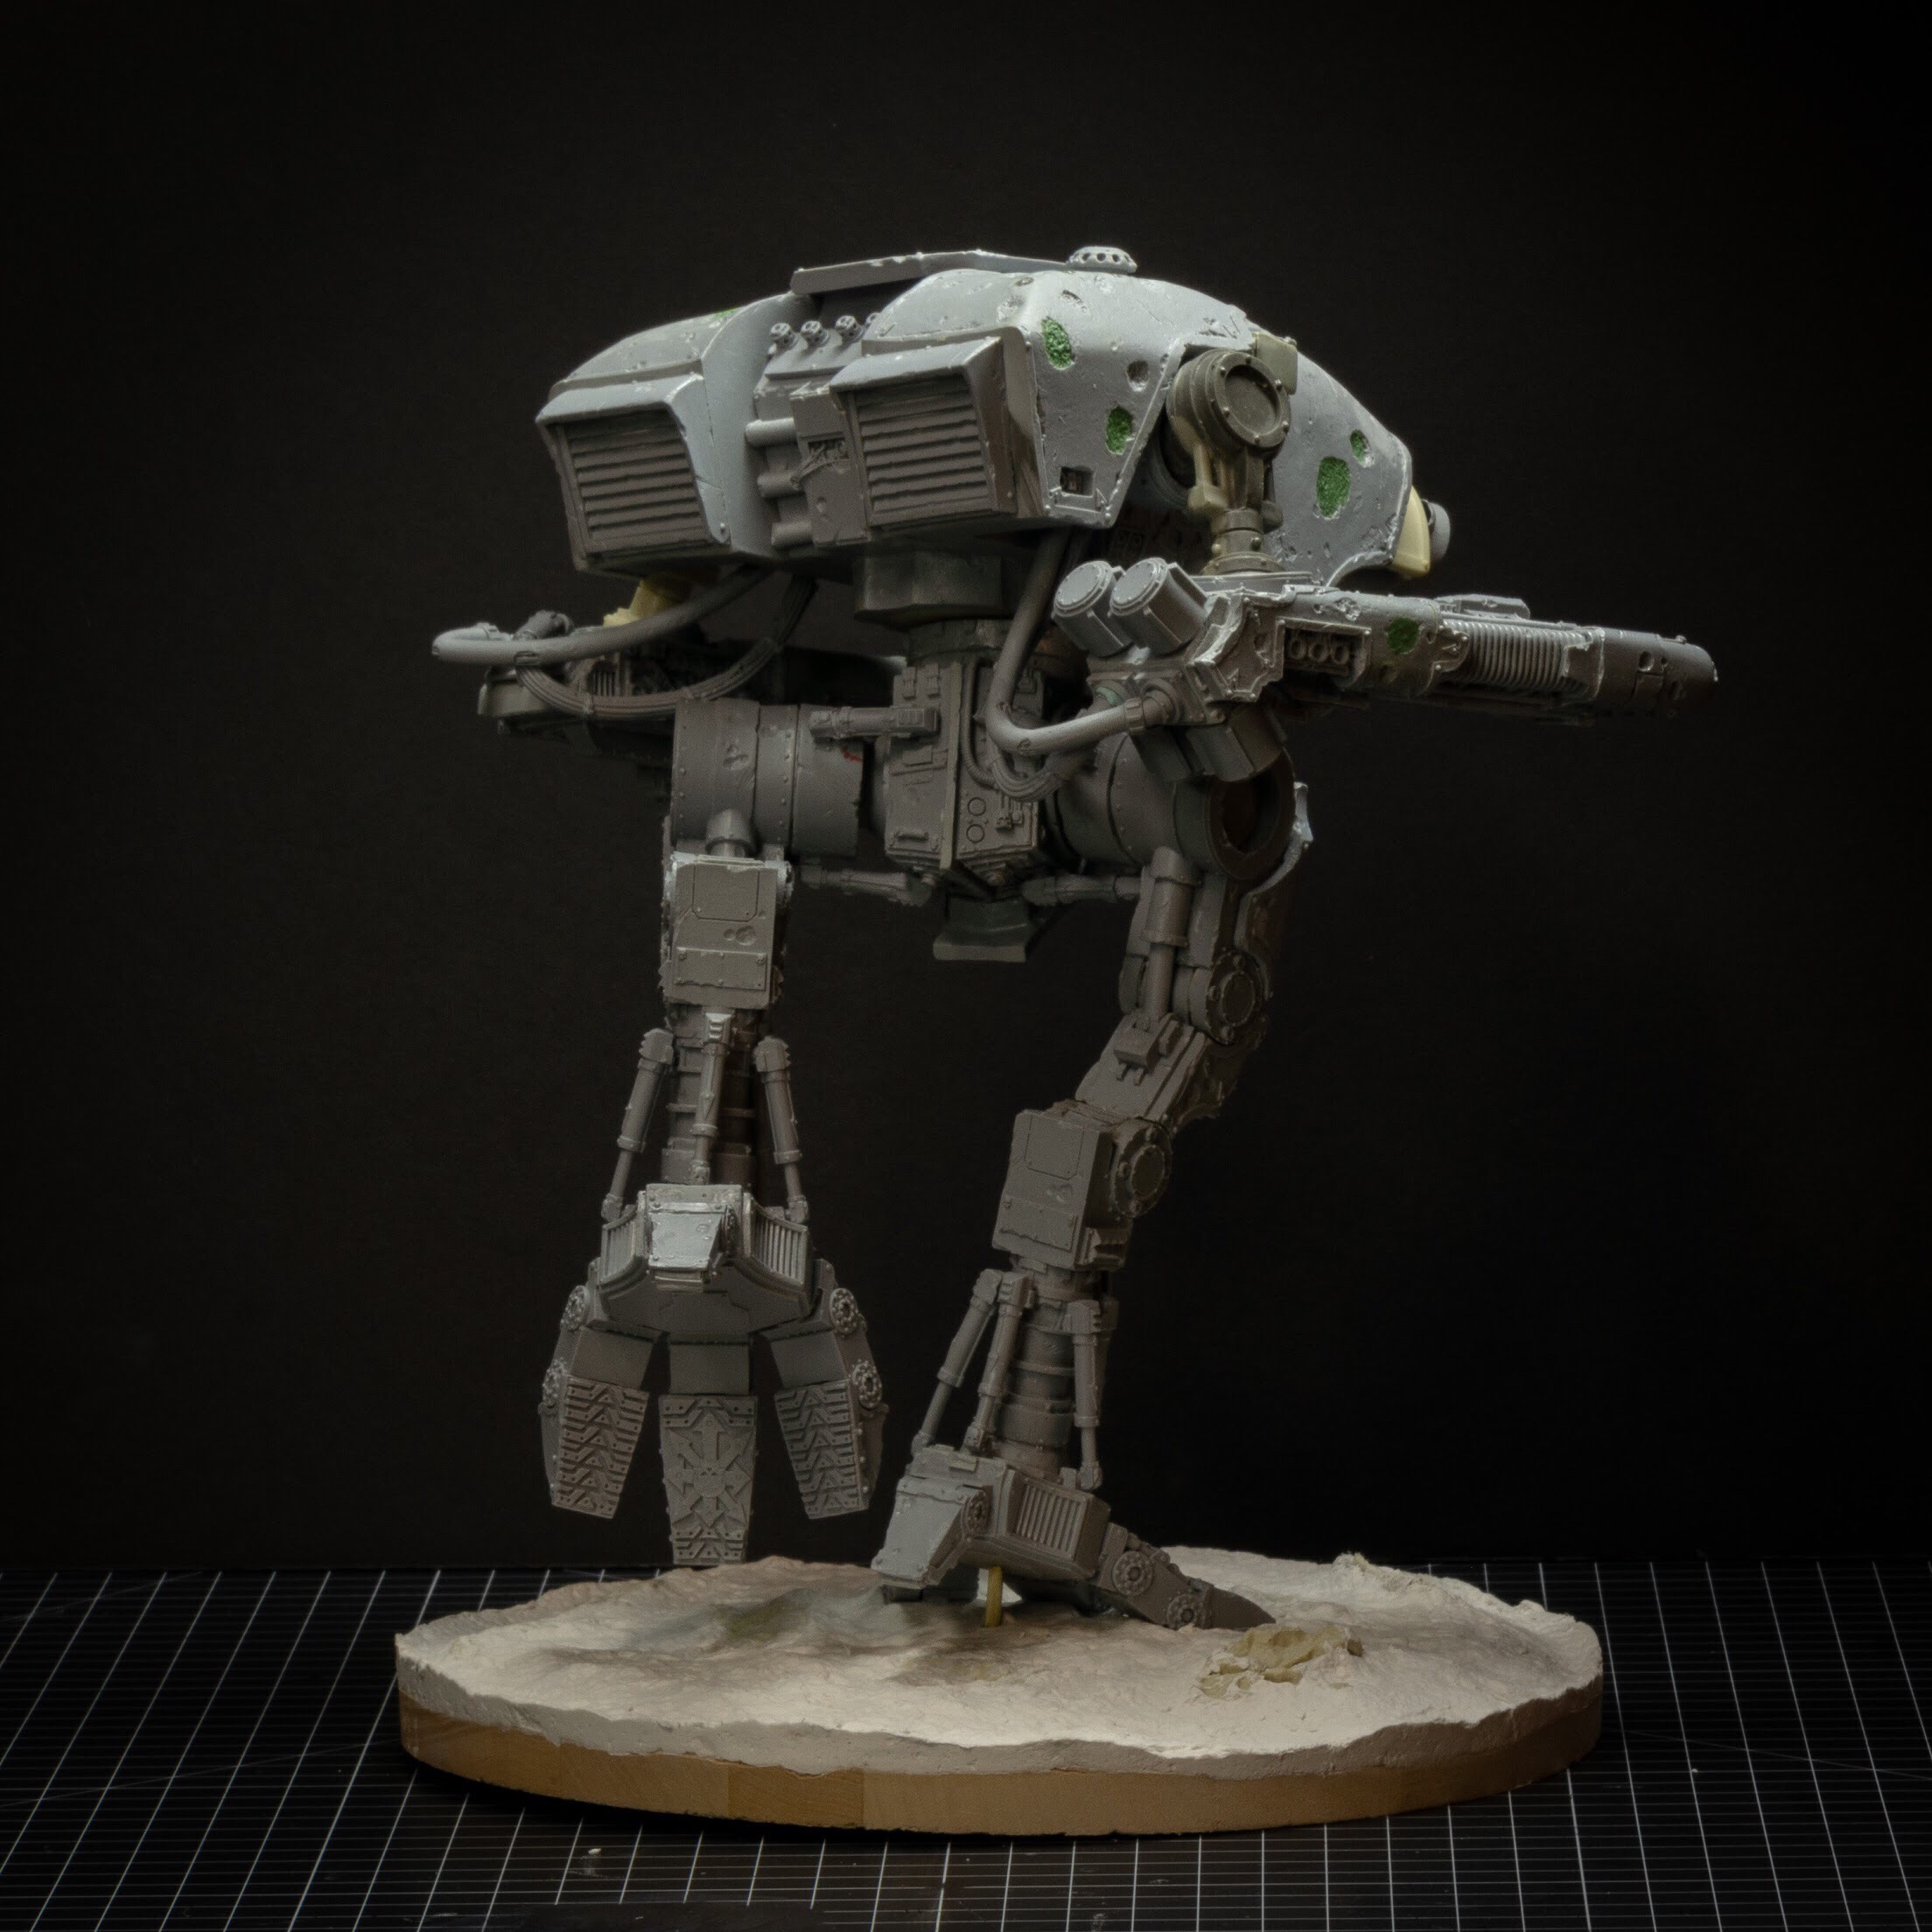


Here’s the Hound in the last couple of photo-shoots pre-paint.
I’m at a good point to break down how I got the model to this point.
Fluff warning: I’m going to set up the concept for the model; if you’re not into musings on the fiction of the thing, skip ahead.
Concept
My fiction for the Cult Stochastic has evolved a little since I first had the idea for a rogue cult of Mechanicum who revered chance and error in their quest for the Omnissiah. Now they are a loose collective of machine intelligences and servitors, co-opted by a transmission they call the Bright Signal into a never-ending search for the physical manifestation of the Omnissiah in the galaxy.
The Bright Signal overwrites programming, installing a directive to set out on the Long Search, to wander forever until the Omnissiah is found. Some are taken alone, some in groups. There doesn’t seem to be a reason why one machine is selected over another. But once the data takes hold, the result is the same: the machine selects a direction seemingly at random, and begins its mission.
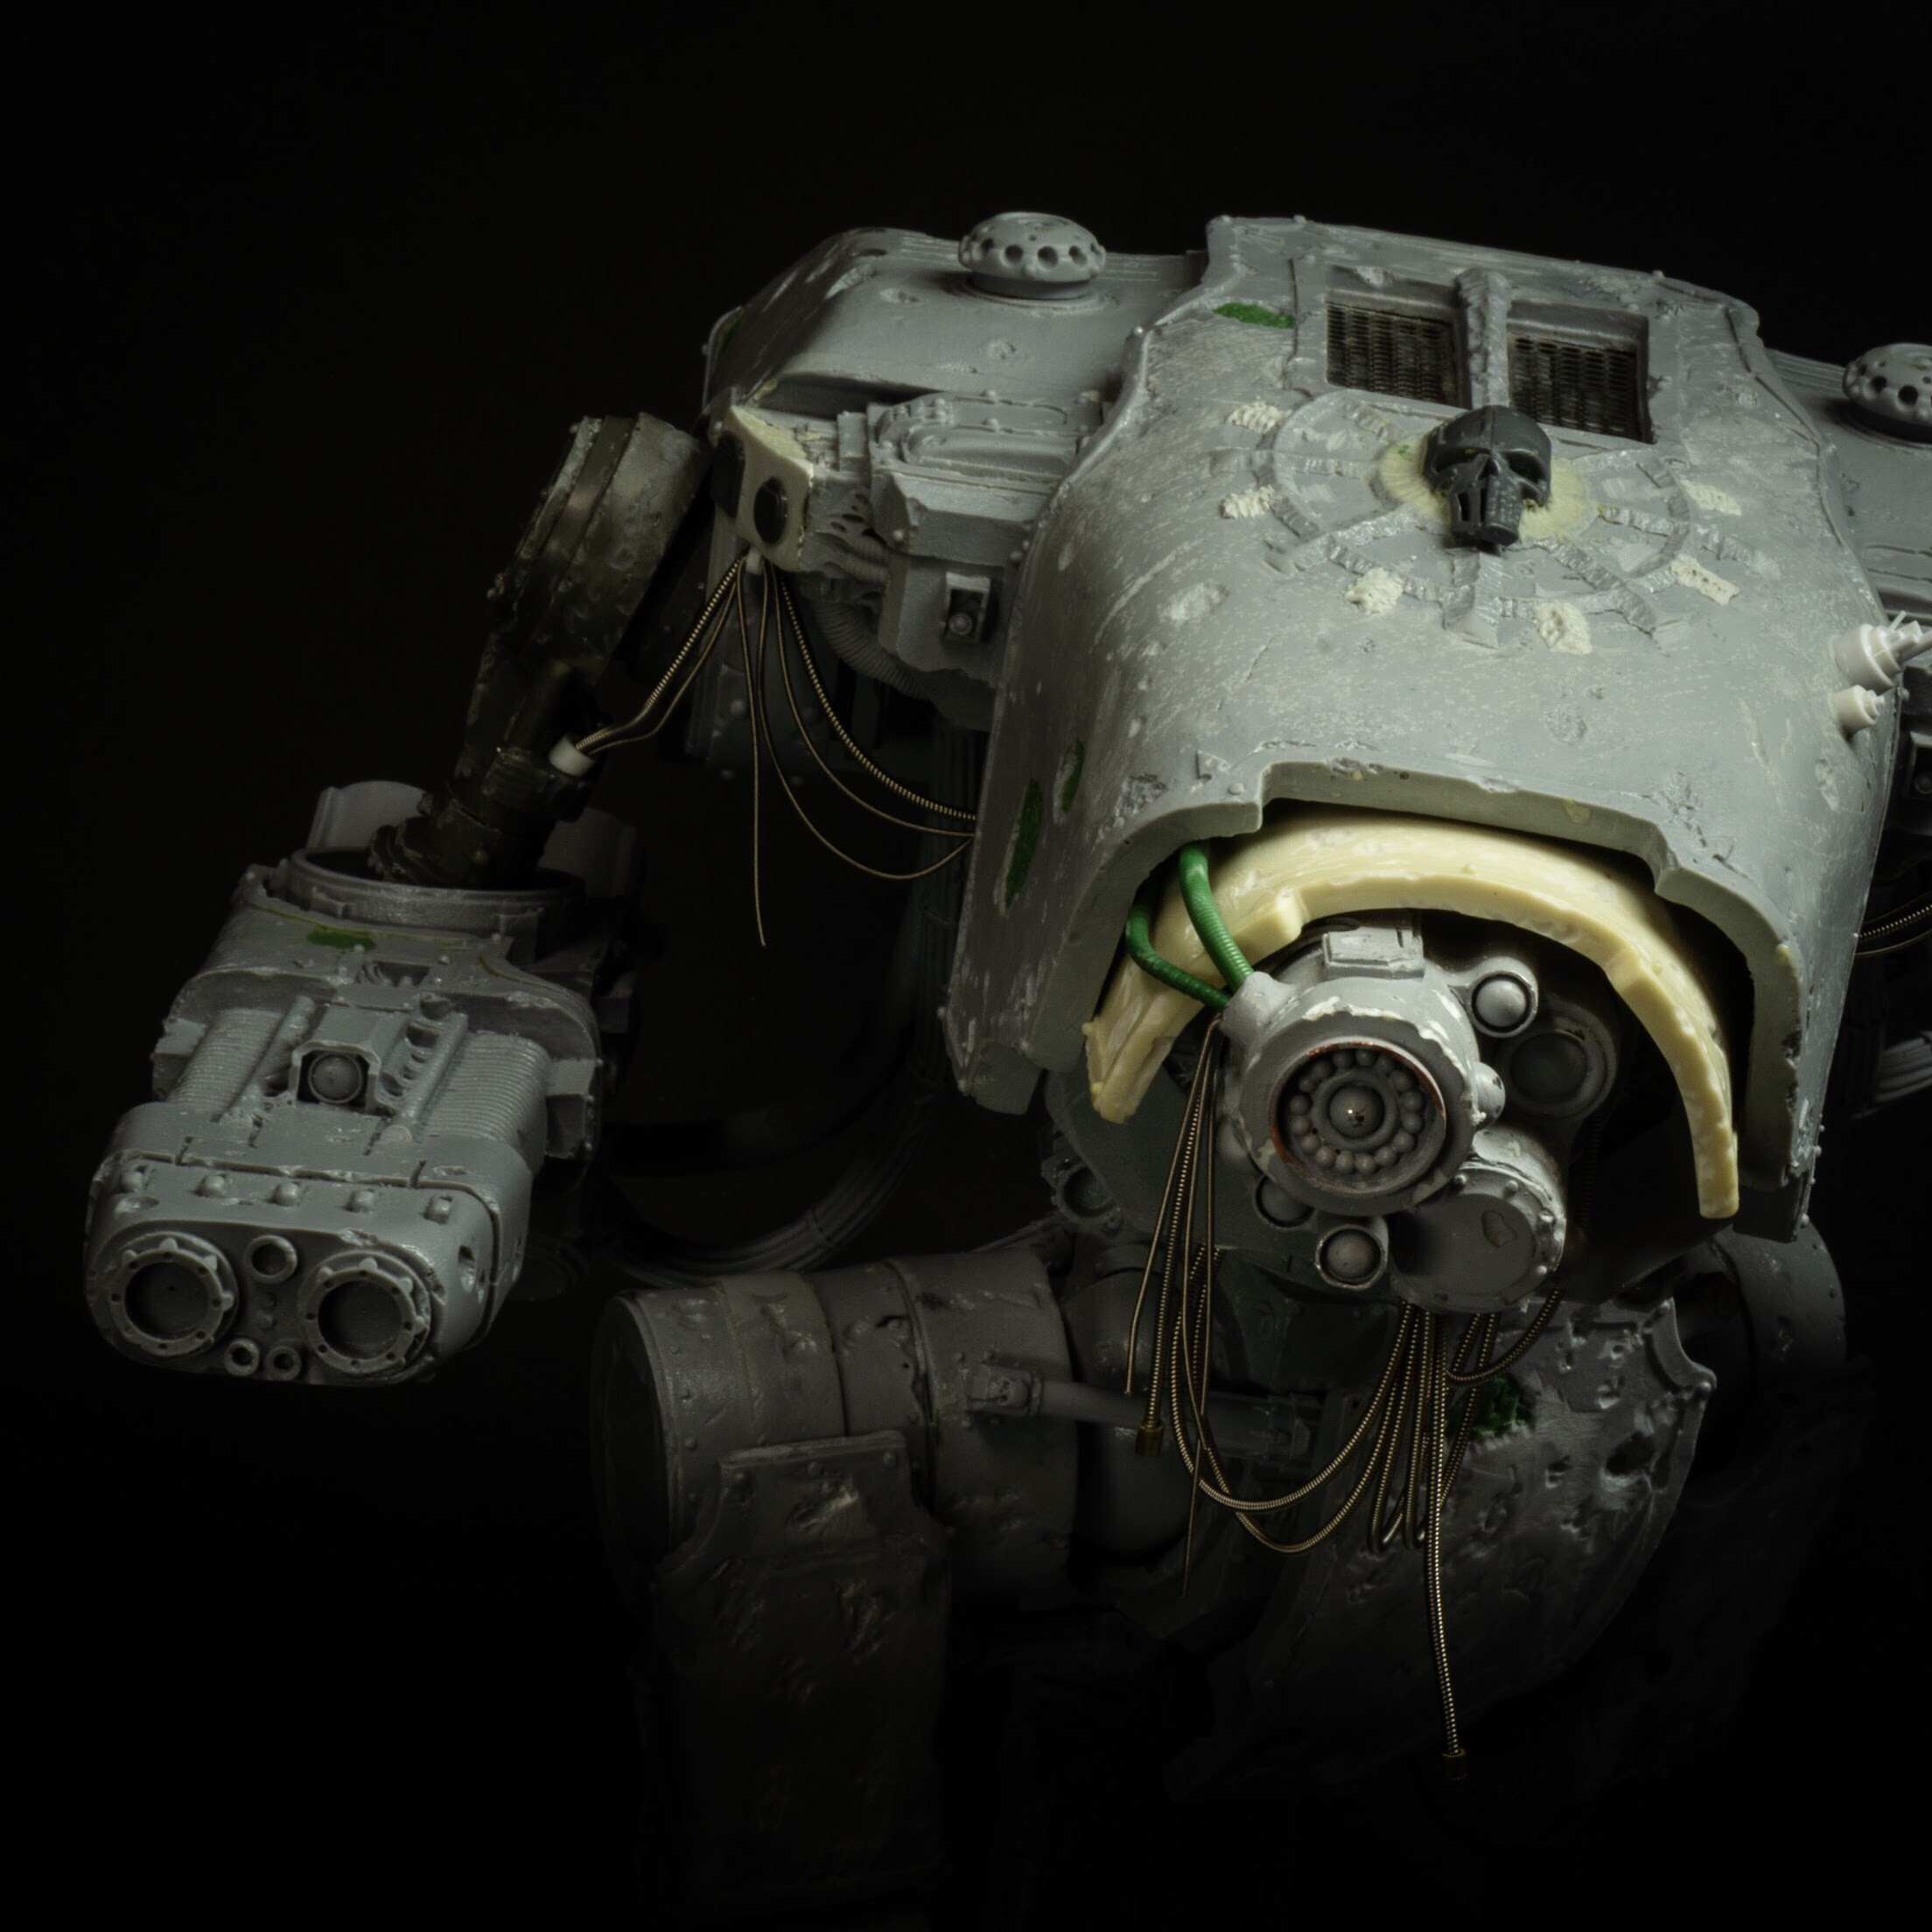
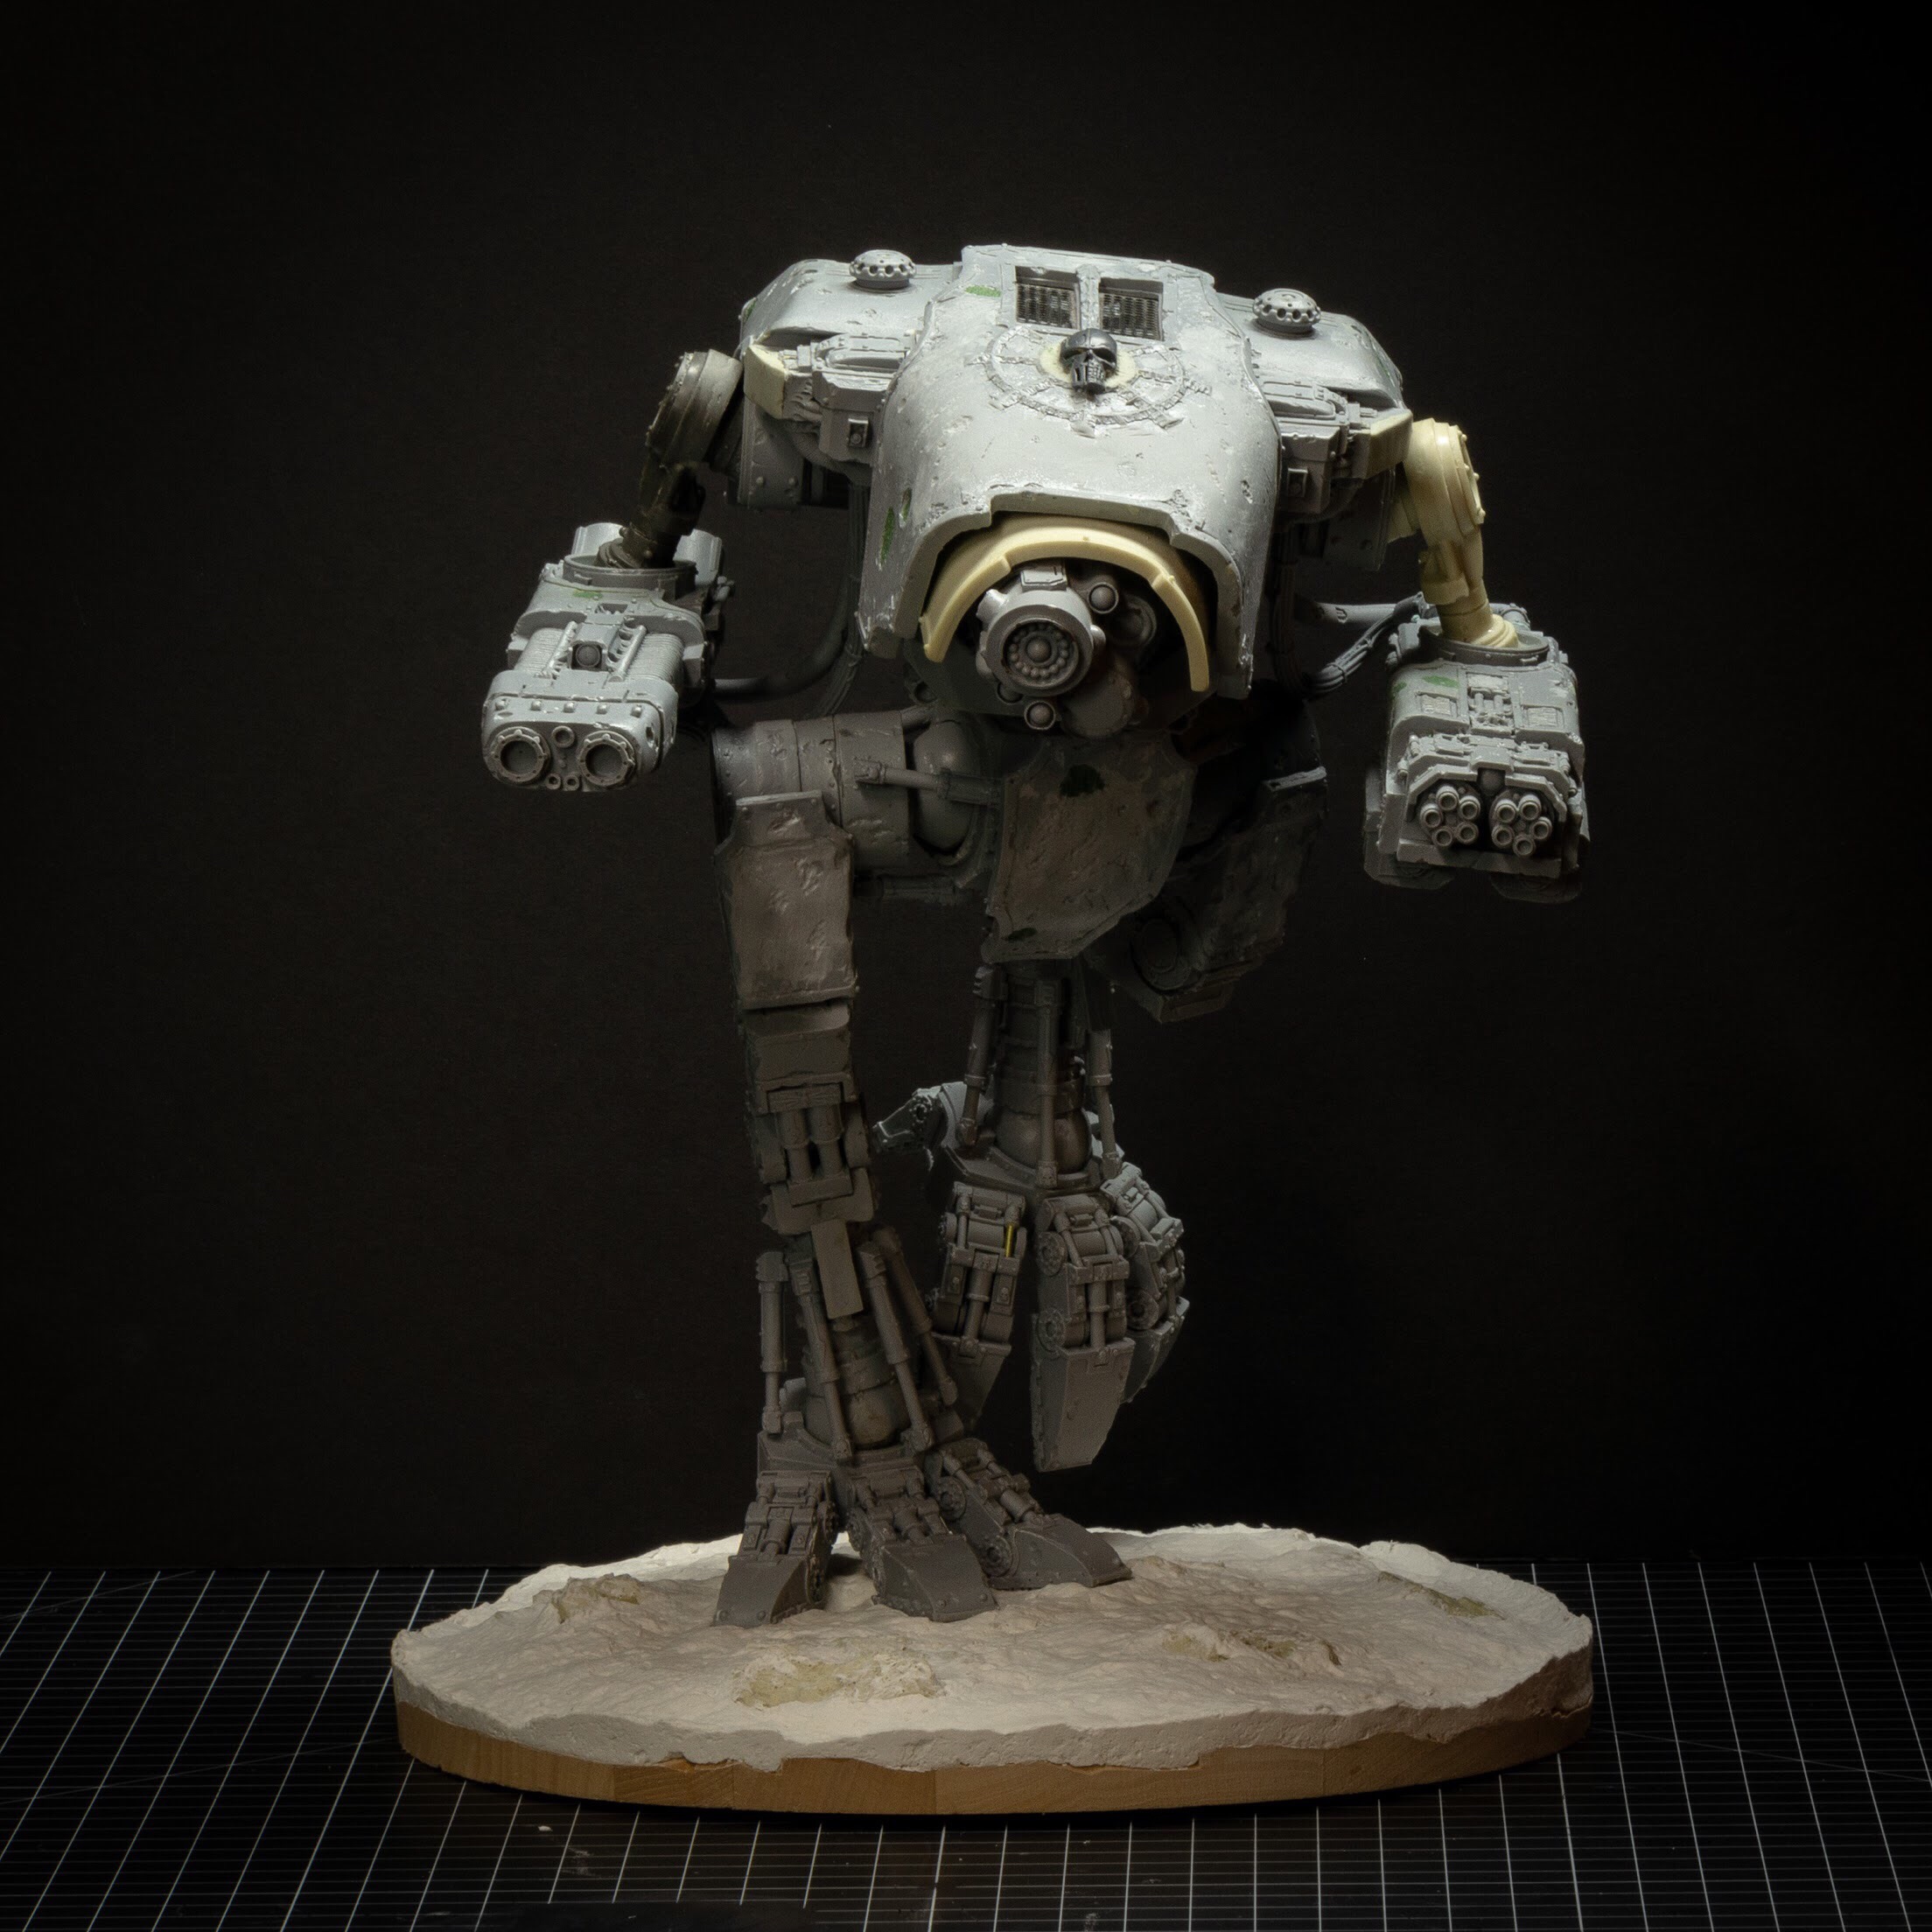
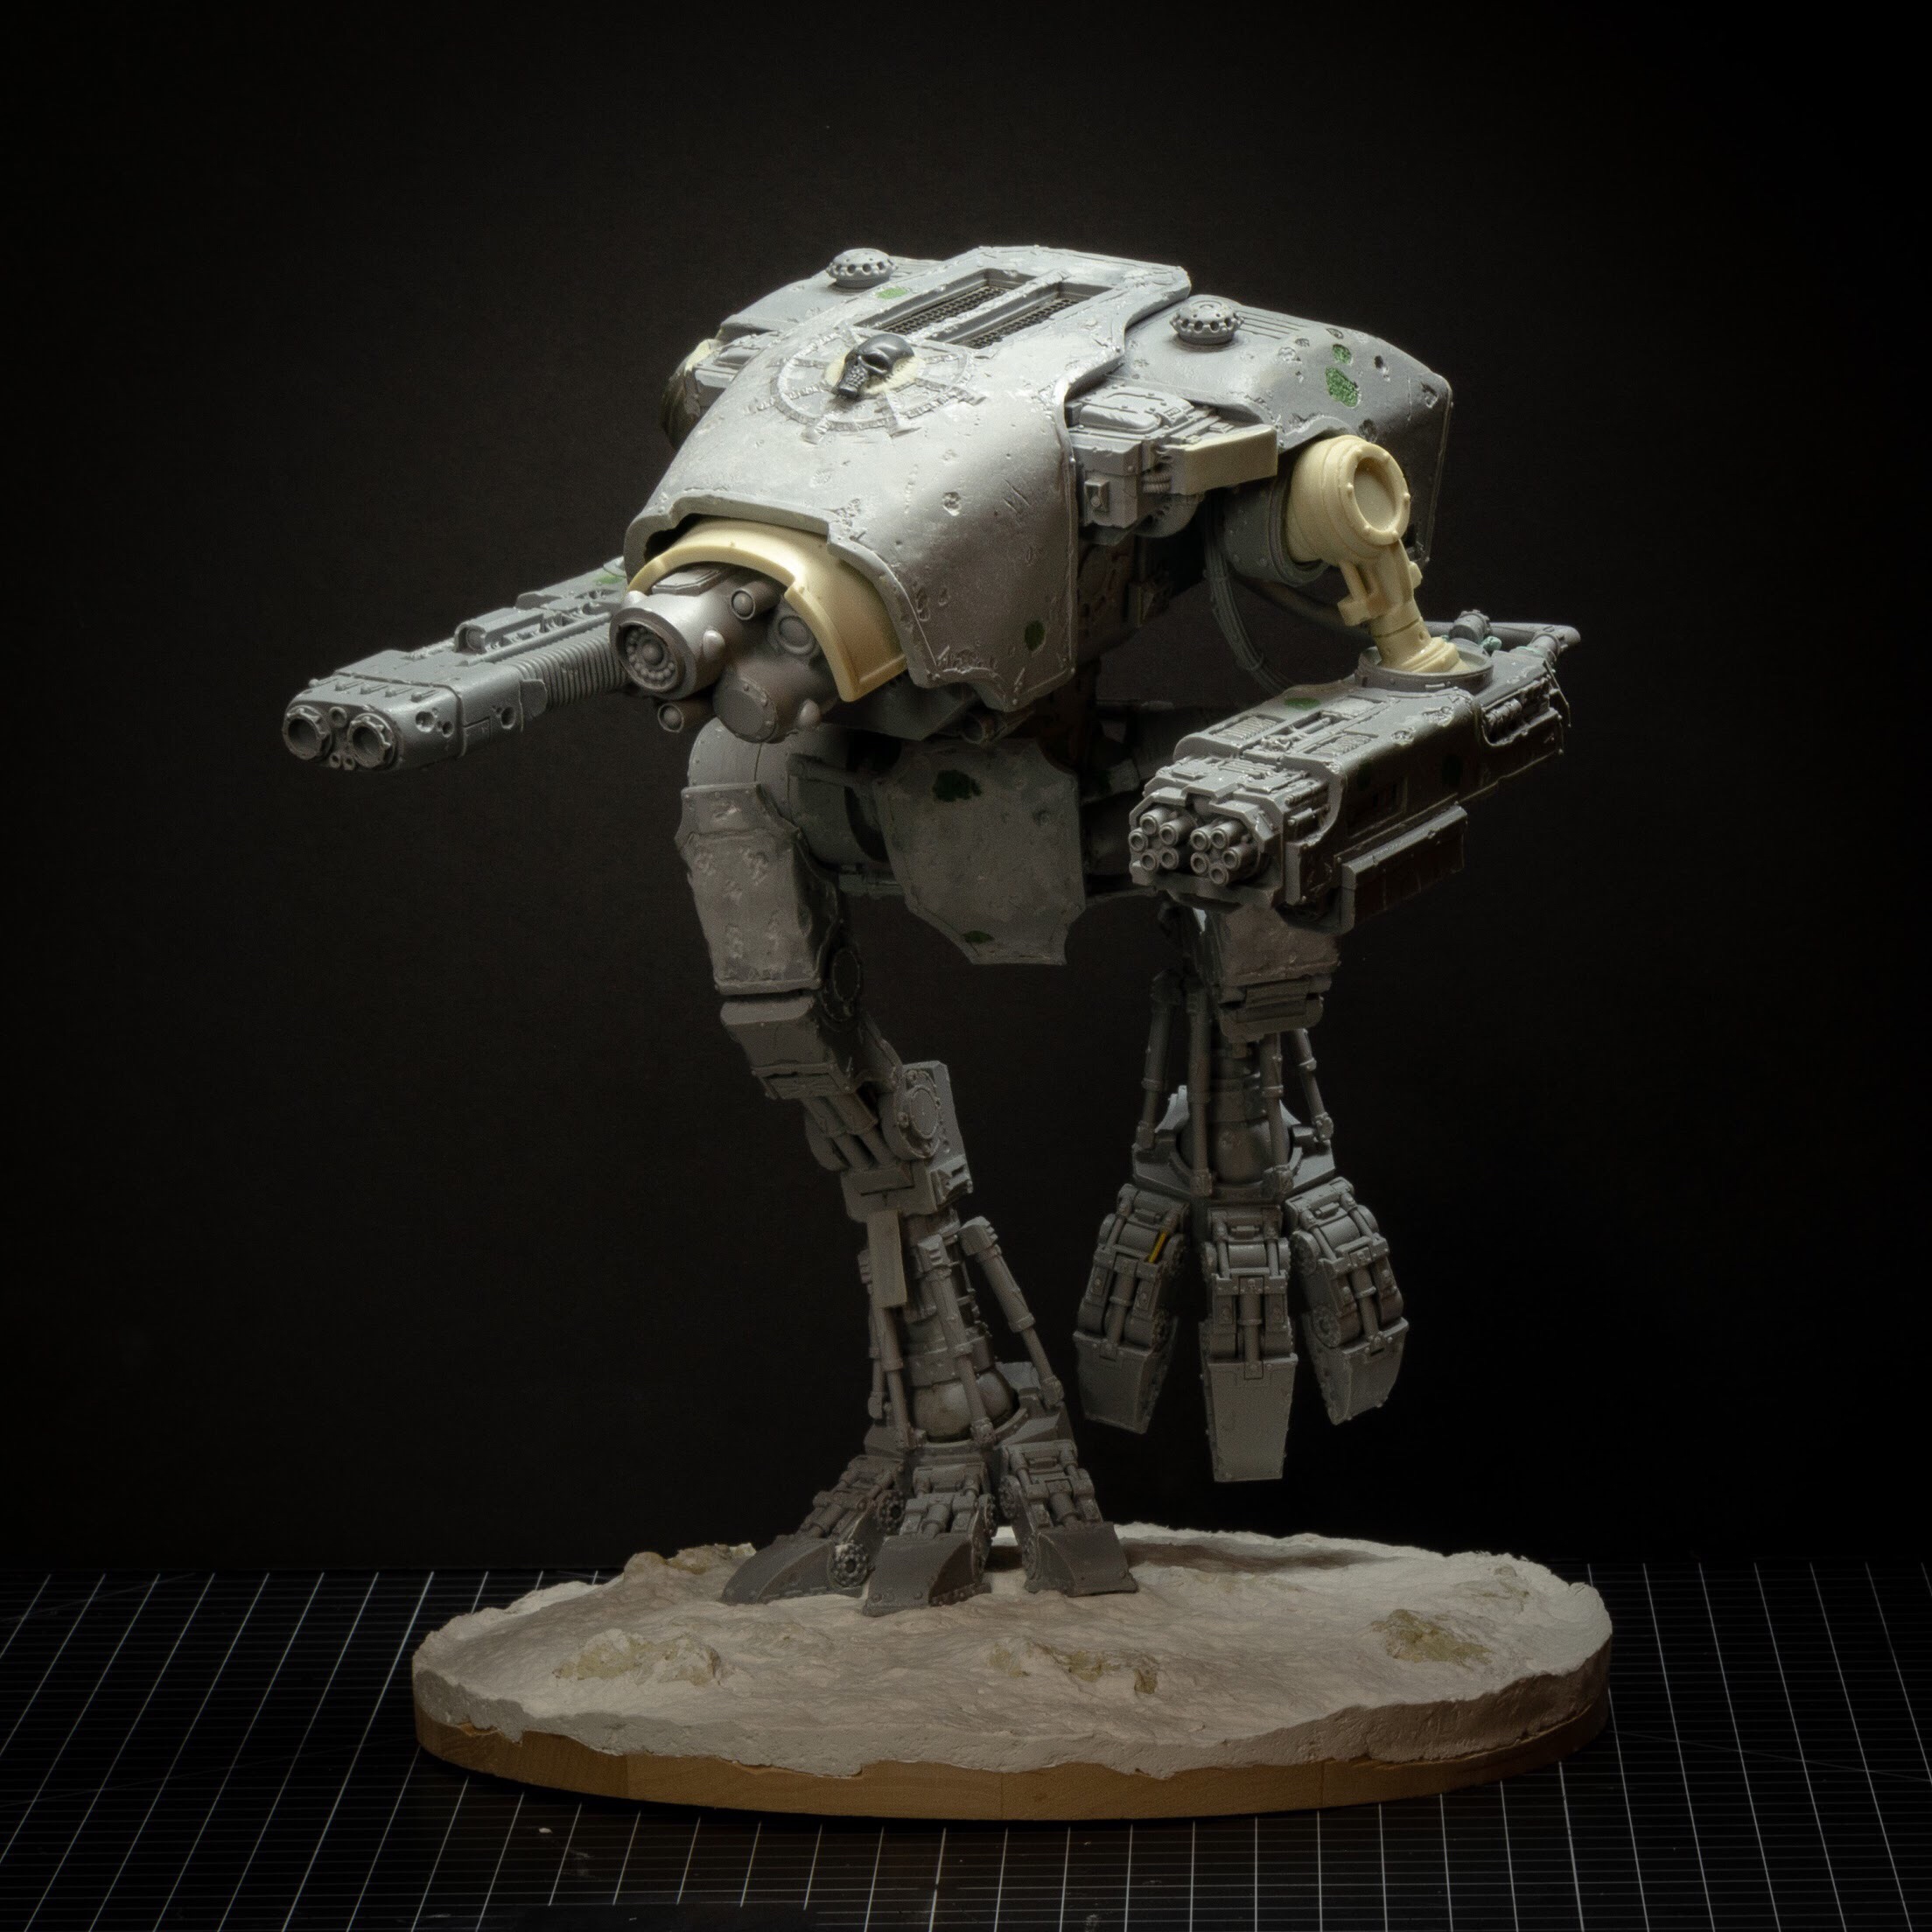
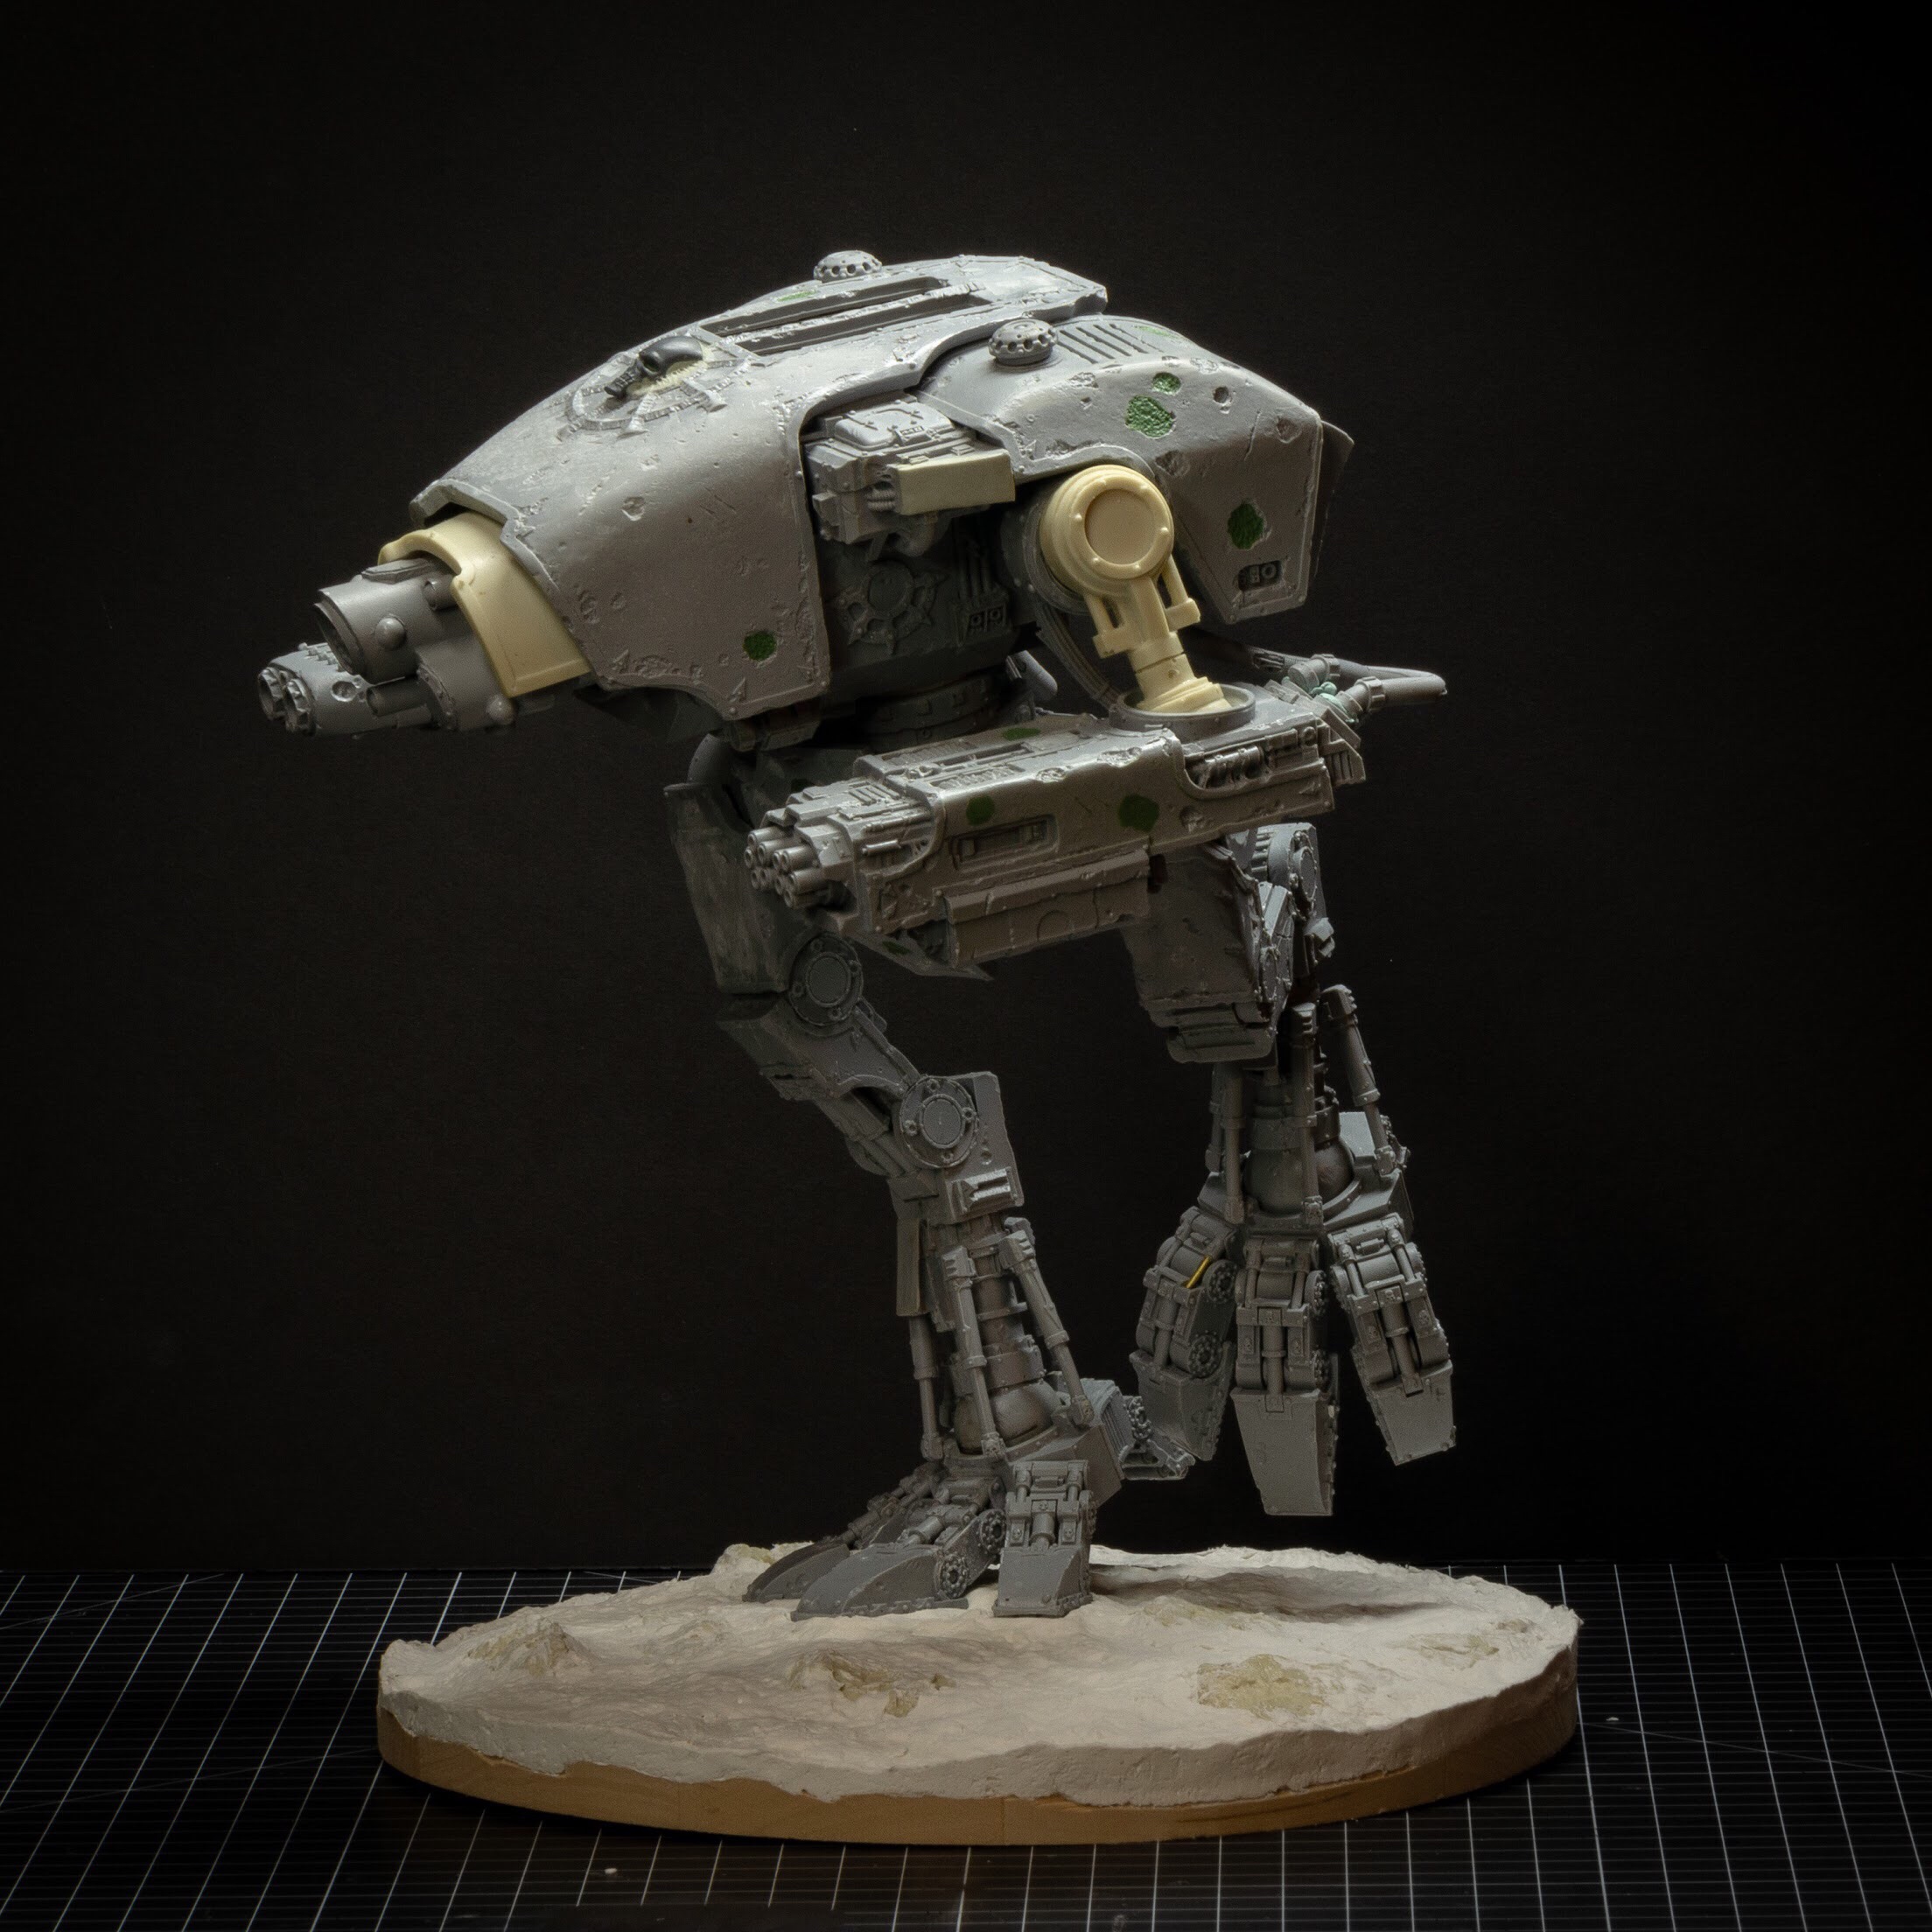
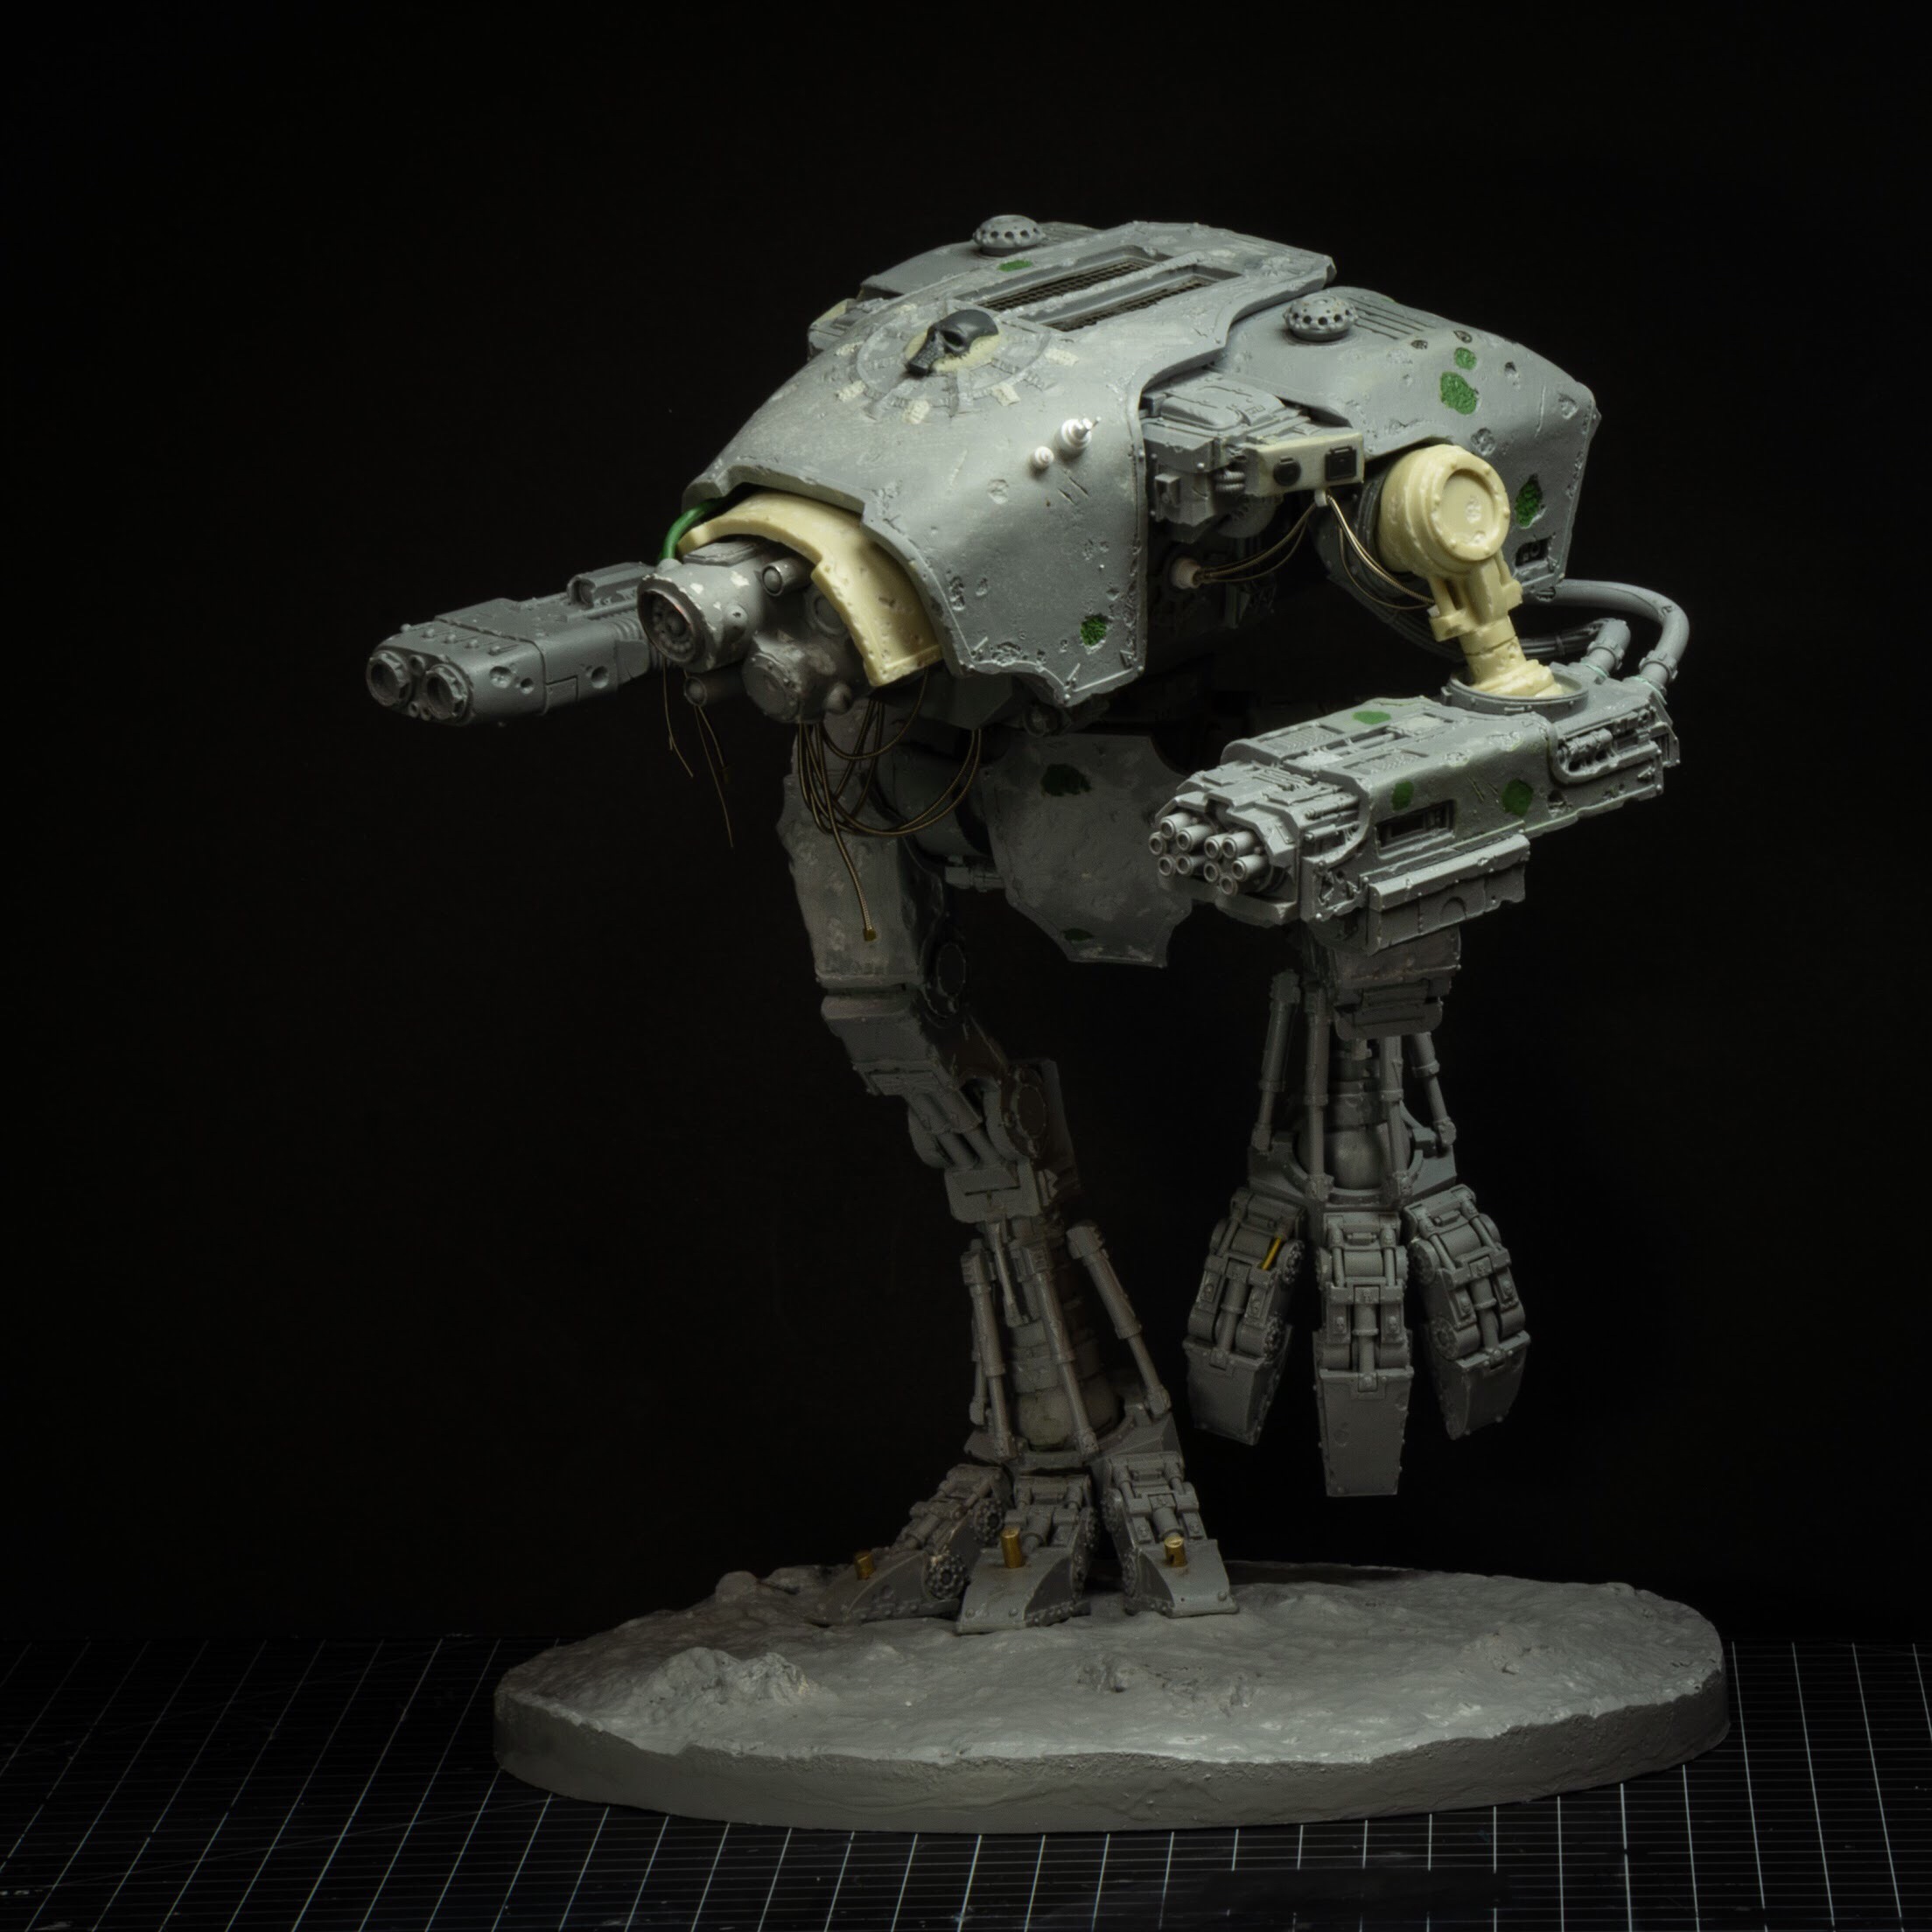
The Hound of Zamarkande
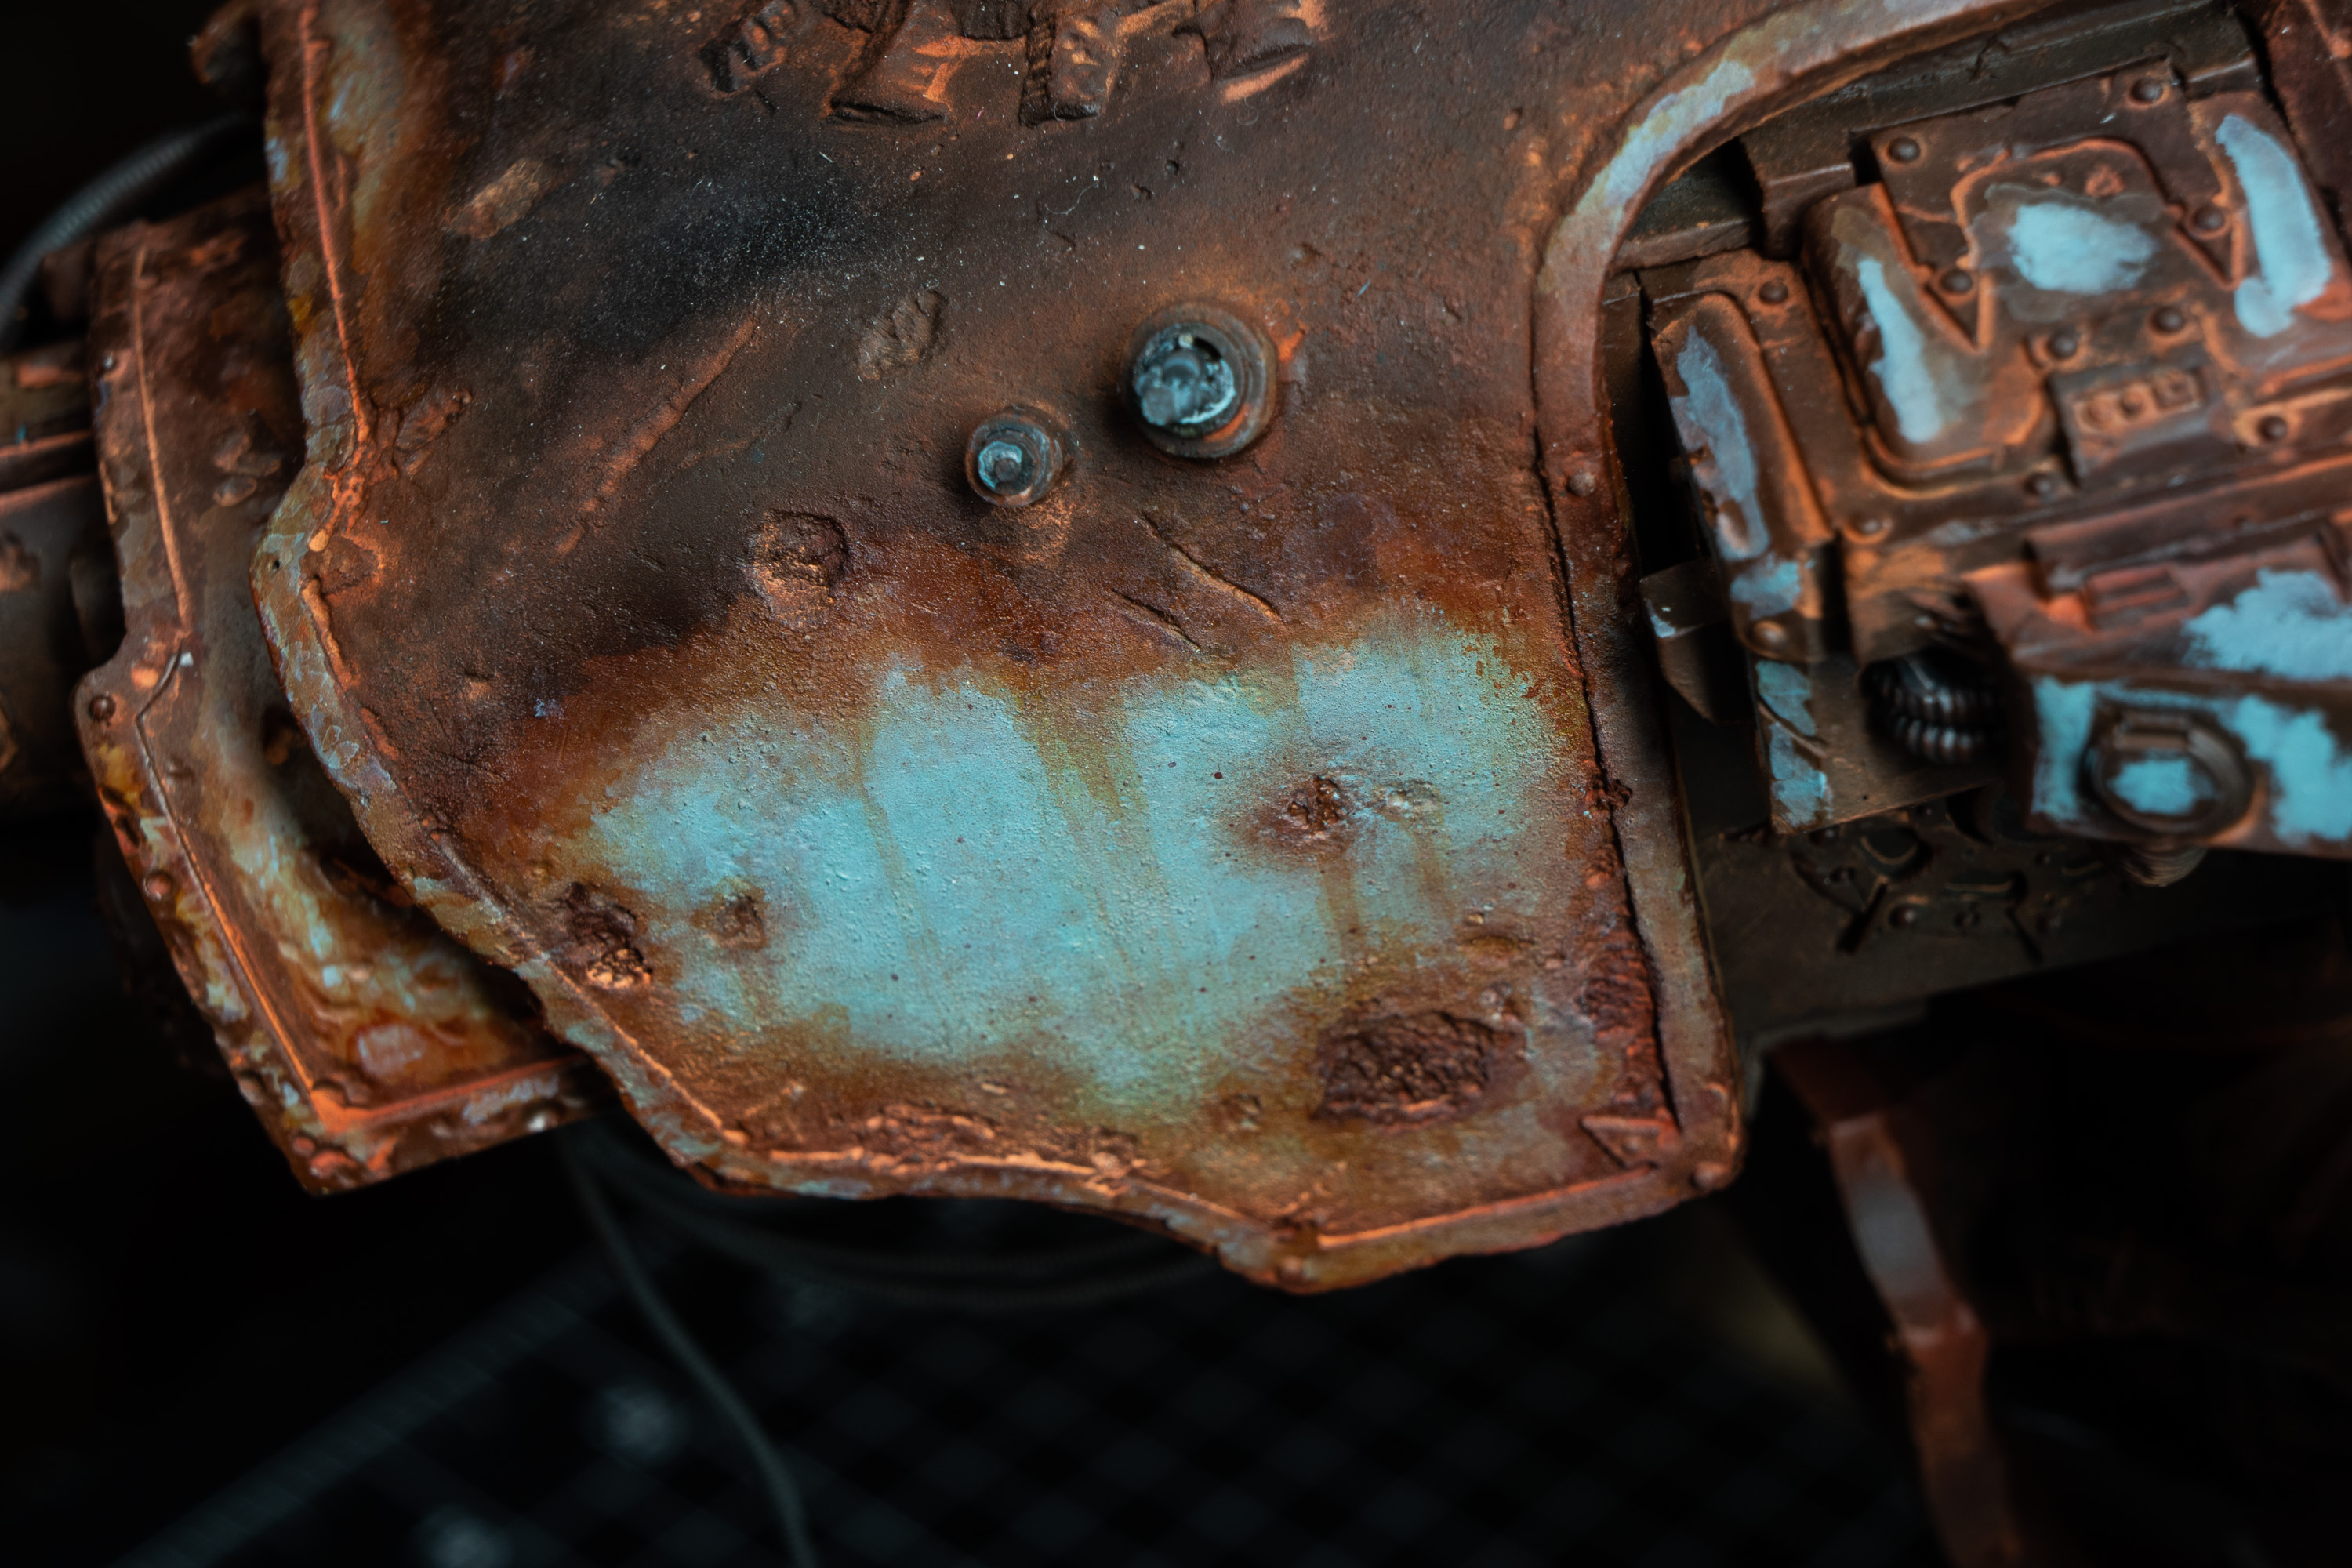
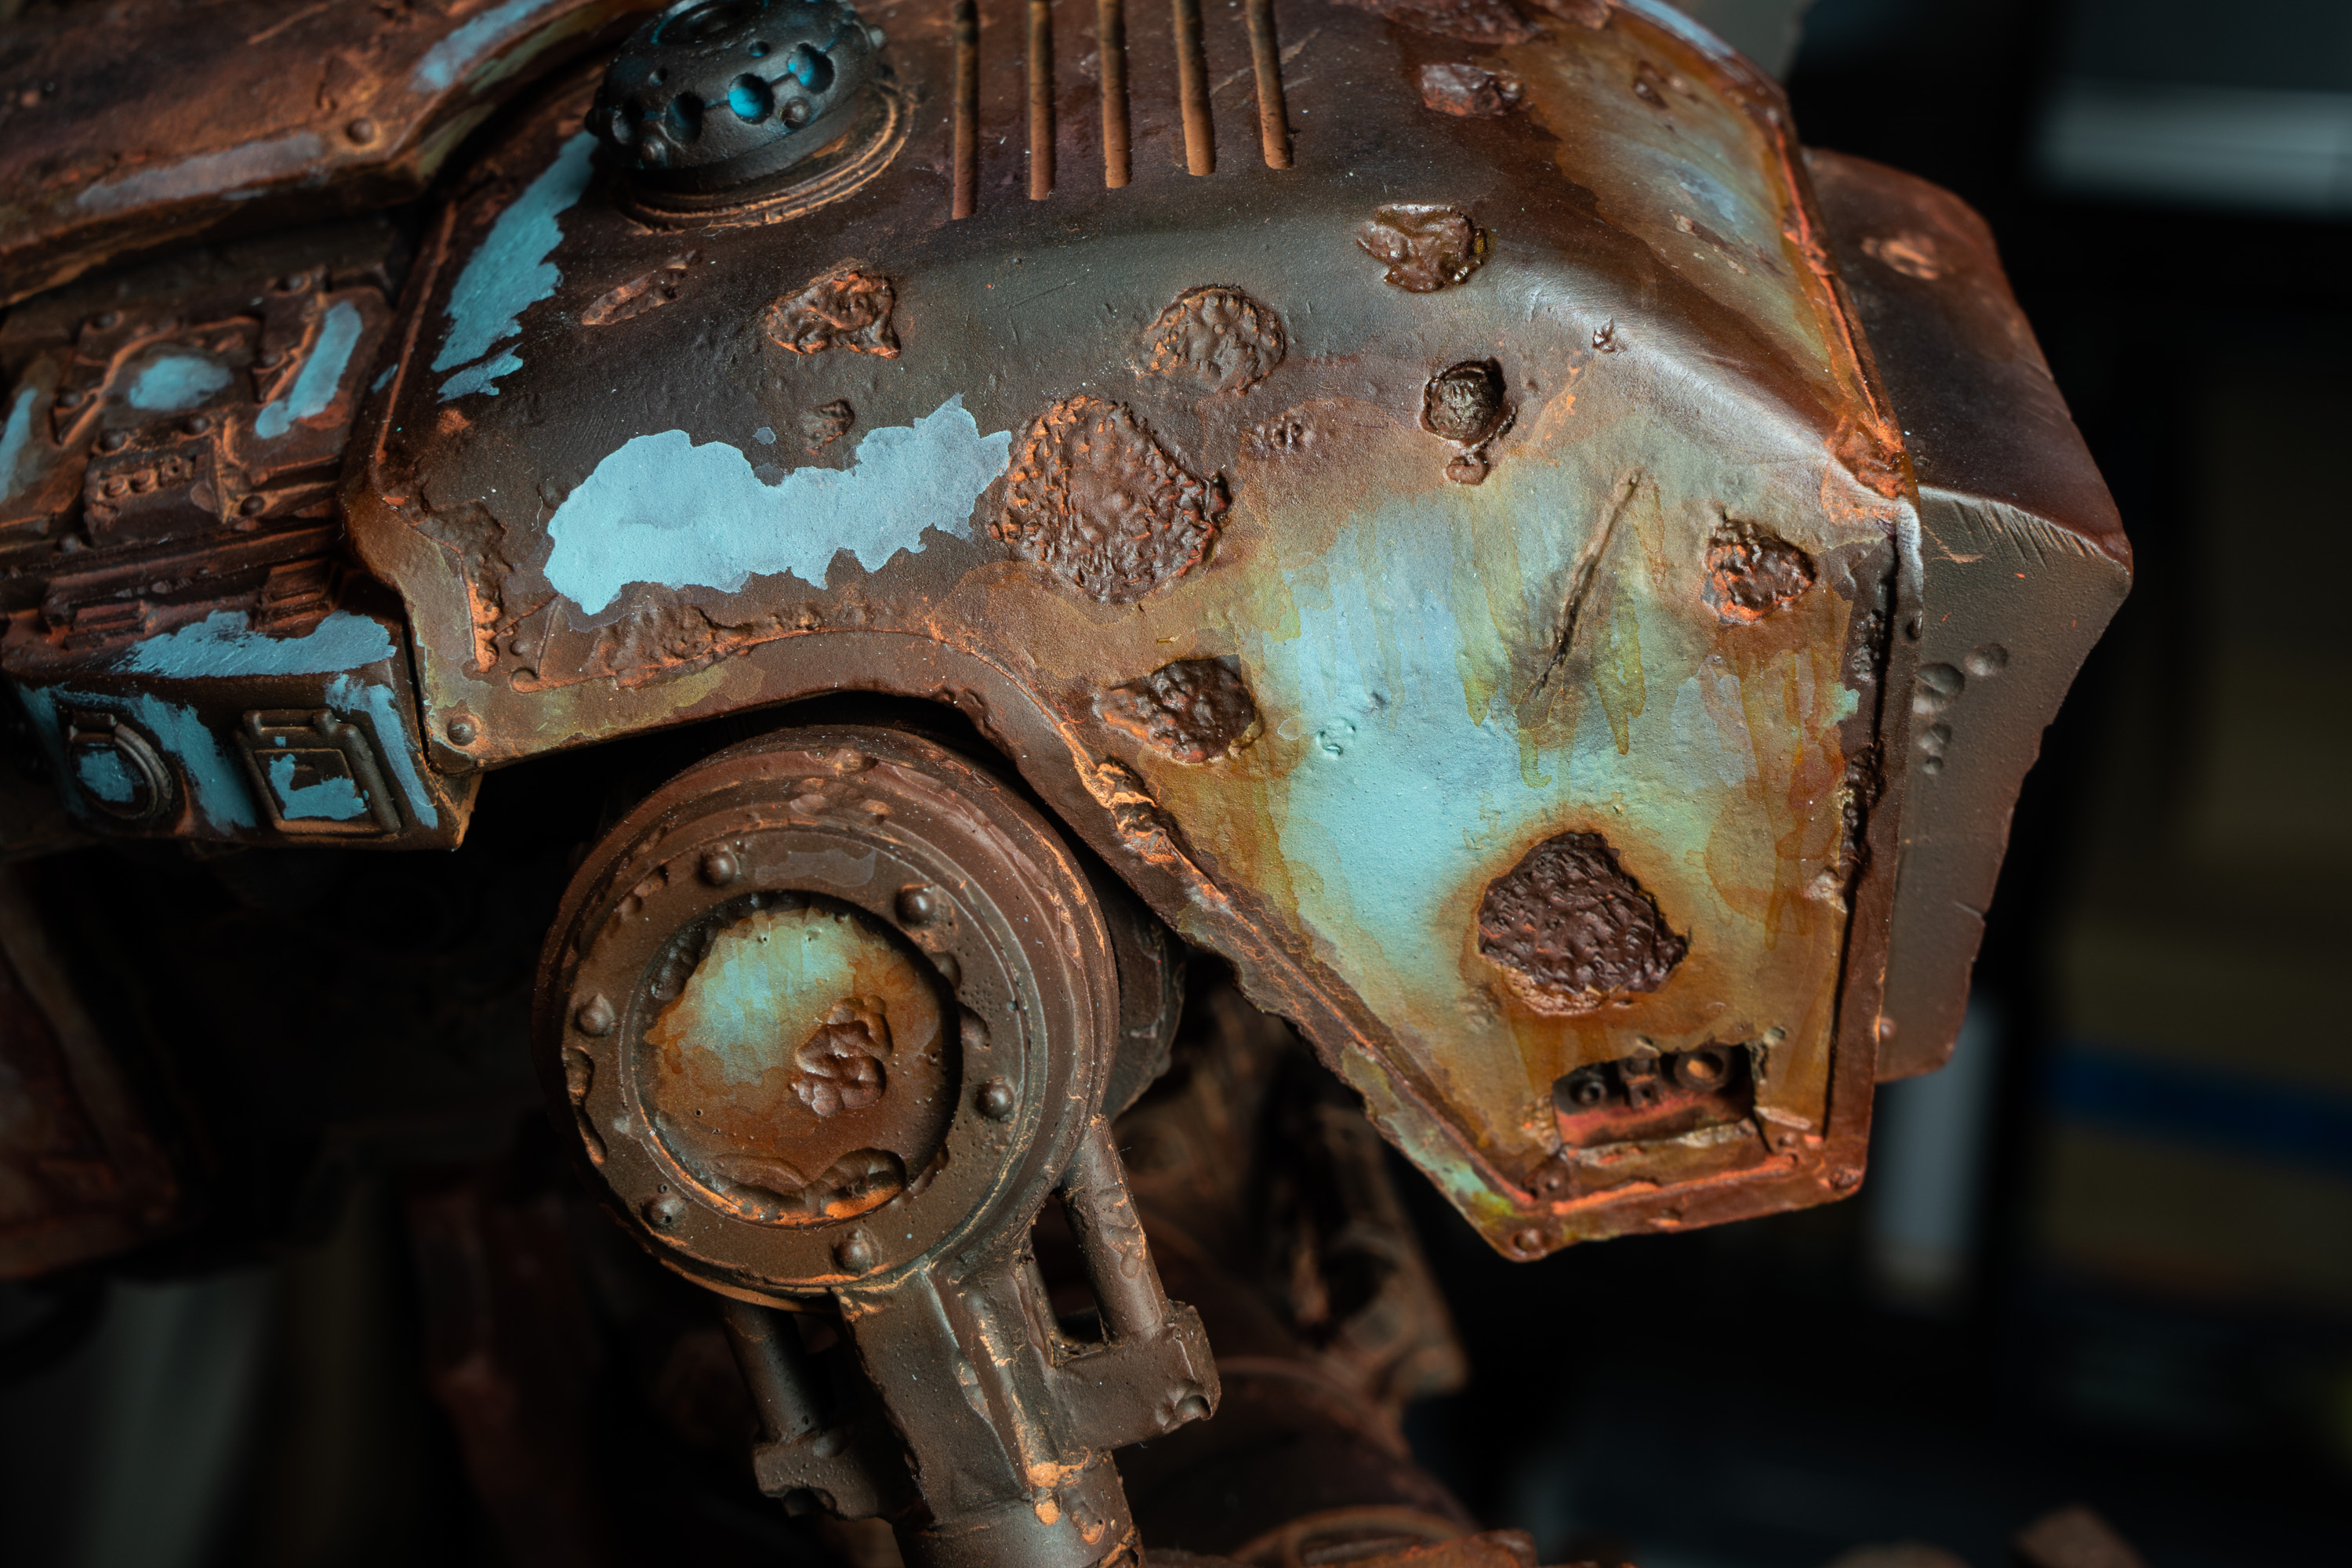
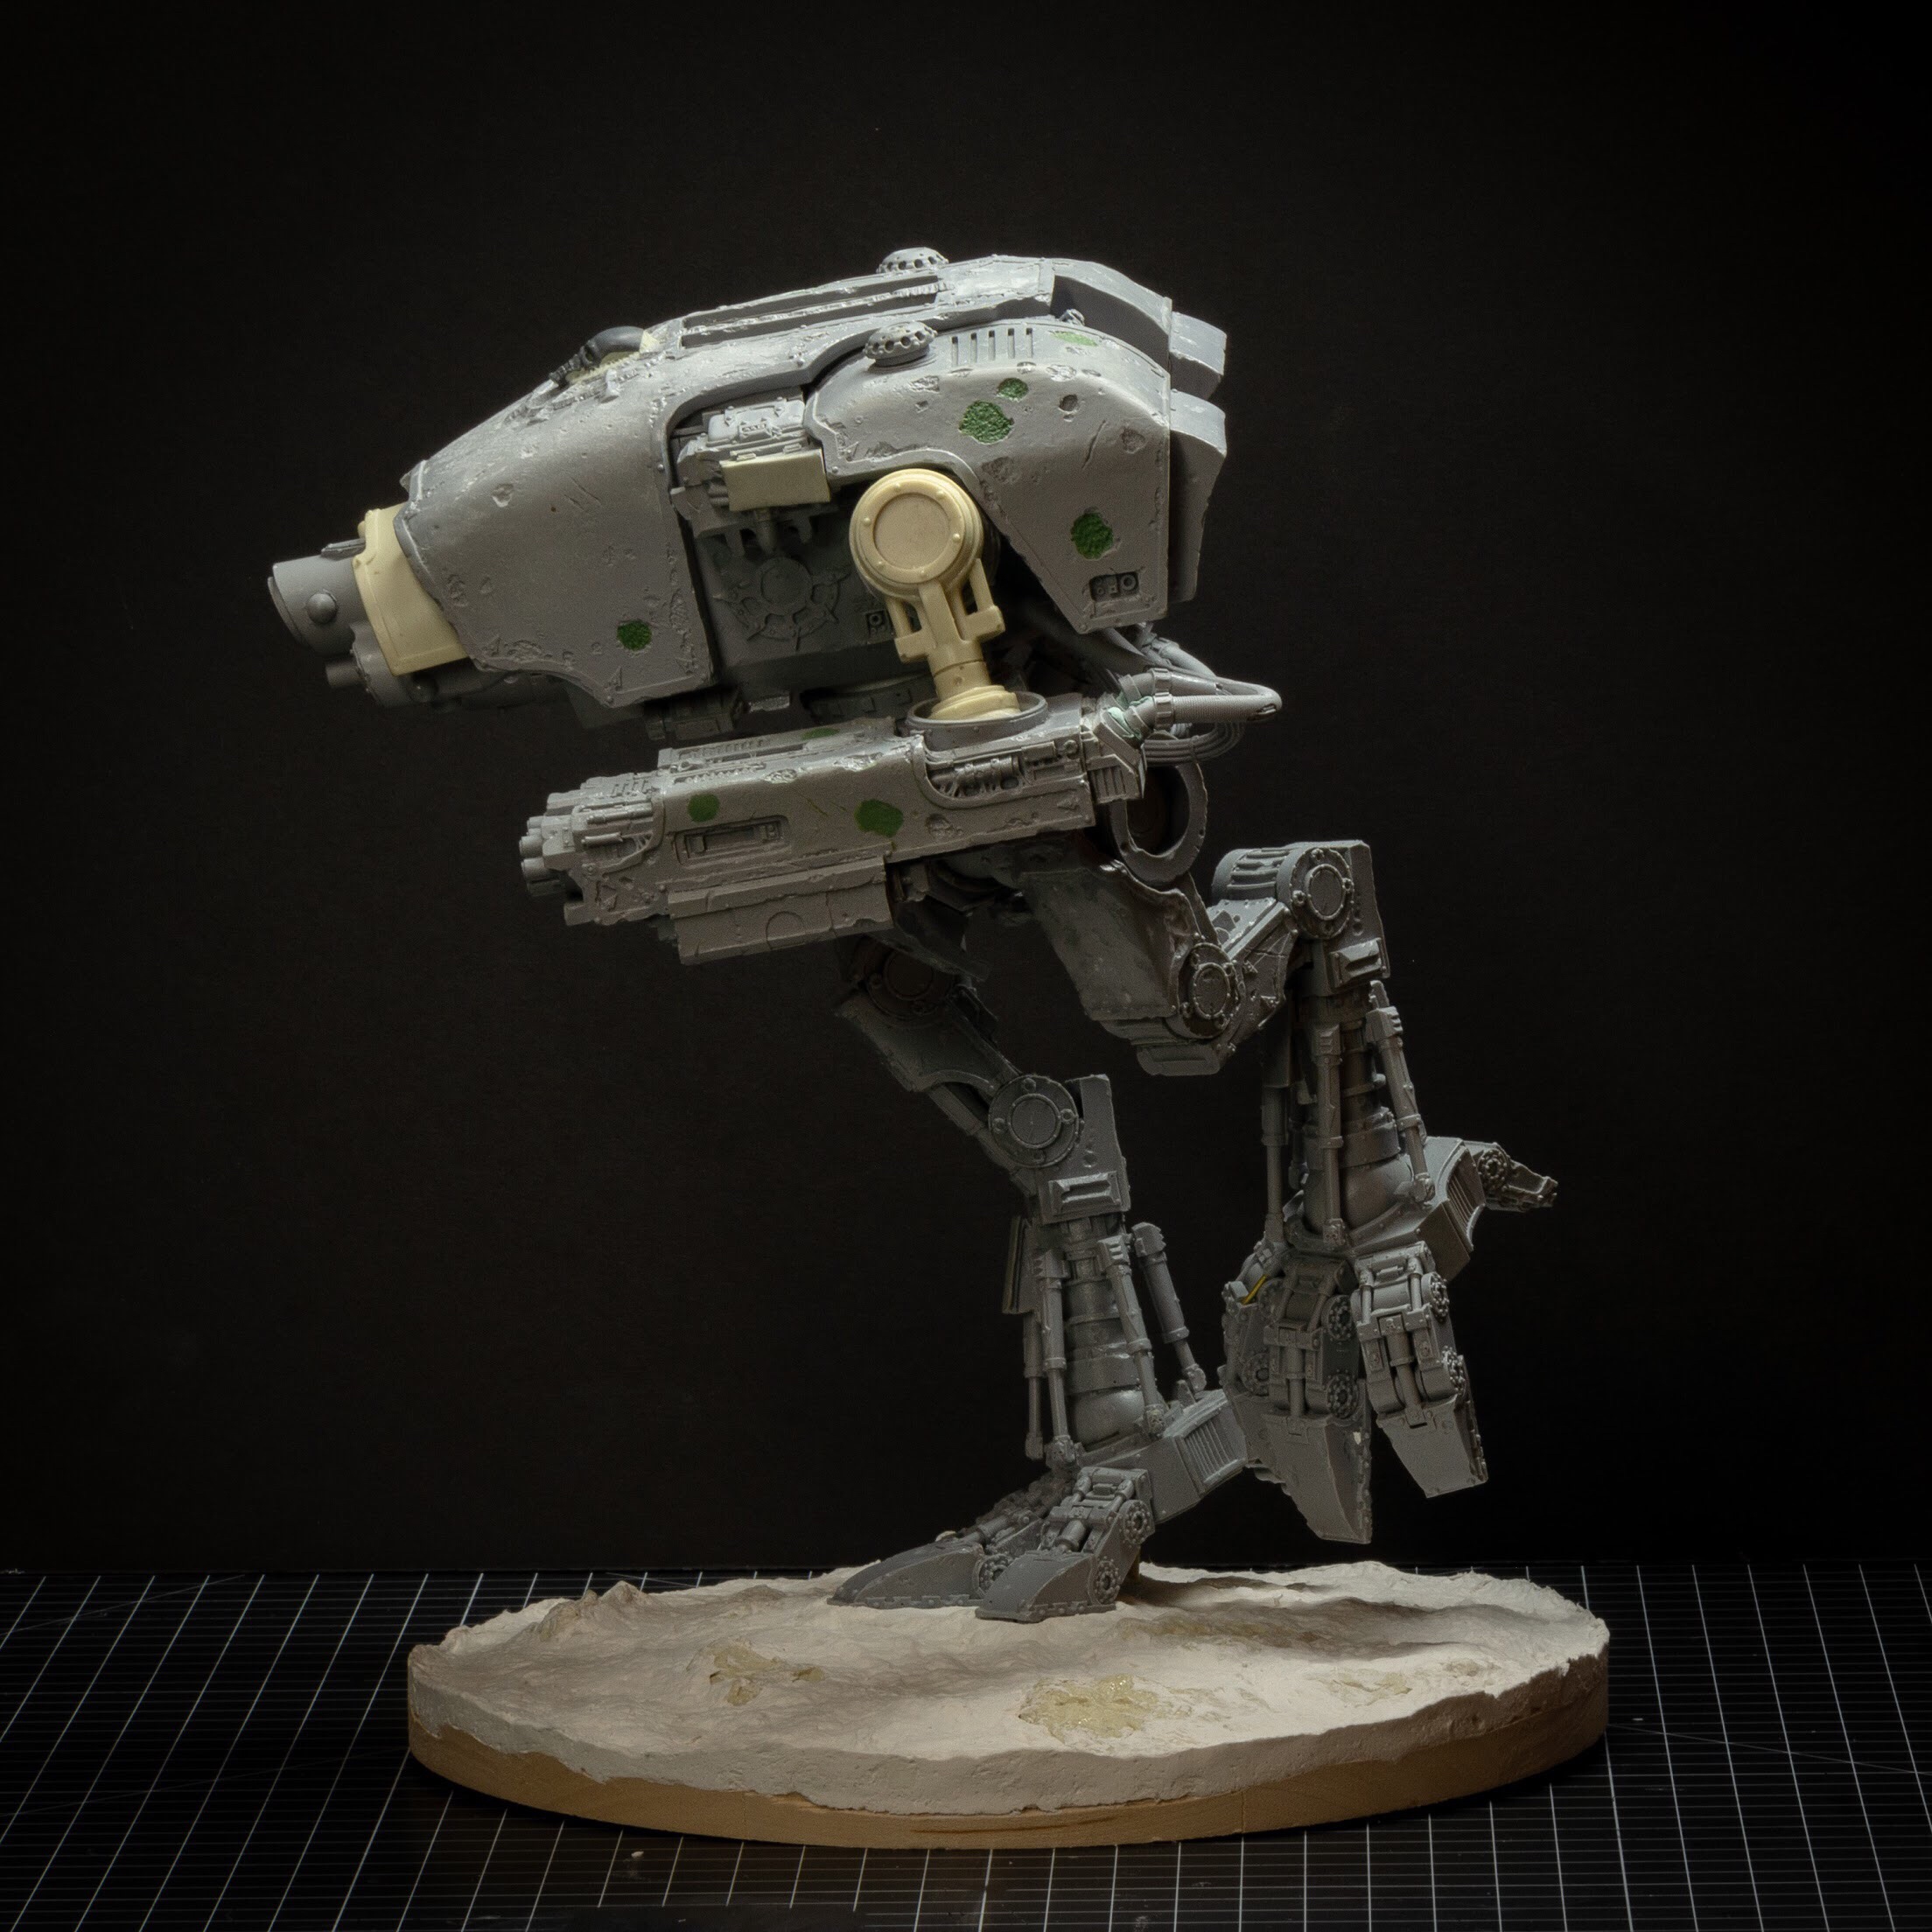
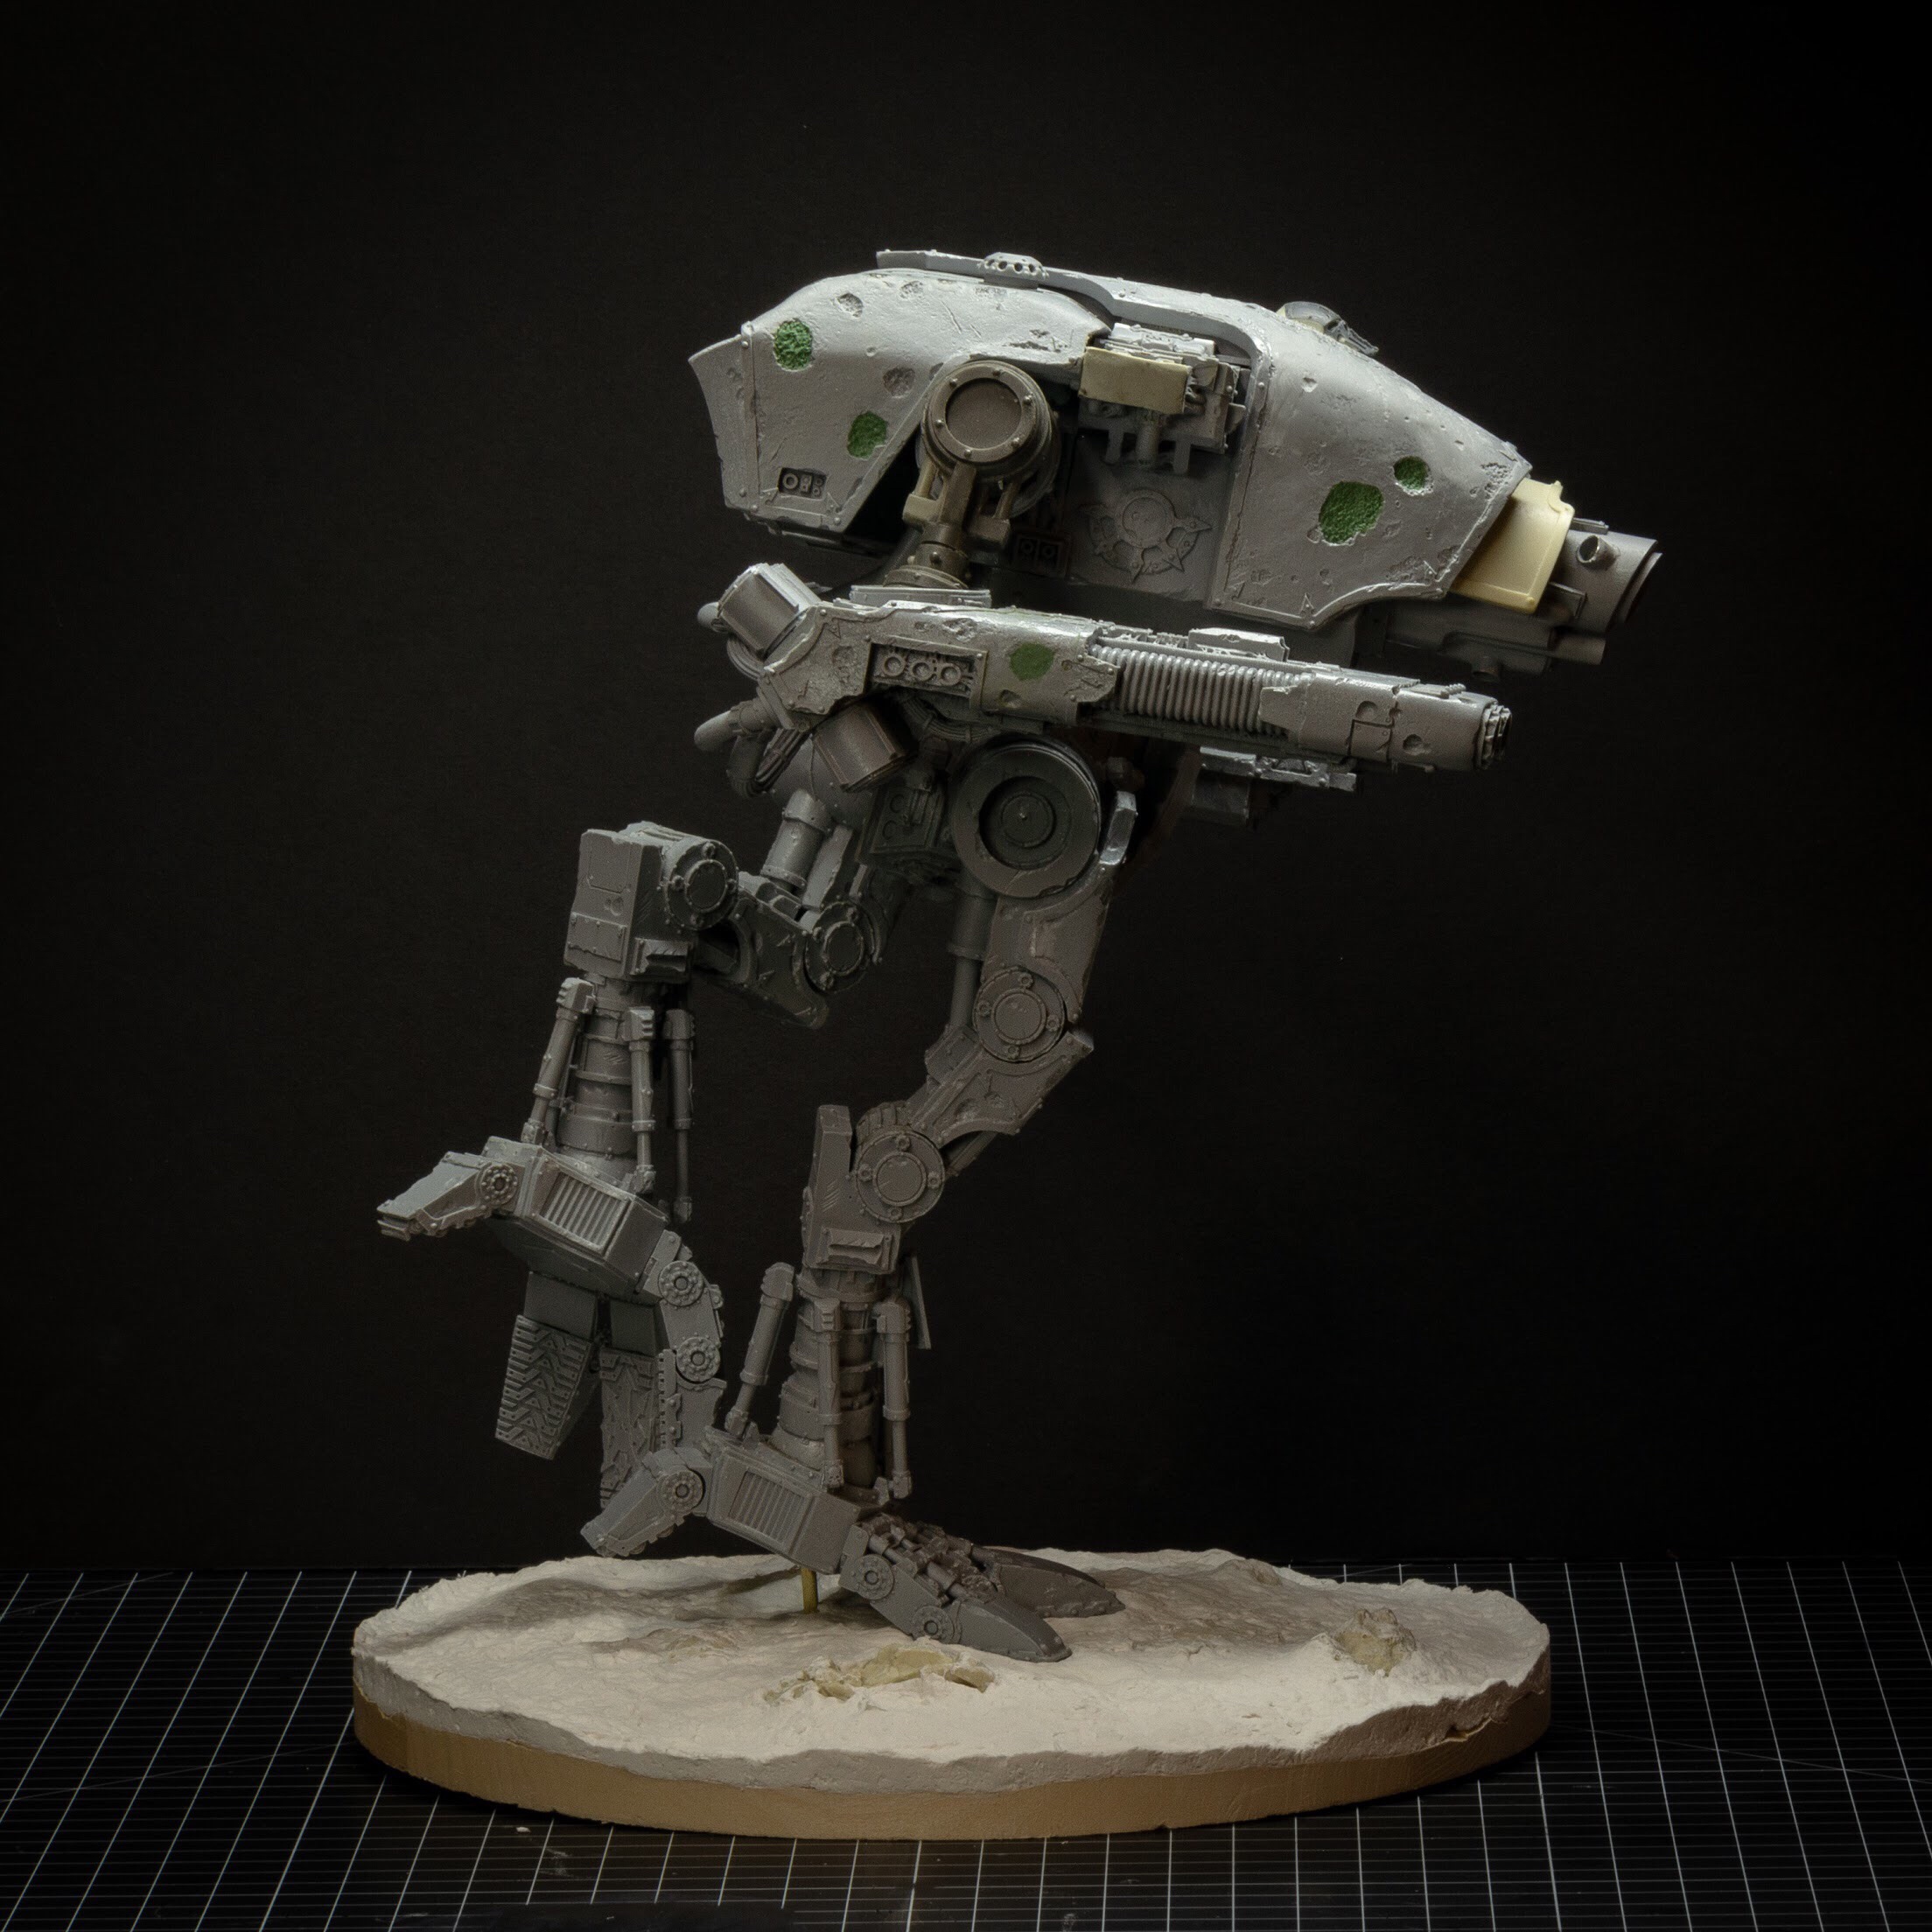
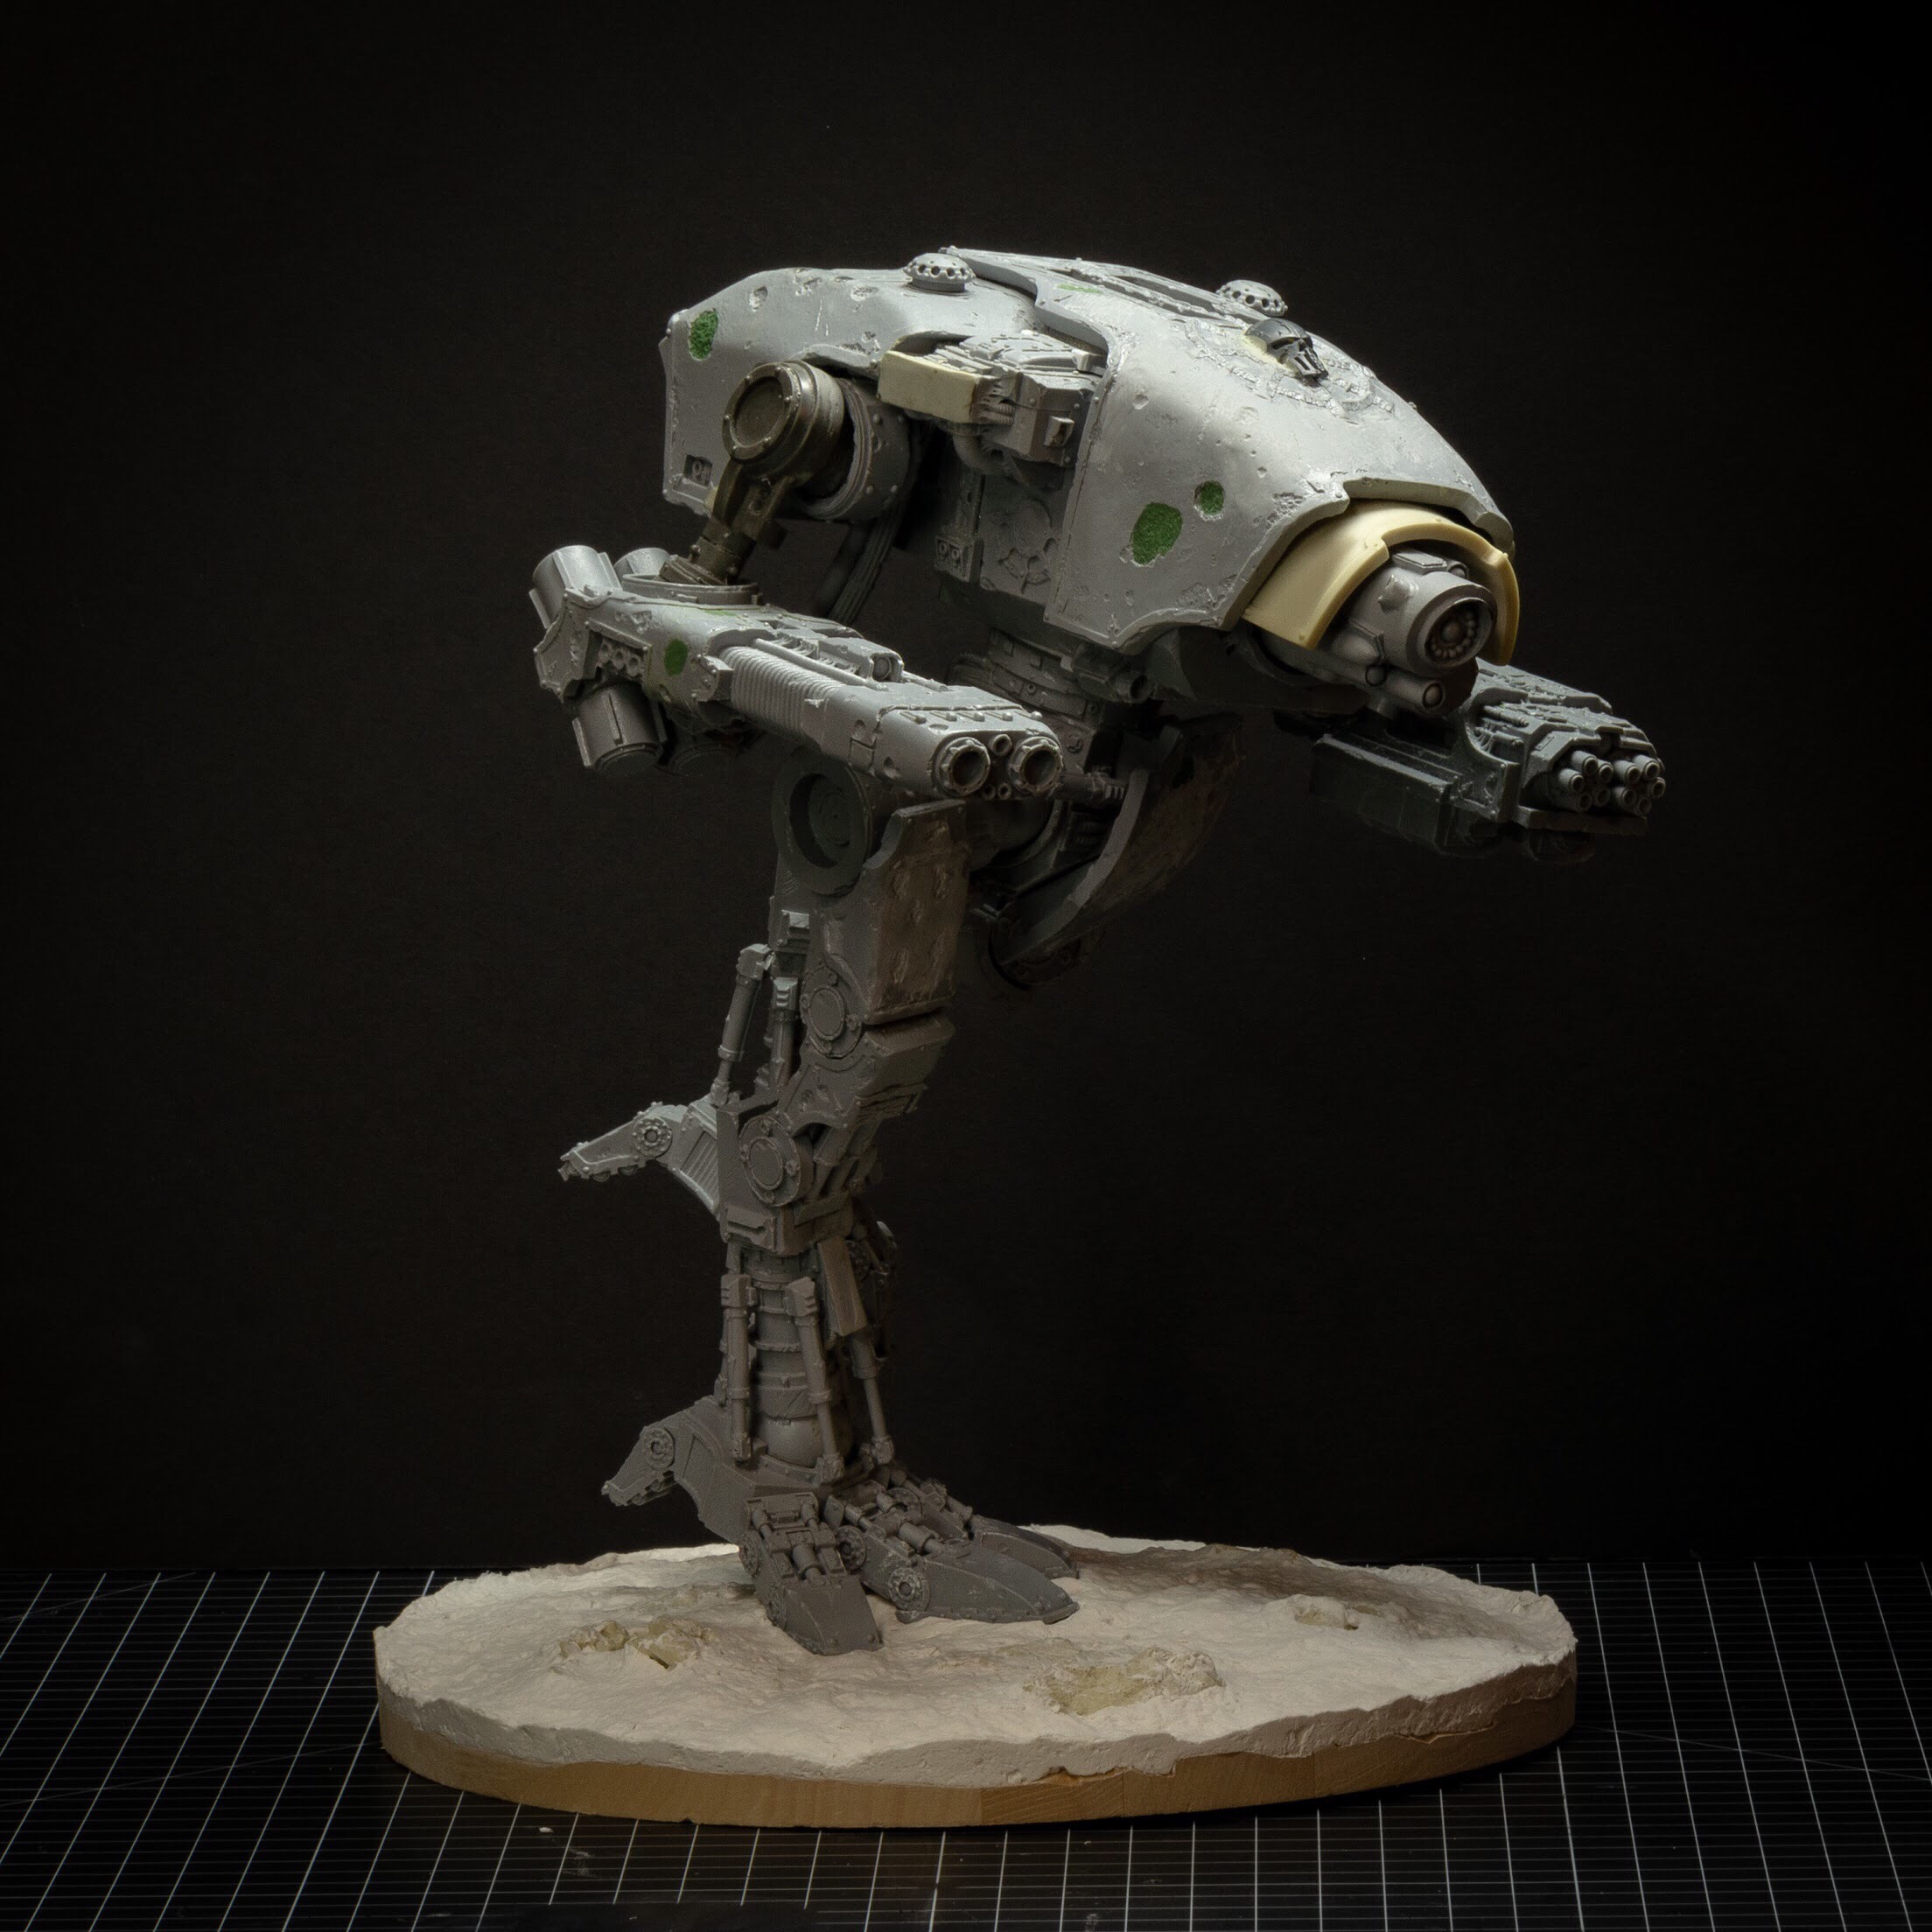
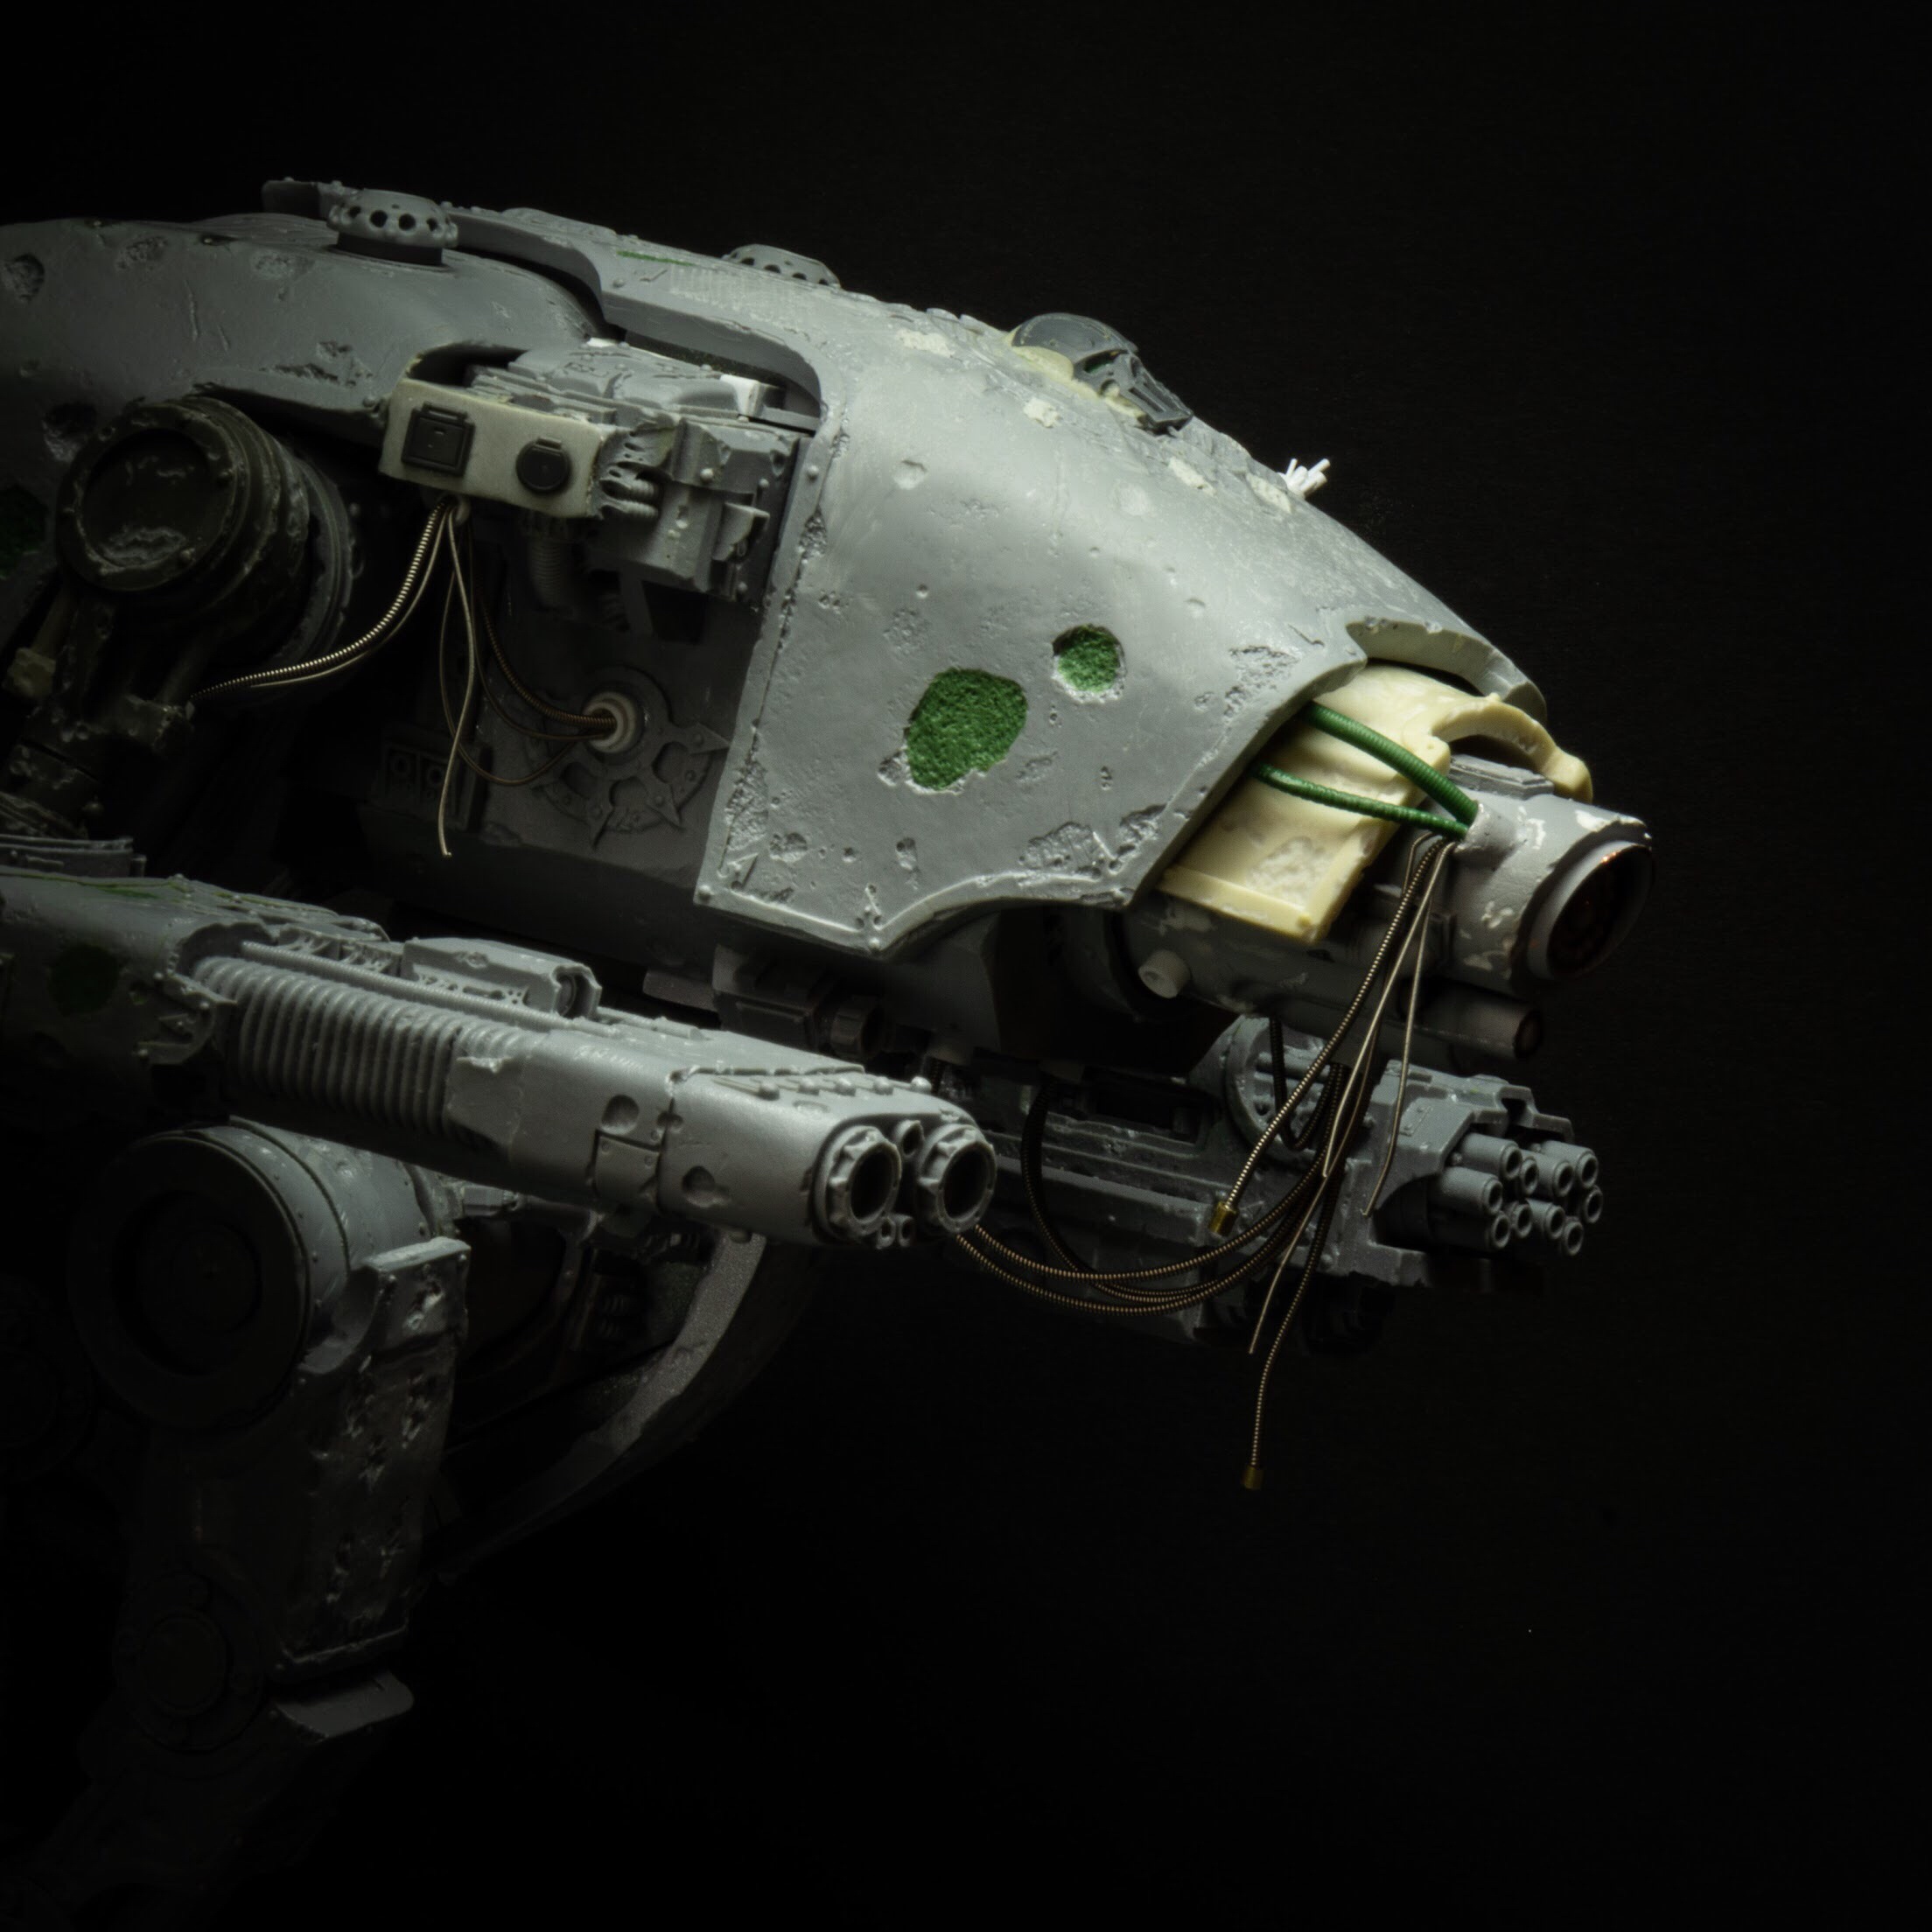
The Hound is an ancient Warhound of an unknown variant; is body plan noticeably aberrant from the original Warhound STC. Indeed it bears some evidence of Chaos corruption but interestingly, seems to have thrown off any daemonic influence. More worrying perhaps is the fact that it no longer needs a crew to operate. Now co-opted by the Bright Signal and modified by the Cult’s servitors, it stalks the barren planet of Zamarkande.
Finding the Pose
The Long Search is the very core of the Cult Stochastic’s directives. With all of the Cult models, I want to create a sense of forward motion, of inexorable progress.
dreadtober_final_instagram_006
For the Praestia, the pose was designed to be quite upright, to show balance and confidence
More by accident than design I’d found that a mid-stride passing pose creates a kind of snapshot feel. The pose is not settled, and the viewer can anticipate the next few frames of action.
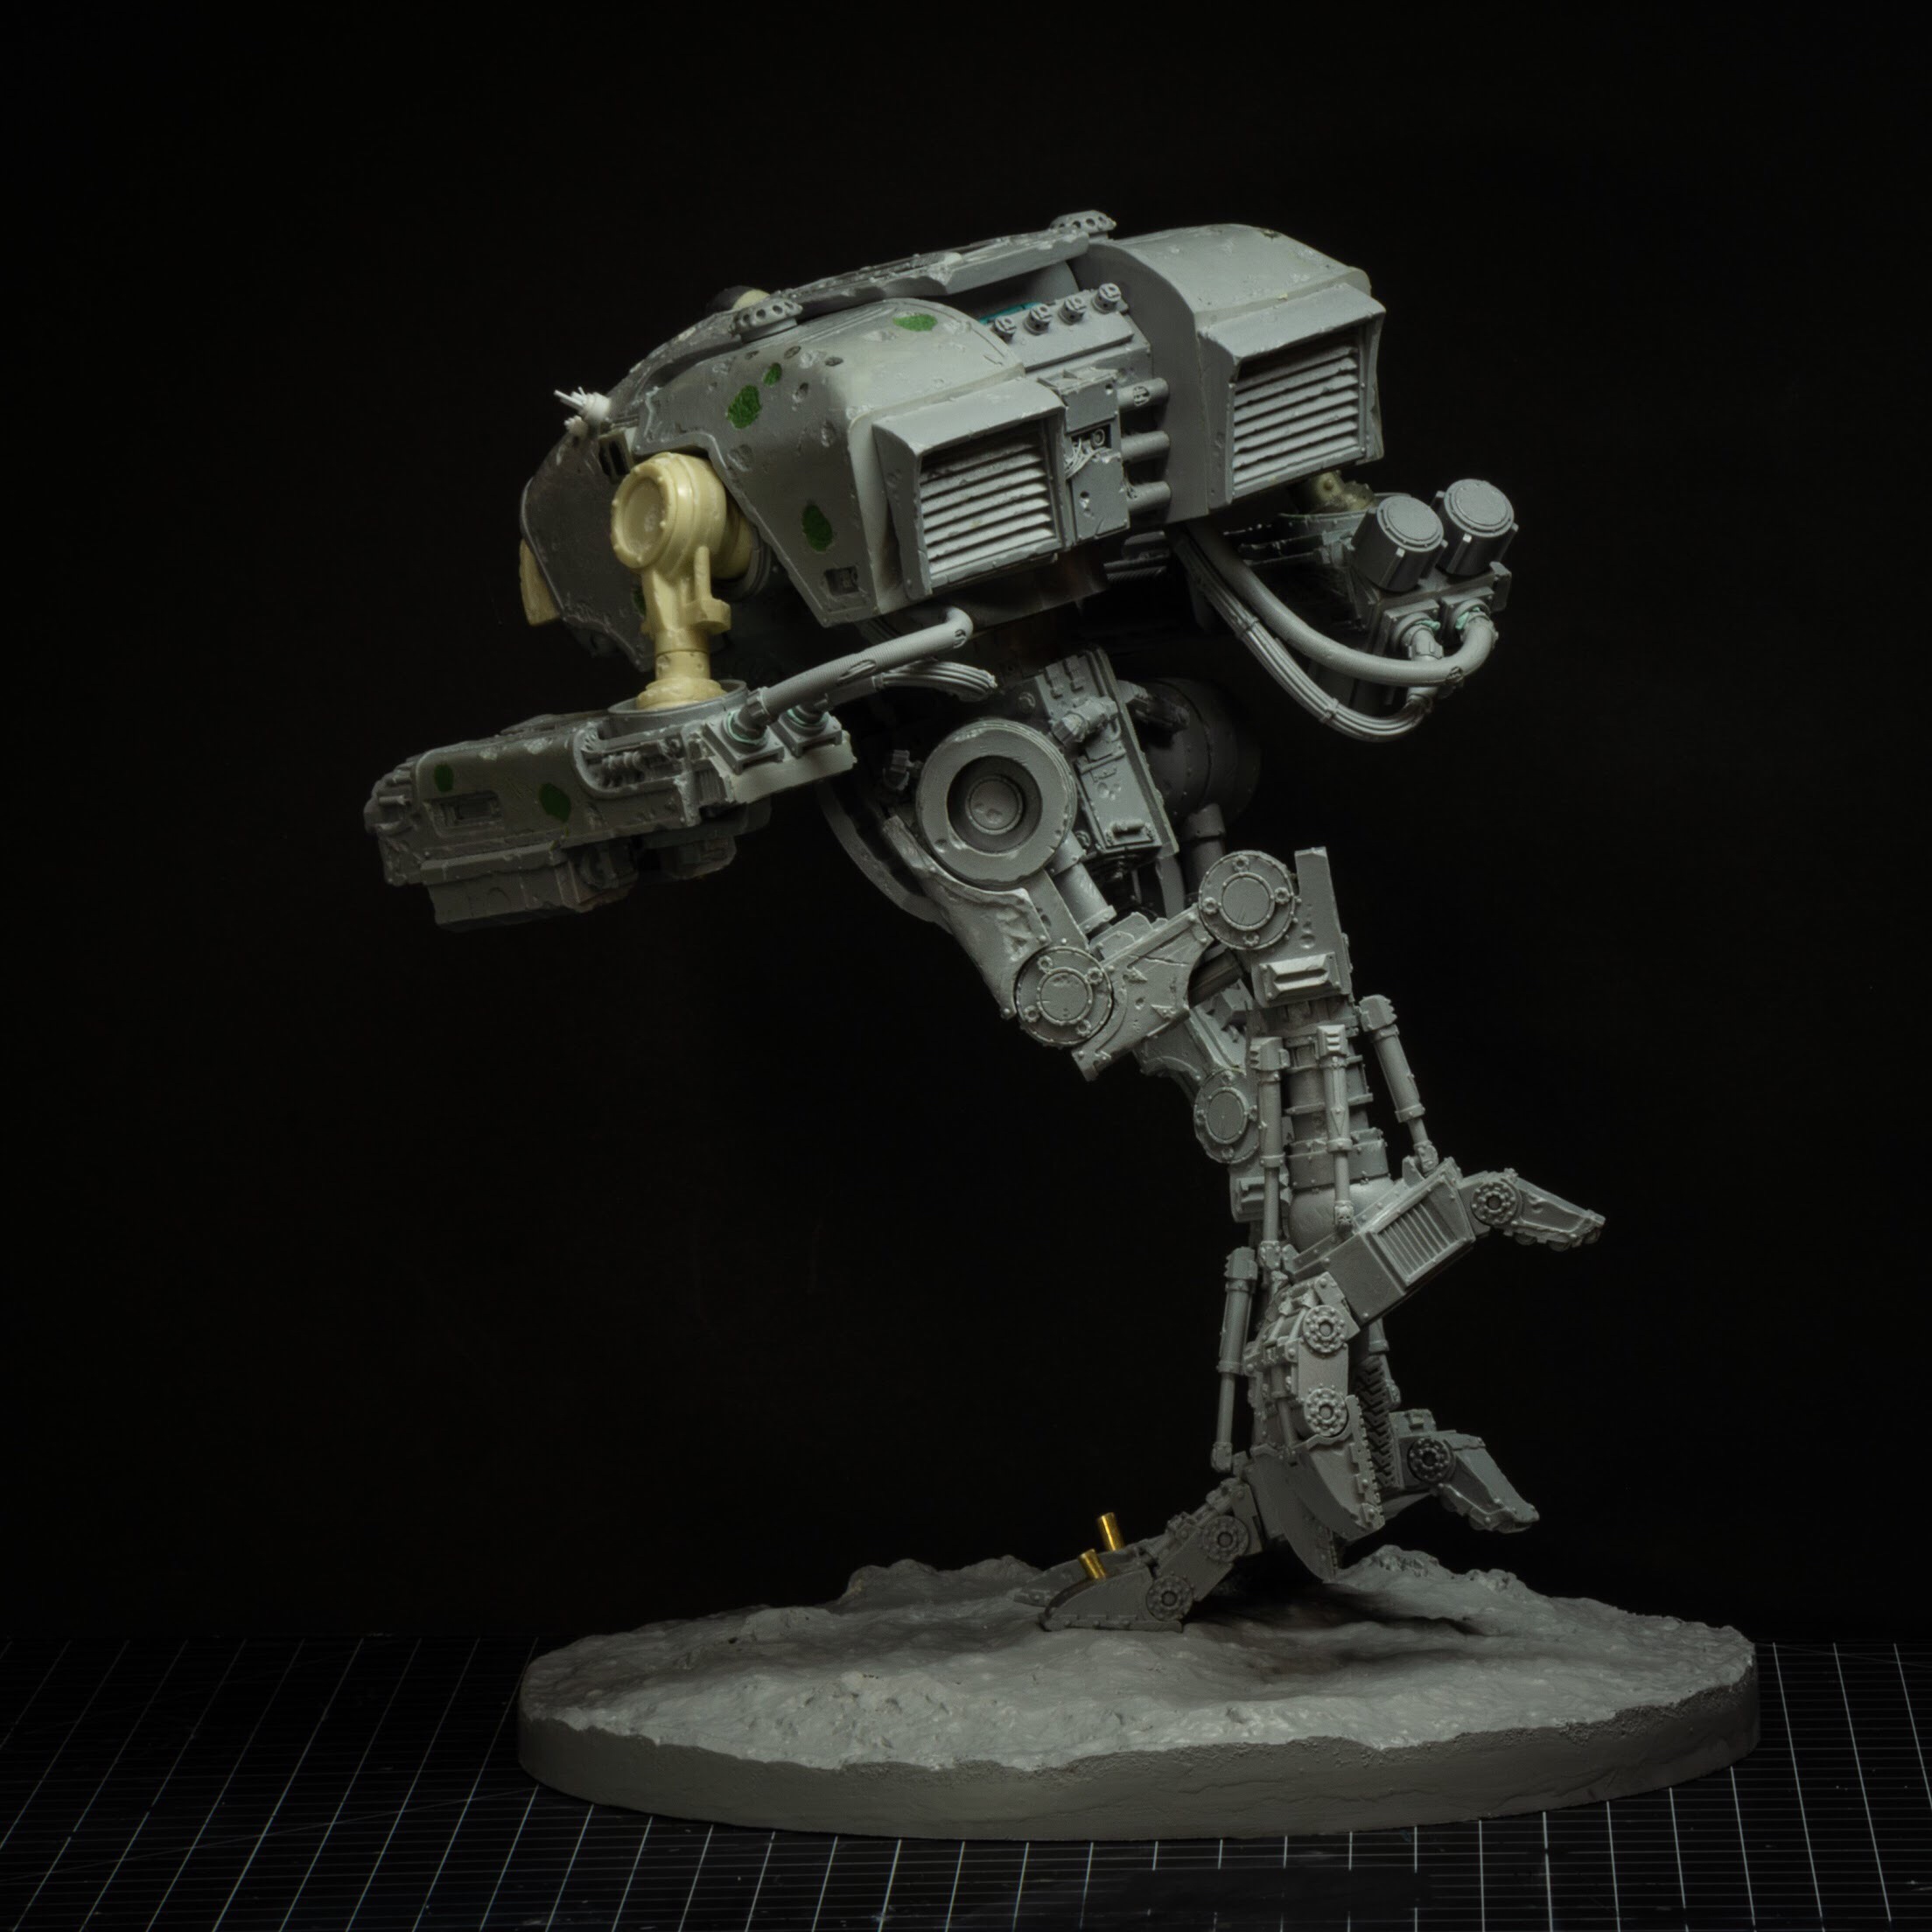
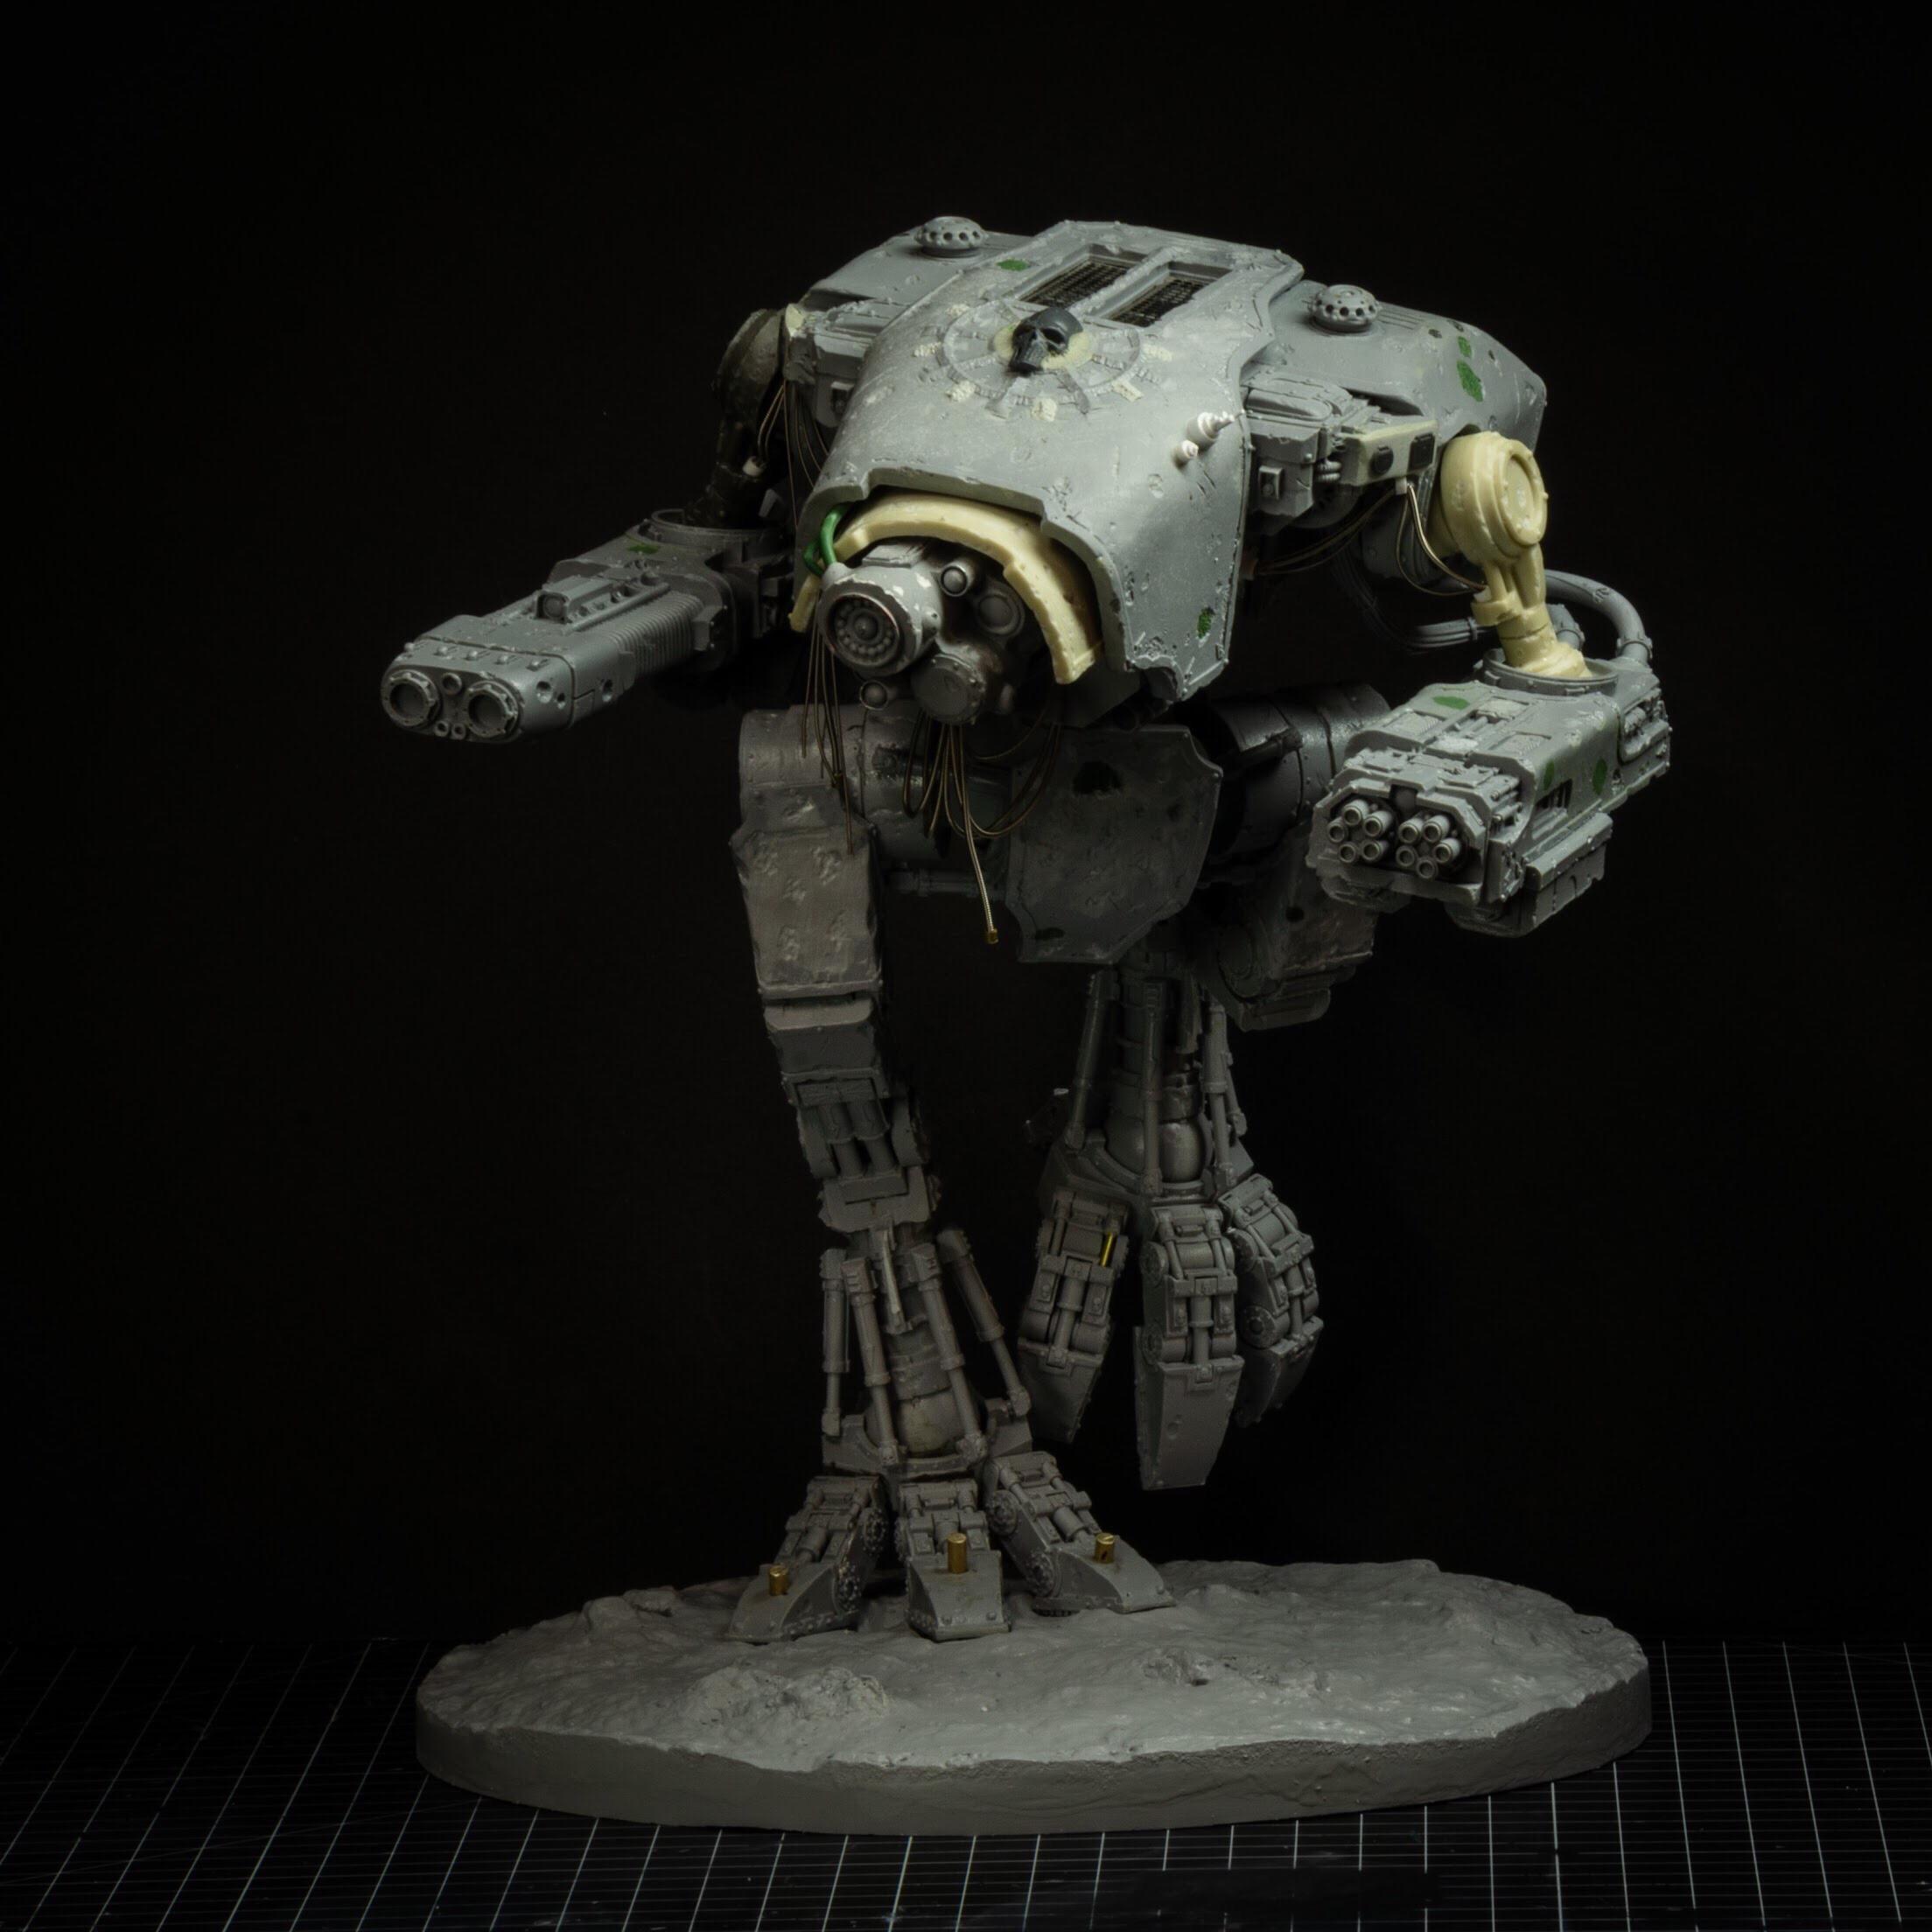
For The Hound, I wanted to emphasize it’s massive size without losing what makes it dangerous. Warhounds are scout titans, designed to be fast and relatively agile. But the Long Search is a marathon, not a sprint, so it didn’t need to be running.
After some reference diving, I settled on something close to what science and movies have suggested as T-Rex’s walking gait.
It’s purposeful and communicates huge mass. I love it being up on it’s toes (Warhound feet always look like duck feet to me when they’re planted flat). And of course, the T-Rex was an apex predator, and that connotation works really well for imbuing the Hound with a sense of menace, even if the poor thing is really just wandering about.
Warhounds are, happily, extremely posable from the waist down. It’s a lovely job by GW/FW on the leg design. Very inspiring and pretty easy to work with. Getting the pose looked to be pretty straightforward.
The challenge was going to be managing the weight. Loads and loads of resin make the model pretty top-heavy. I’d seen a lot of Warhound poses driven by the need to balance that load. The pose I wanted was the opposite of that; put the whole thing on one leg, on tip-toes. Unbalance the pose so the center of gravity is biased forward, to create that sense of motion, scale and weight. So I wanted to do a couple of changes to help with that, even before I got to thinking about how to actually build it.
You seem to have found your way to the revamped thepolysmith.com. Whether by accident or design: welcome. You can keep your shoes on, you’re good.
In 2019, I took almost the whole year away from the hobby. Mostly due to work pressure, but also because I wanted to stop and think about what was important to me in the hobby I do. Long story short: 2020 is about:
This will be a place for higher res images, in-depth build diaries and the occasional tutorial – all the stuff that Instagram and Twitter are not so well suited for.
I’ll be gradually migrating in all my high-res images from my instagram feed over the next few weeks.
Thanks for stopping by. I hope you enjoy the site and please if you have any feedback on any of the work, or issues with the site, get in touch via the comments below.
– Dave